

How To Do Text Writing Animation In Ios

Typography is an of import aspect of the video editing process. You lot deal with it when adding captions to news clips, giving on-screen recipes in food videos, creating burned-in subtitles for short films, making no-sound-needed videos for social media, and so much more. Enlight Videoleap for iOS makes this all easy.
If yous're going to utilize Enlight Videoleap to add text to your videos on your iPhone, it's important to do it non but correctly, merely also at a loftier level, to better convey your bulletin and engage your audience. Videoleap's text tools include adjustments for fonts, animations, effects, colors, spacing, alignment, and a lot more.
We'll cover each tool one by i and give you the nuts to how to make your text live on the screen like it's meant to be in that location. Merely first, brand certain you've updated "Enleap Videoleap Video Editor" and so you've got all the new tools and features.
Step 1: Overlay the Text on Your Video
I'll presume yous already have a video project loaded into your Videoleap timeline that you text overlayed on. All the same, y'all can too start a bare projection without any video, which is useful if you desire to create a title carte du jour with a elementary black background, but we'll be using actual video every bit an example throughout this guide.
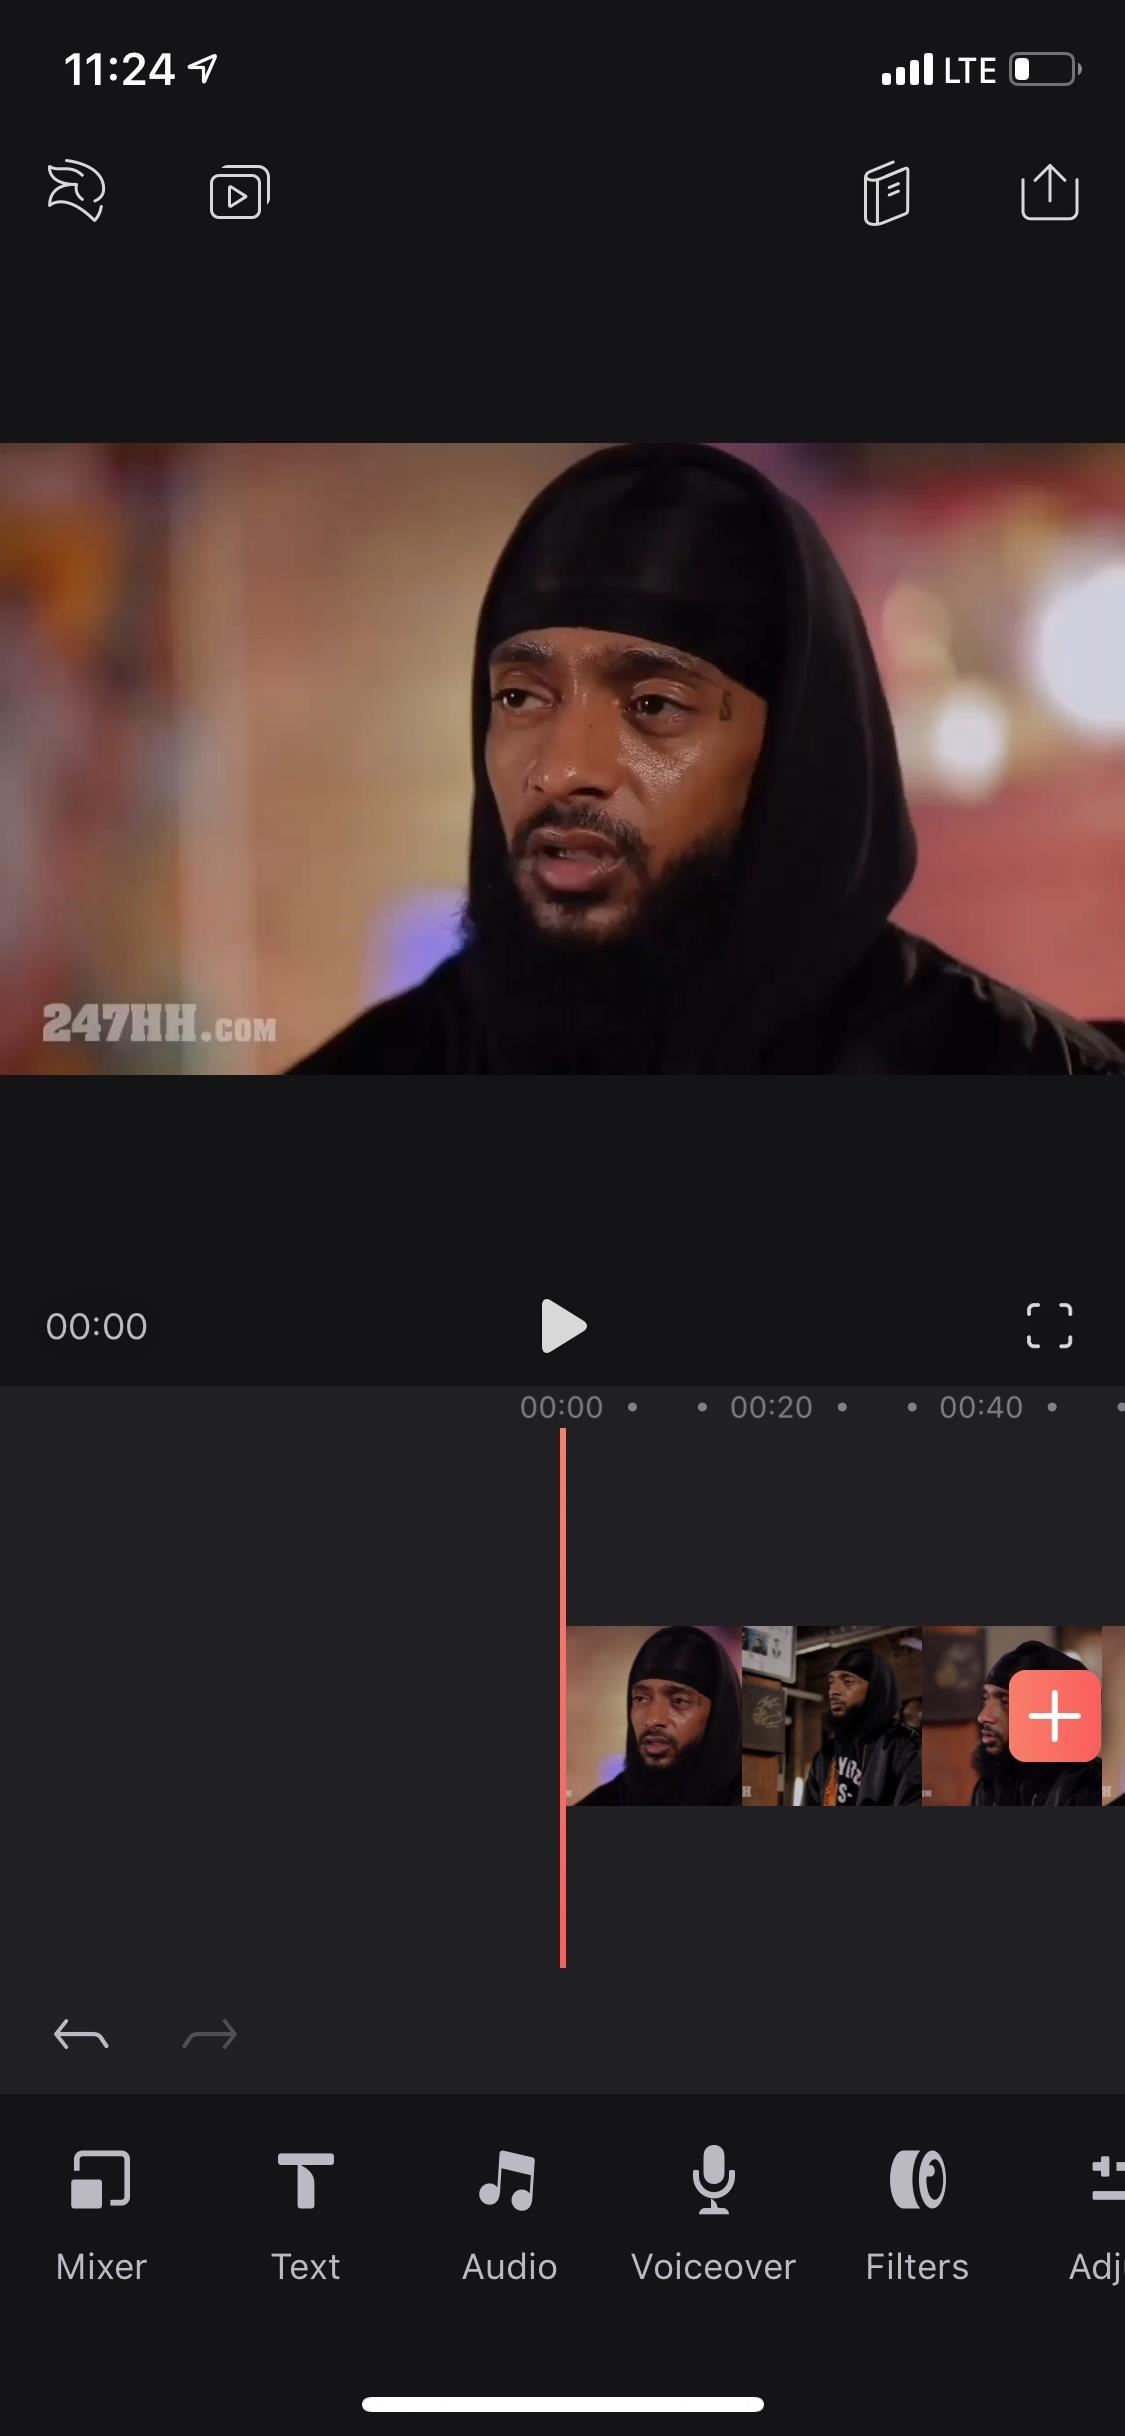
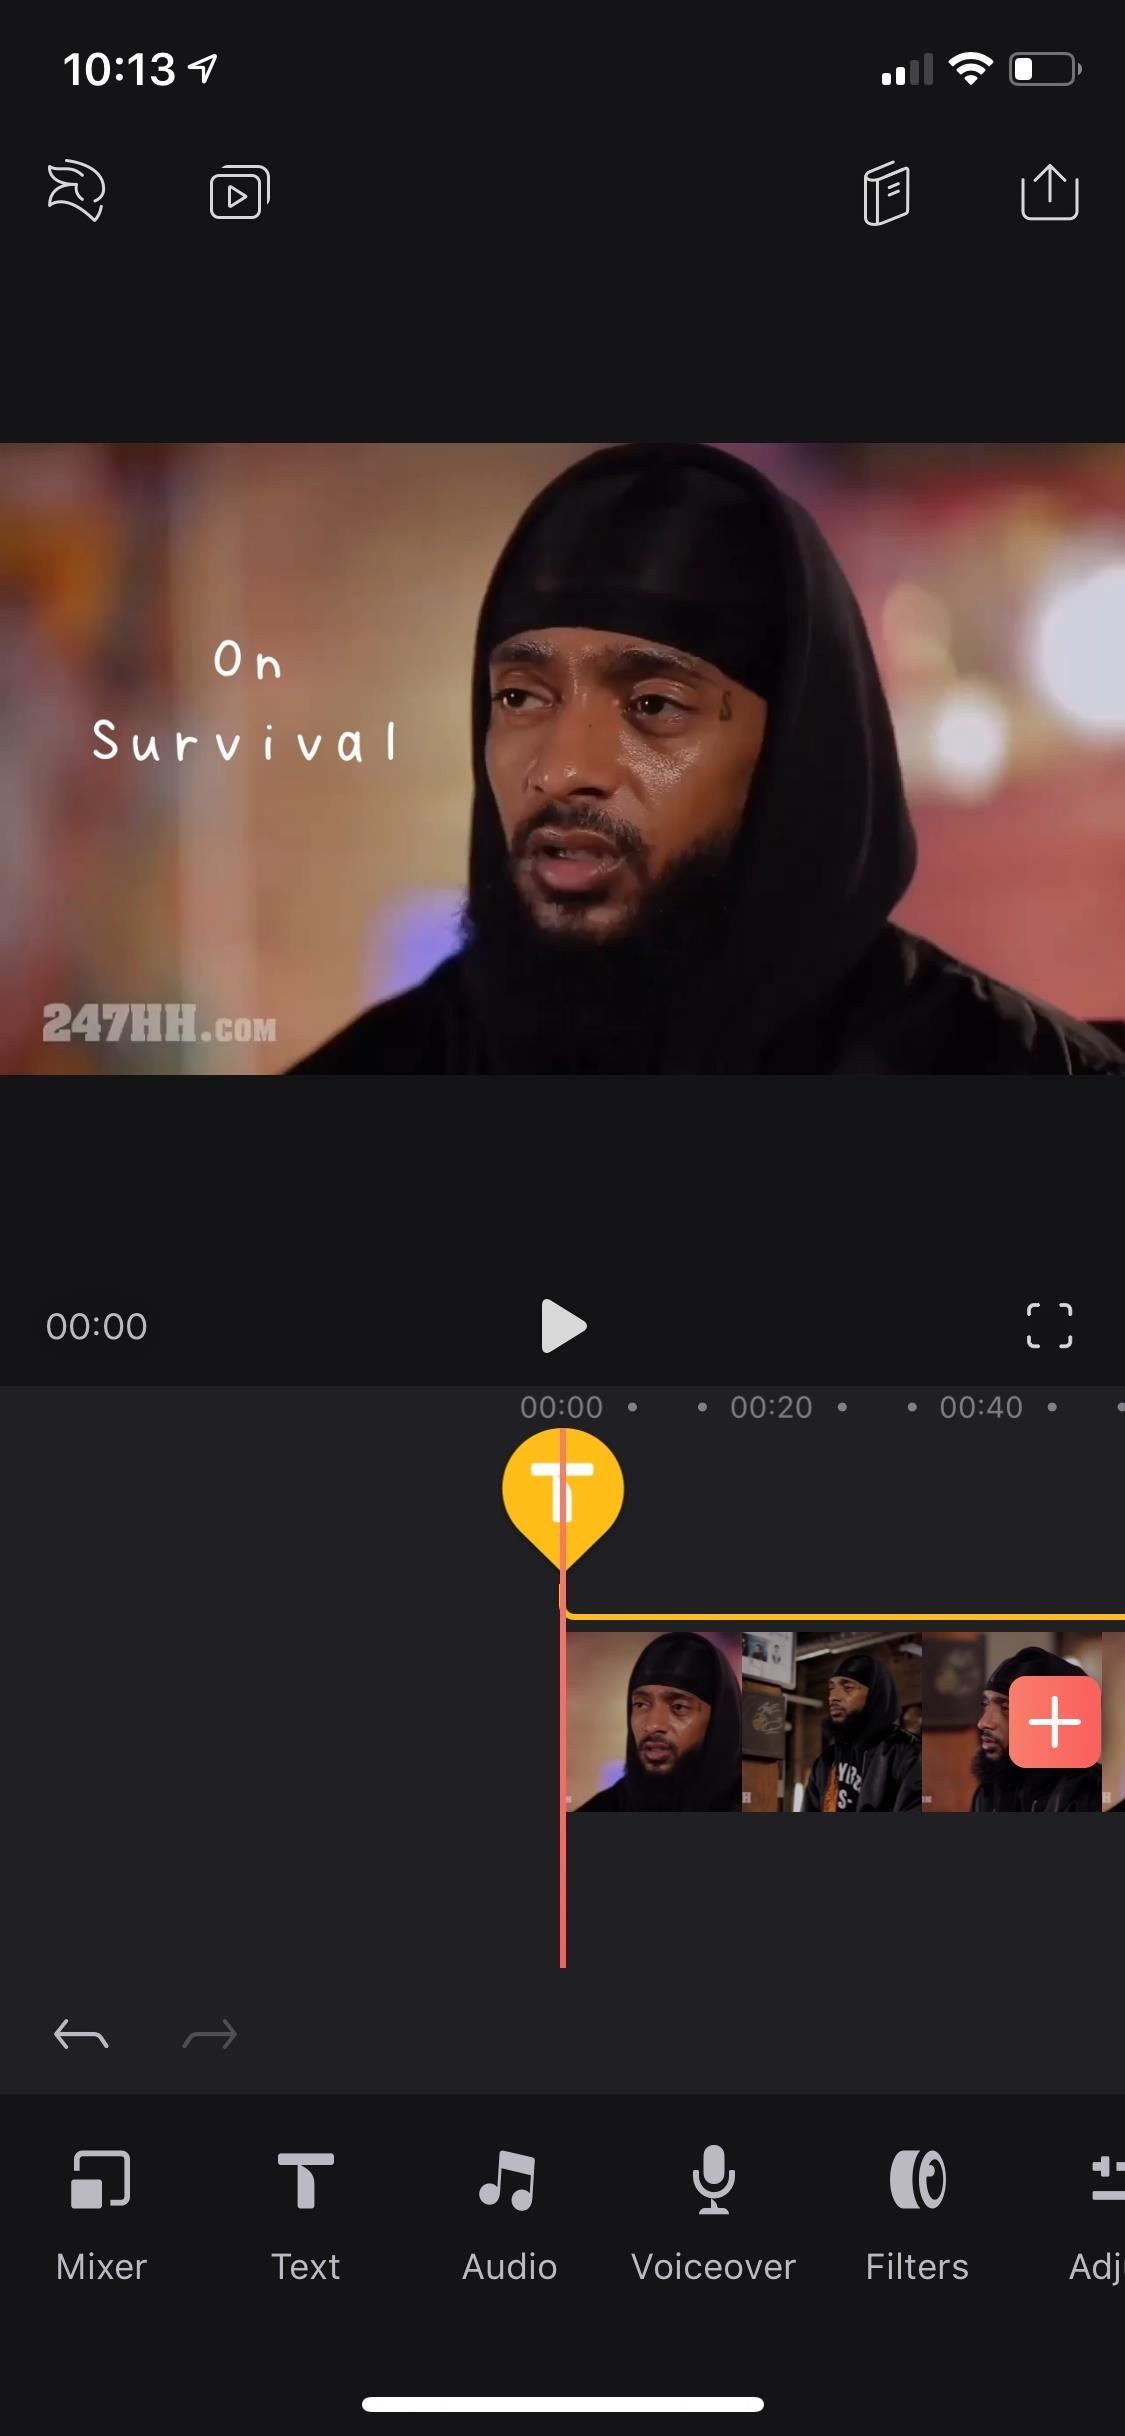
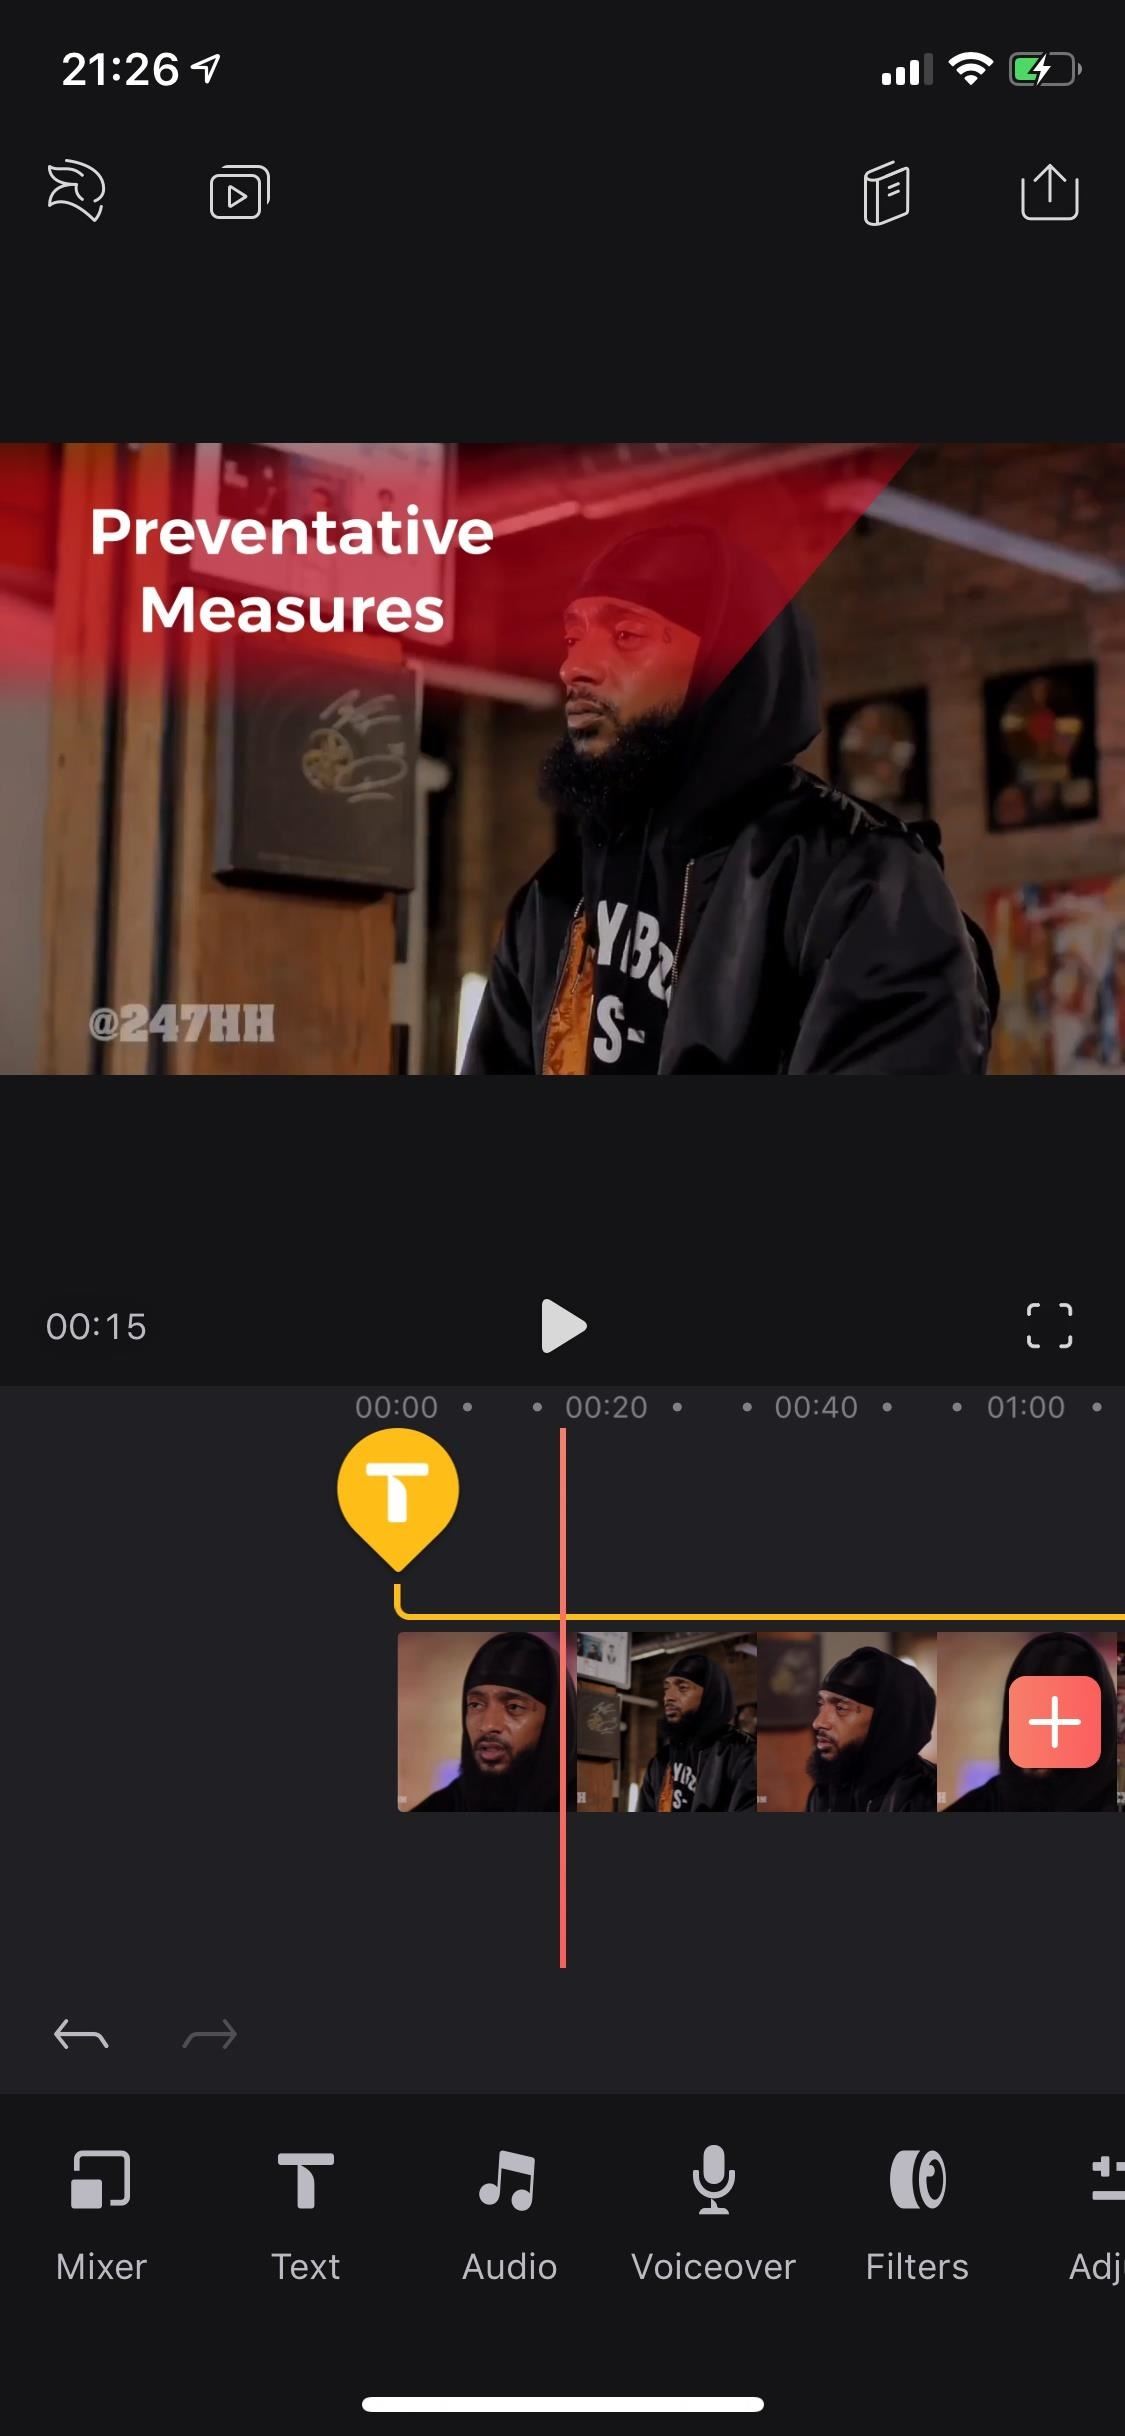
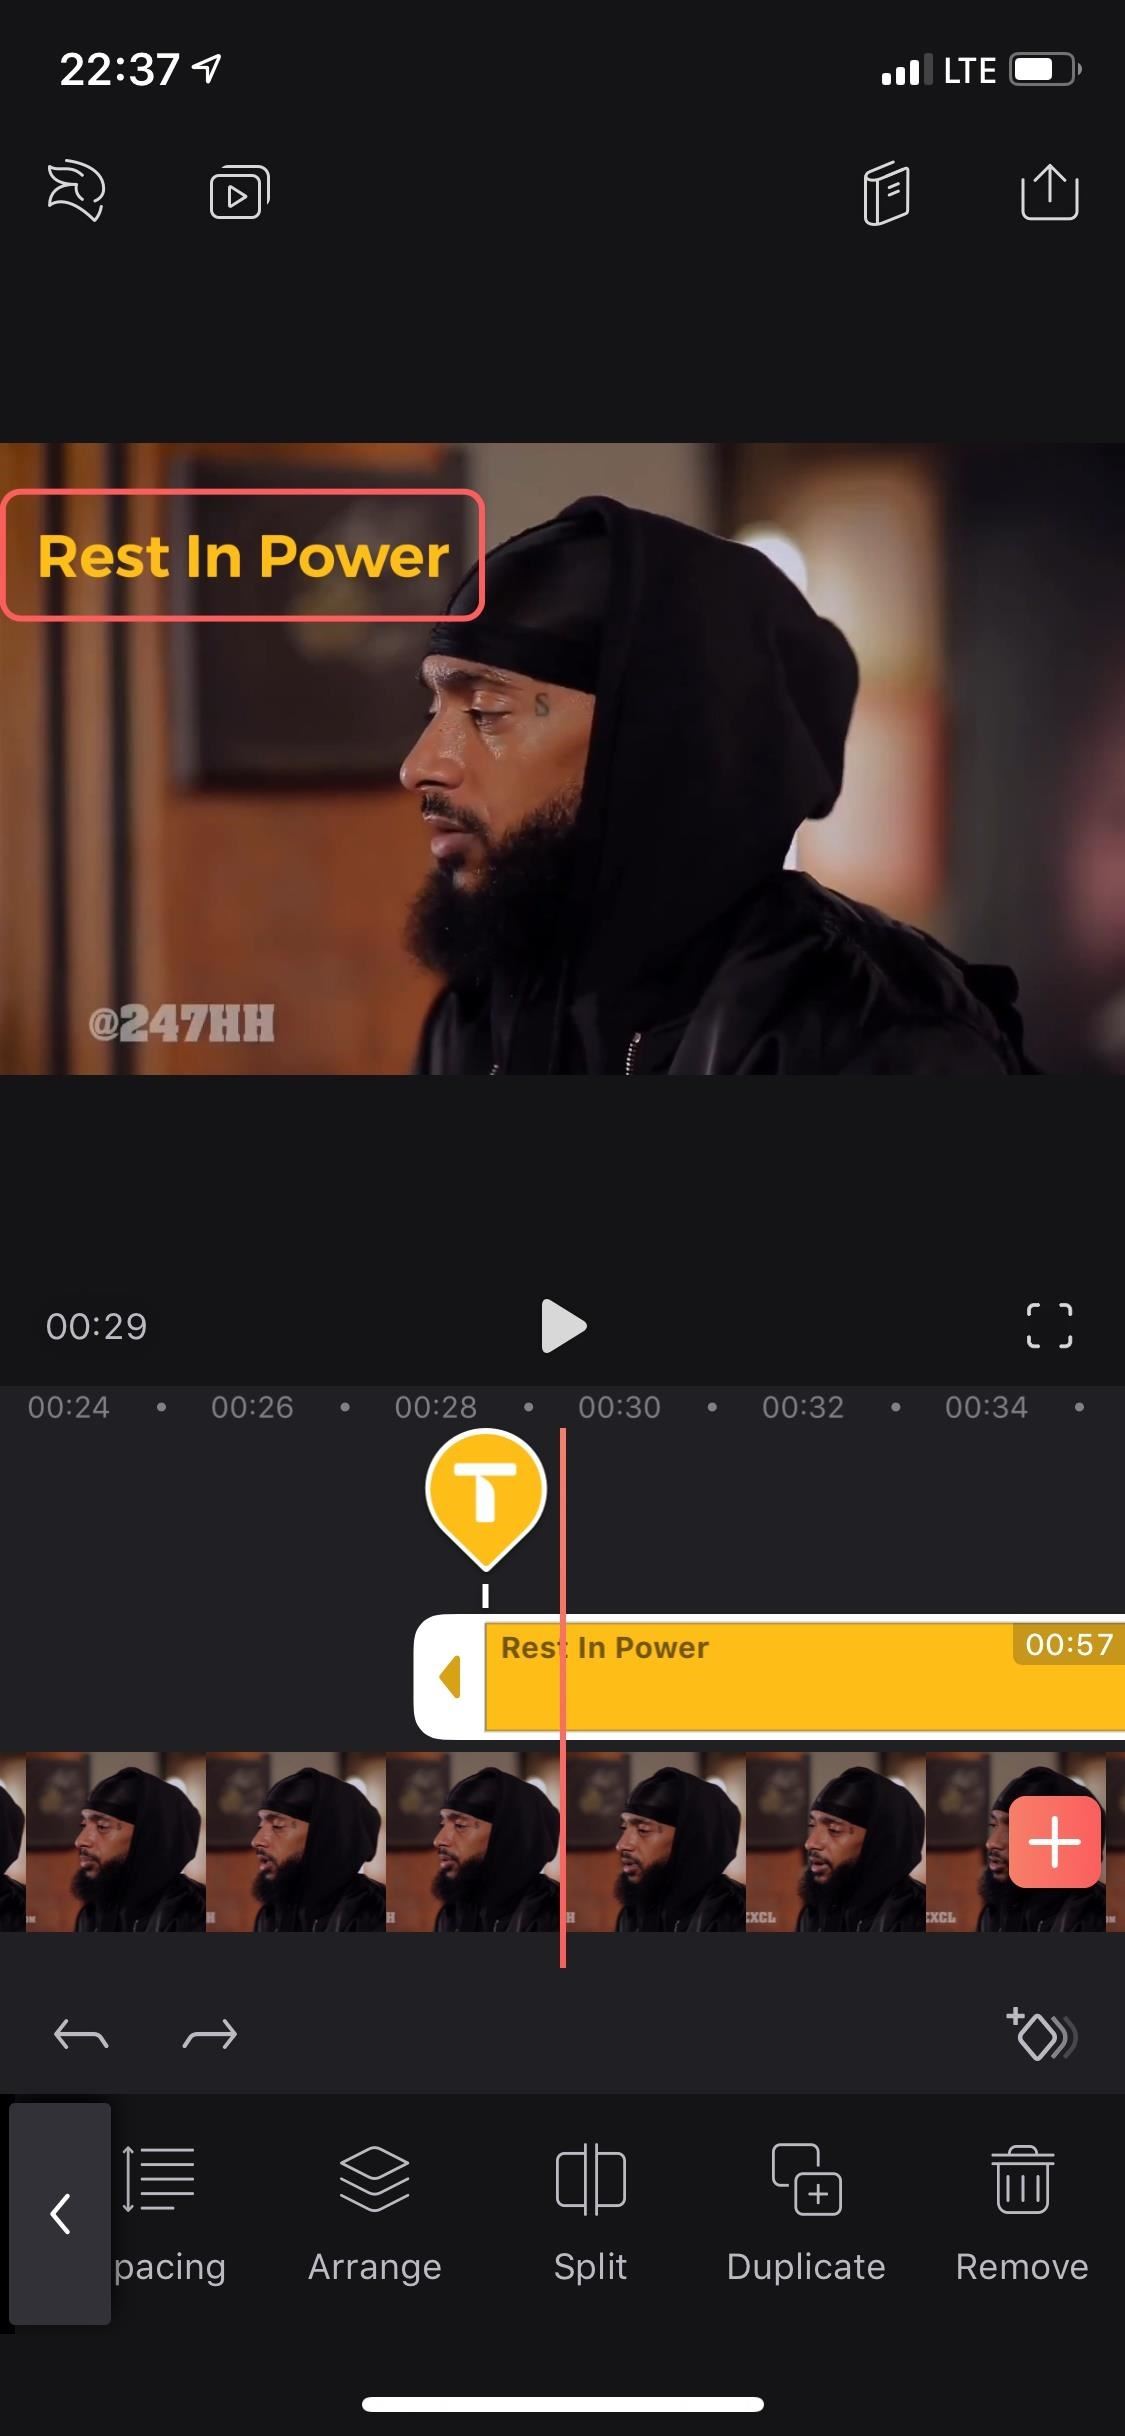
Without any video clips highlighted, motility the playhead to where you want the text to start (yous tin always change this later, of course), and so tap on "Text" button in the toolbar. This will add a new layer on top of any video below information technology (or empty area, if you desire a blackness background), and a text box will appear in the preview.
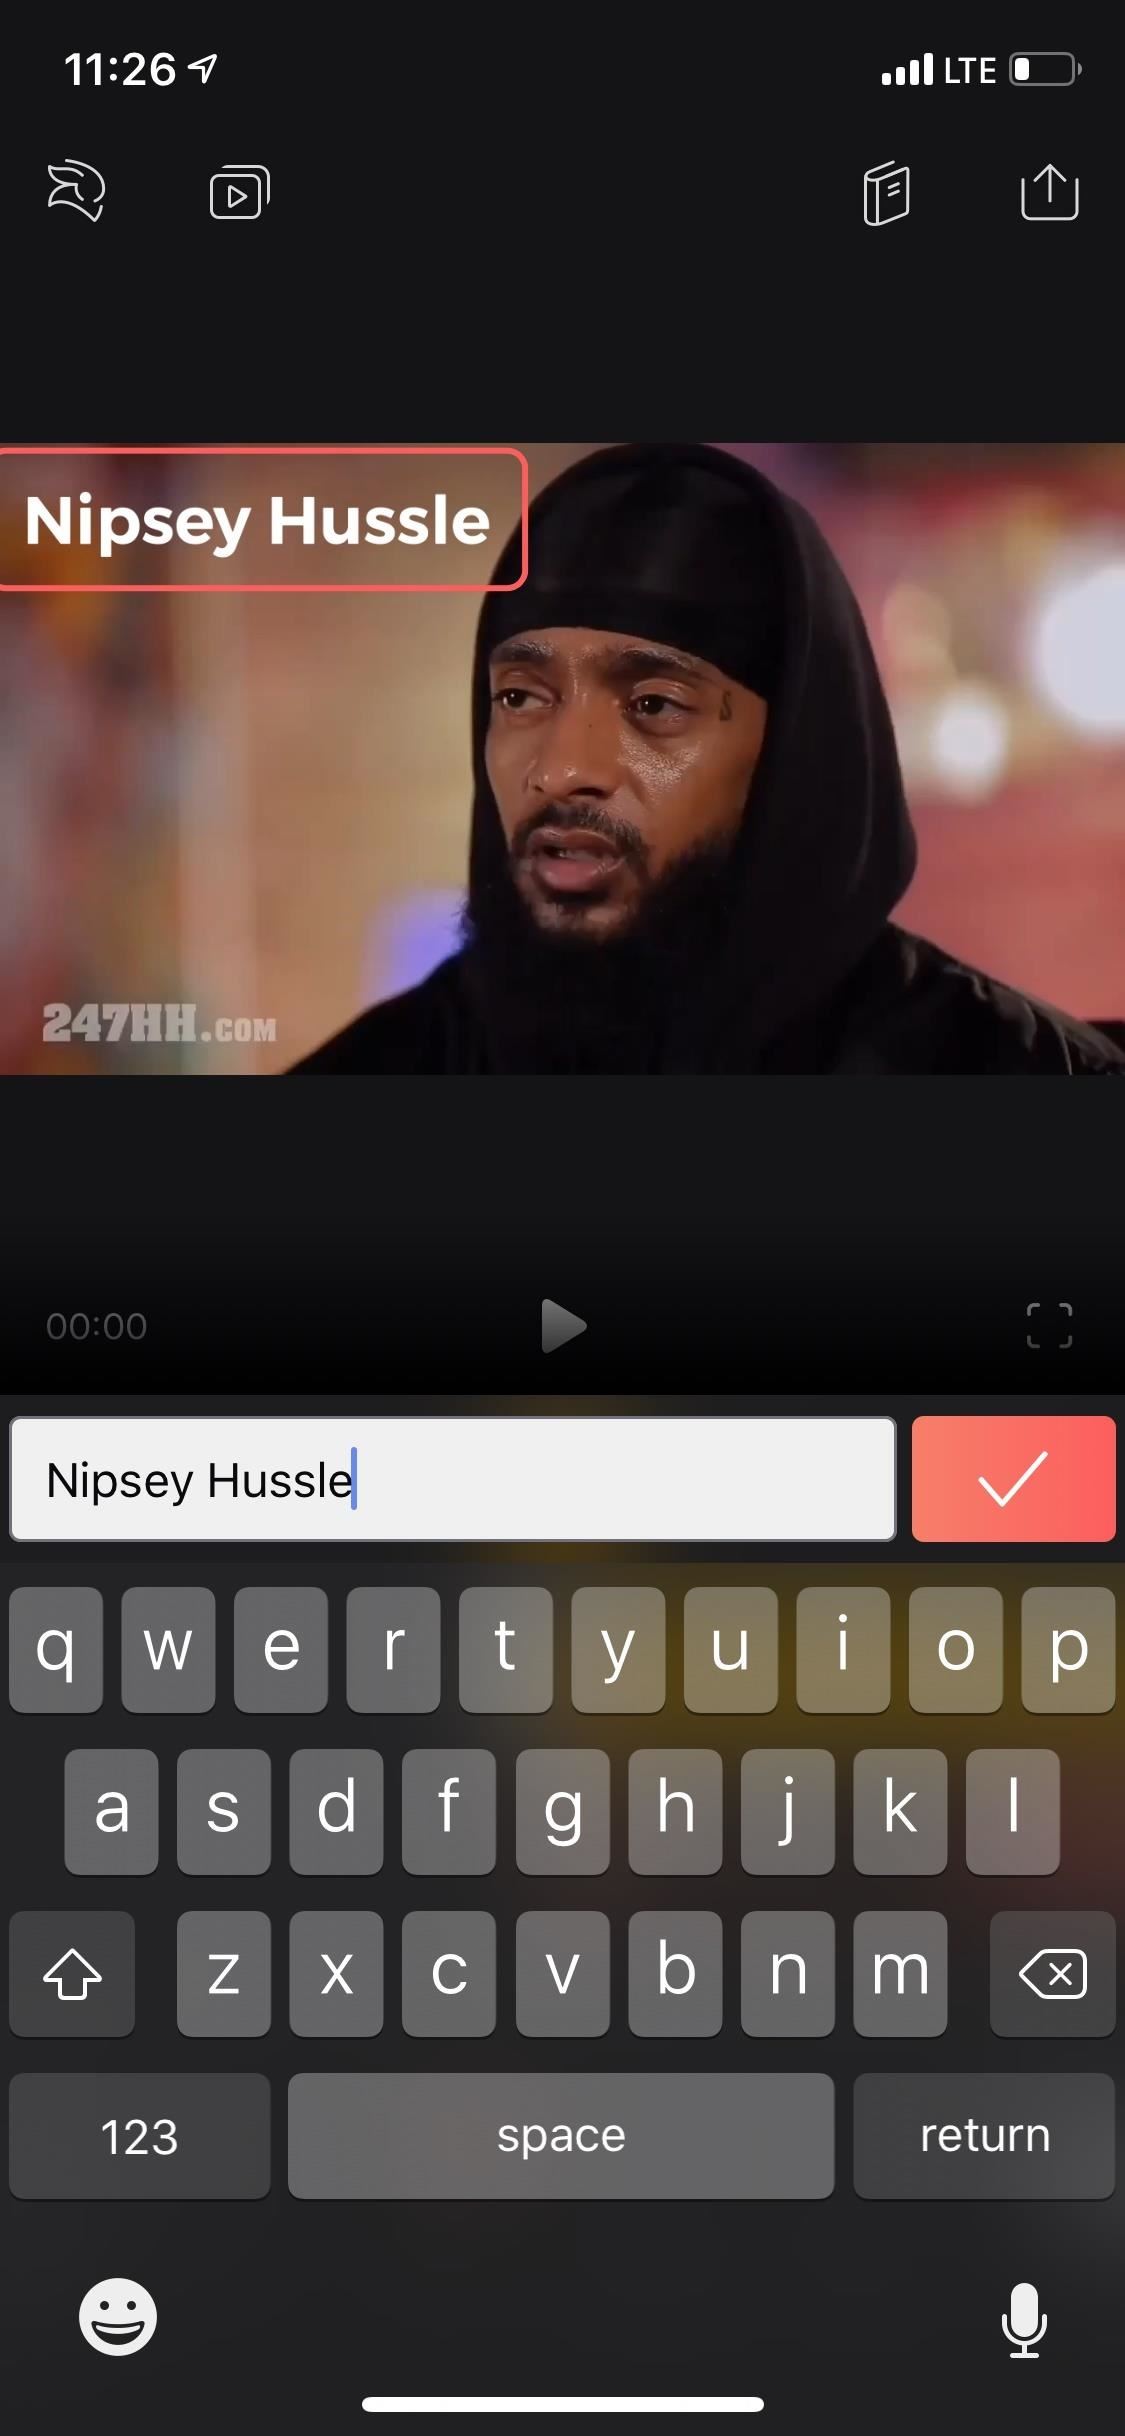
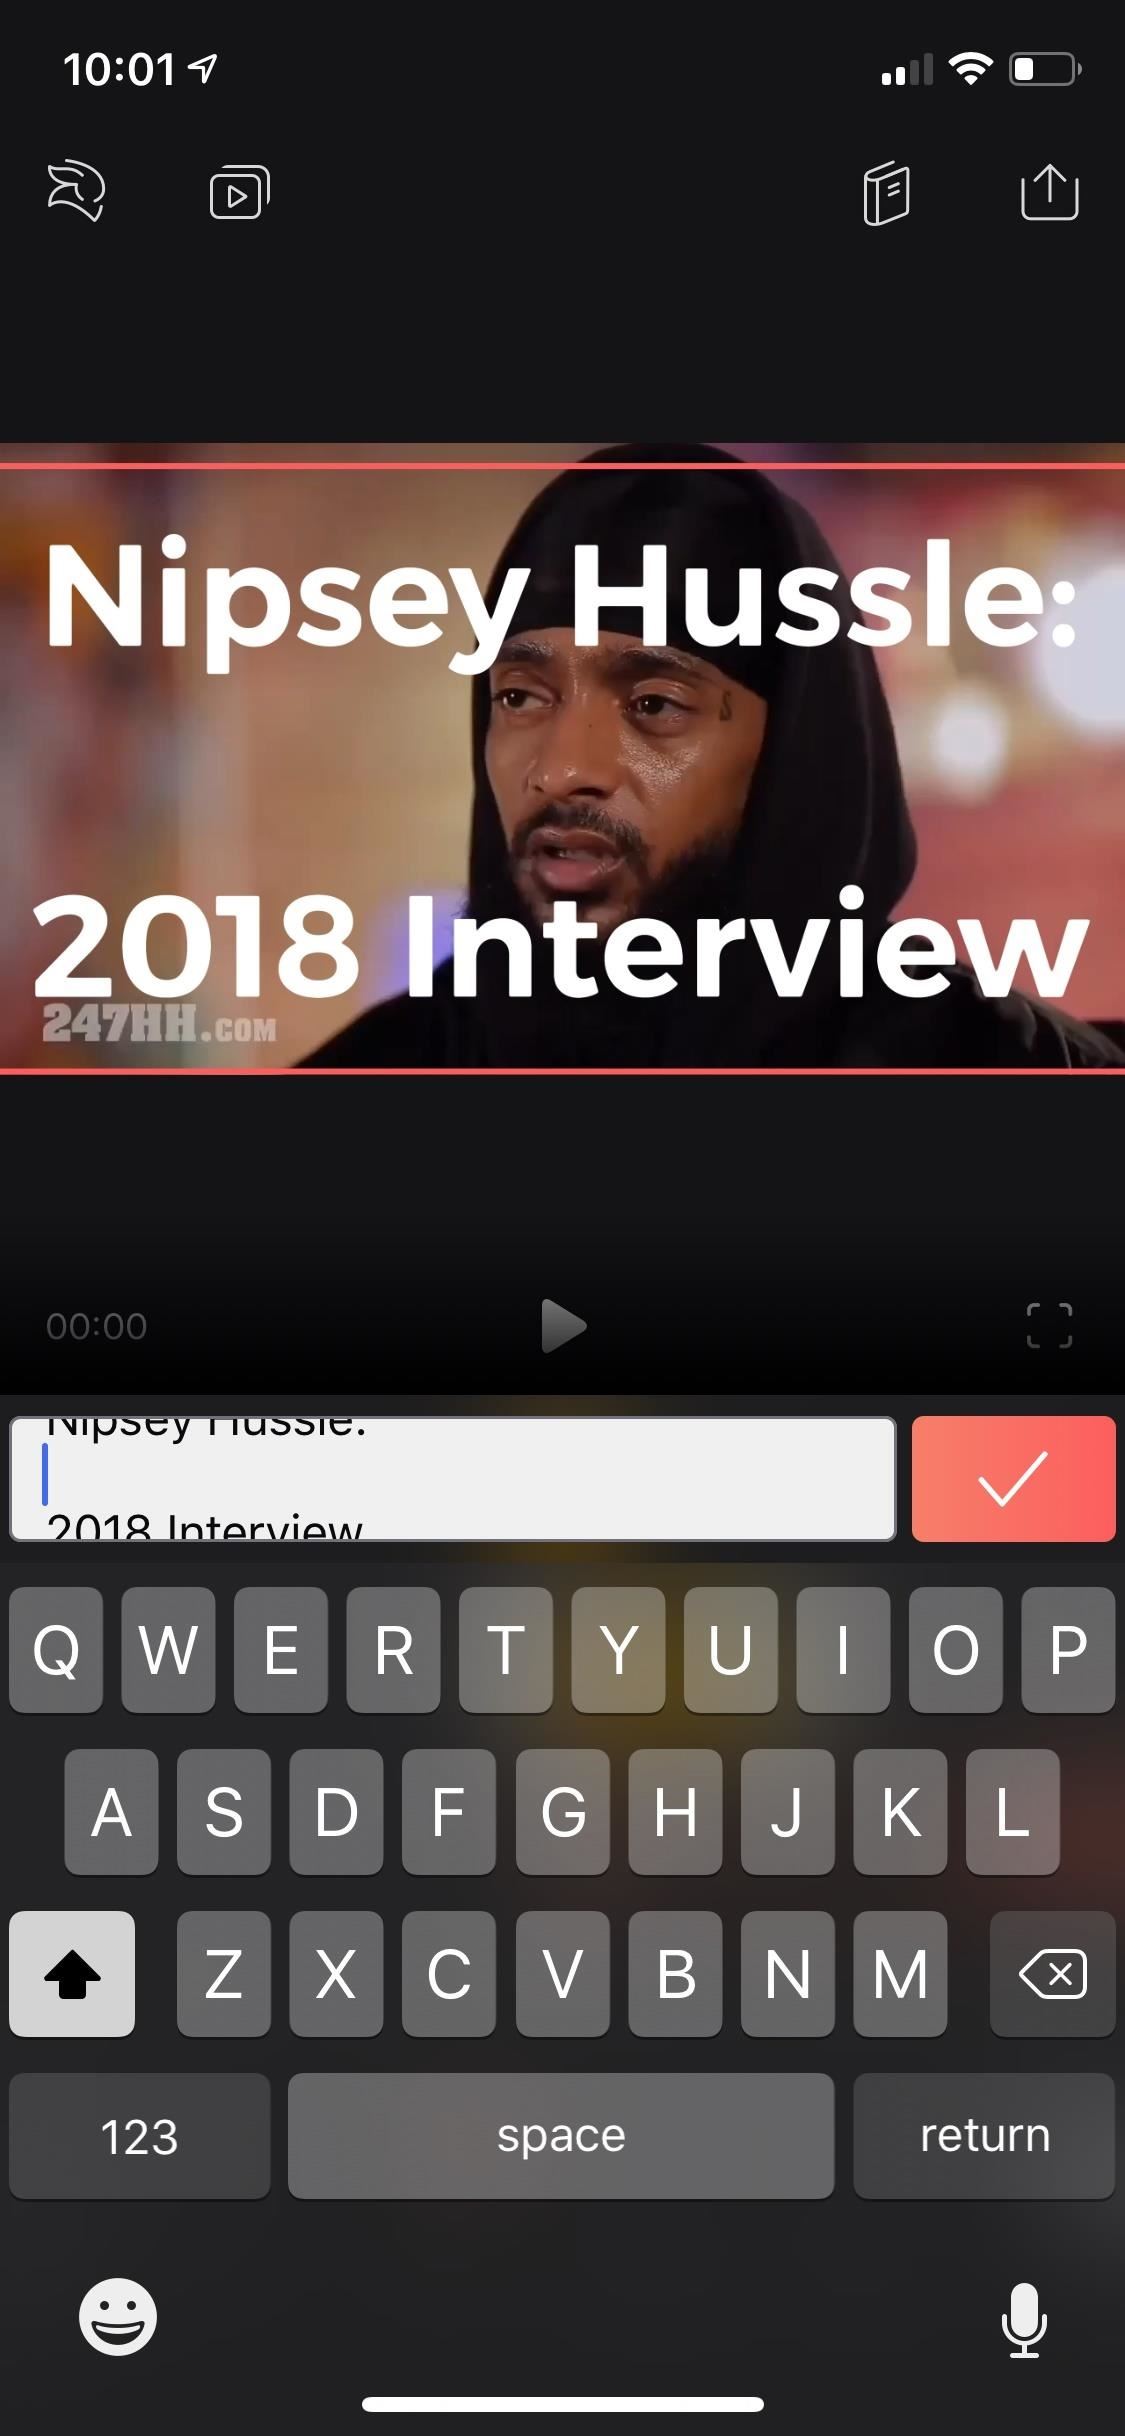
To add text, practice what it says and double-tap in the box to bring up your keyboard. Blazon in whatever it is that you need or want to appear overlayed on the video. Employ the return key to create a line break if needed. Tap on the check marker or anywhere exterior of the text box to save the text.
Now, y'all tin position the text to where it looks all-time. Tap-and-concord on the text box, so drag it to where you desire it. To angle the text, plough it sideways, or get in upside-down, place i finger near the outside of the box and another finger opposite it on the other side, and so plough your fingers until it's situated like yous want. To make increase or decrease the size, pinch out or pinch in, respectively.
Stride ii: Customize the Overlayed Text
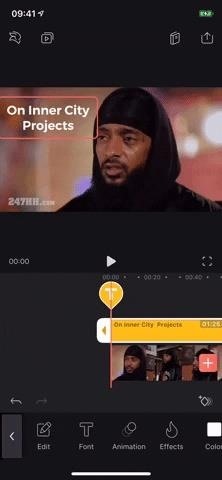
There are over a dozen tools that you can employ to customize the expect and experience of the text in your videos. We'll go through each i below so yous see how they work. To find these tools, simply brand sure the text layer is highlighted (the layer will have a white border the text box a red border).
1. Change Your Text'due south Font Fashion
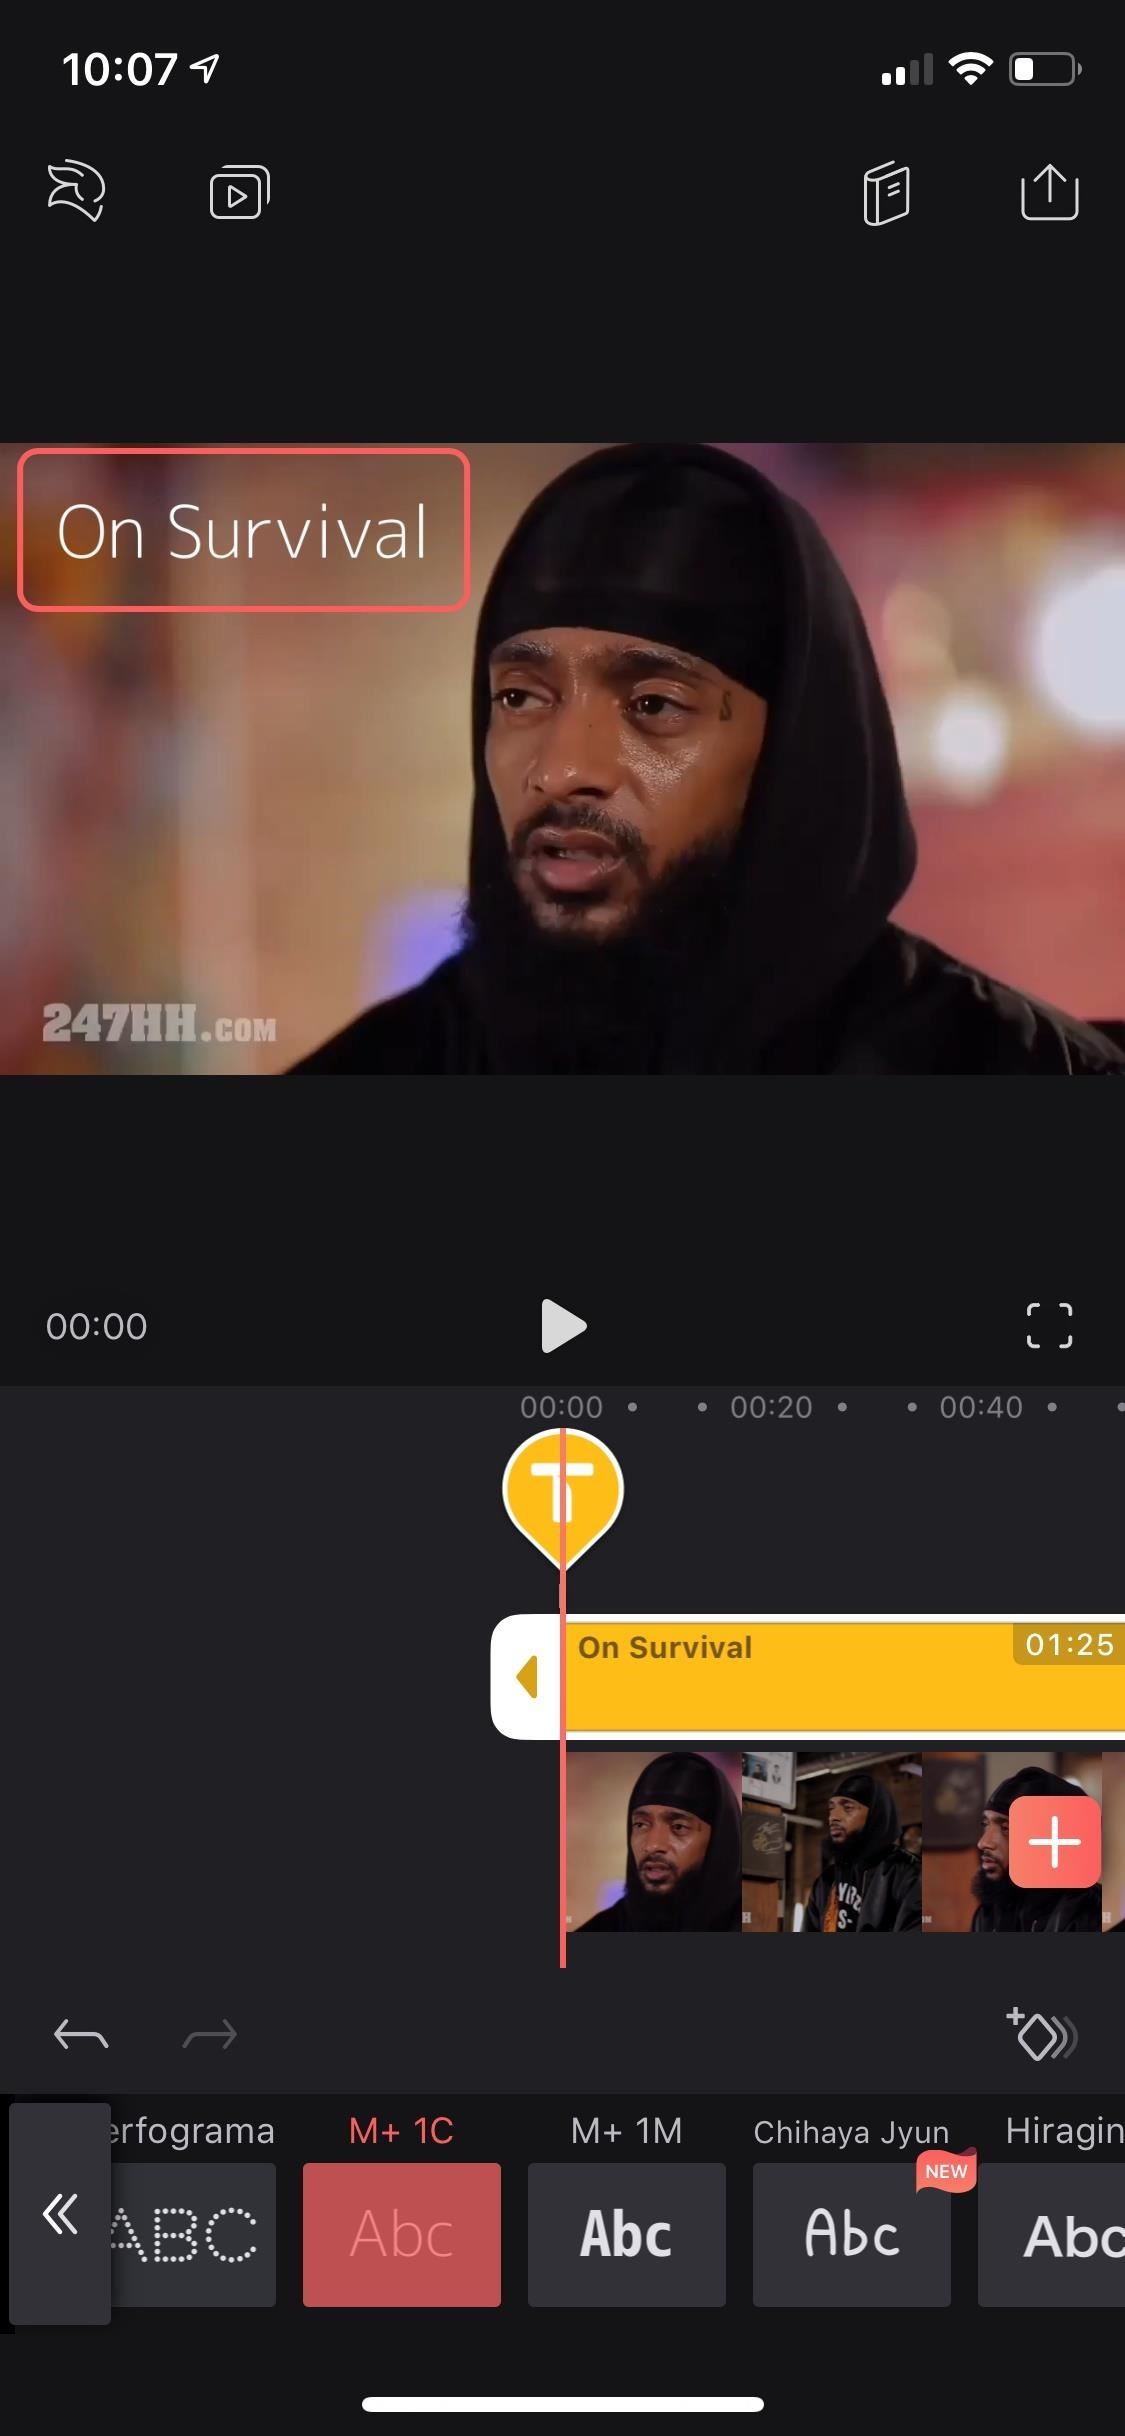
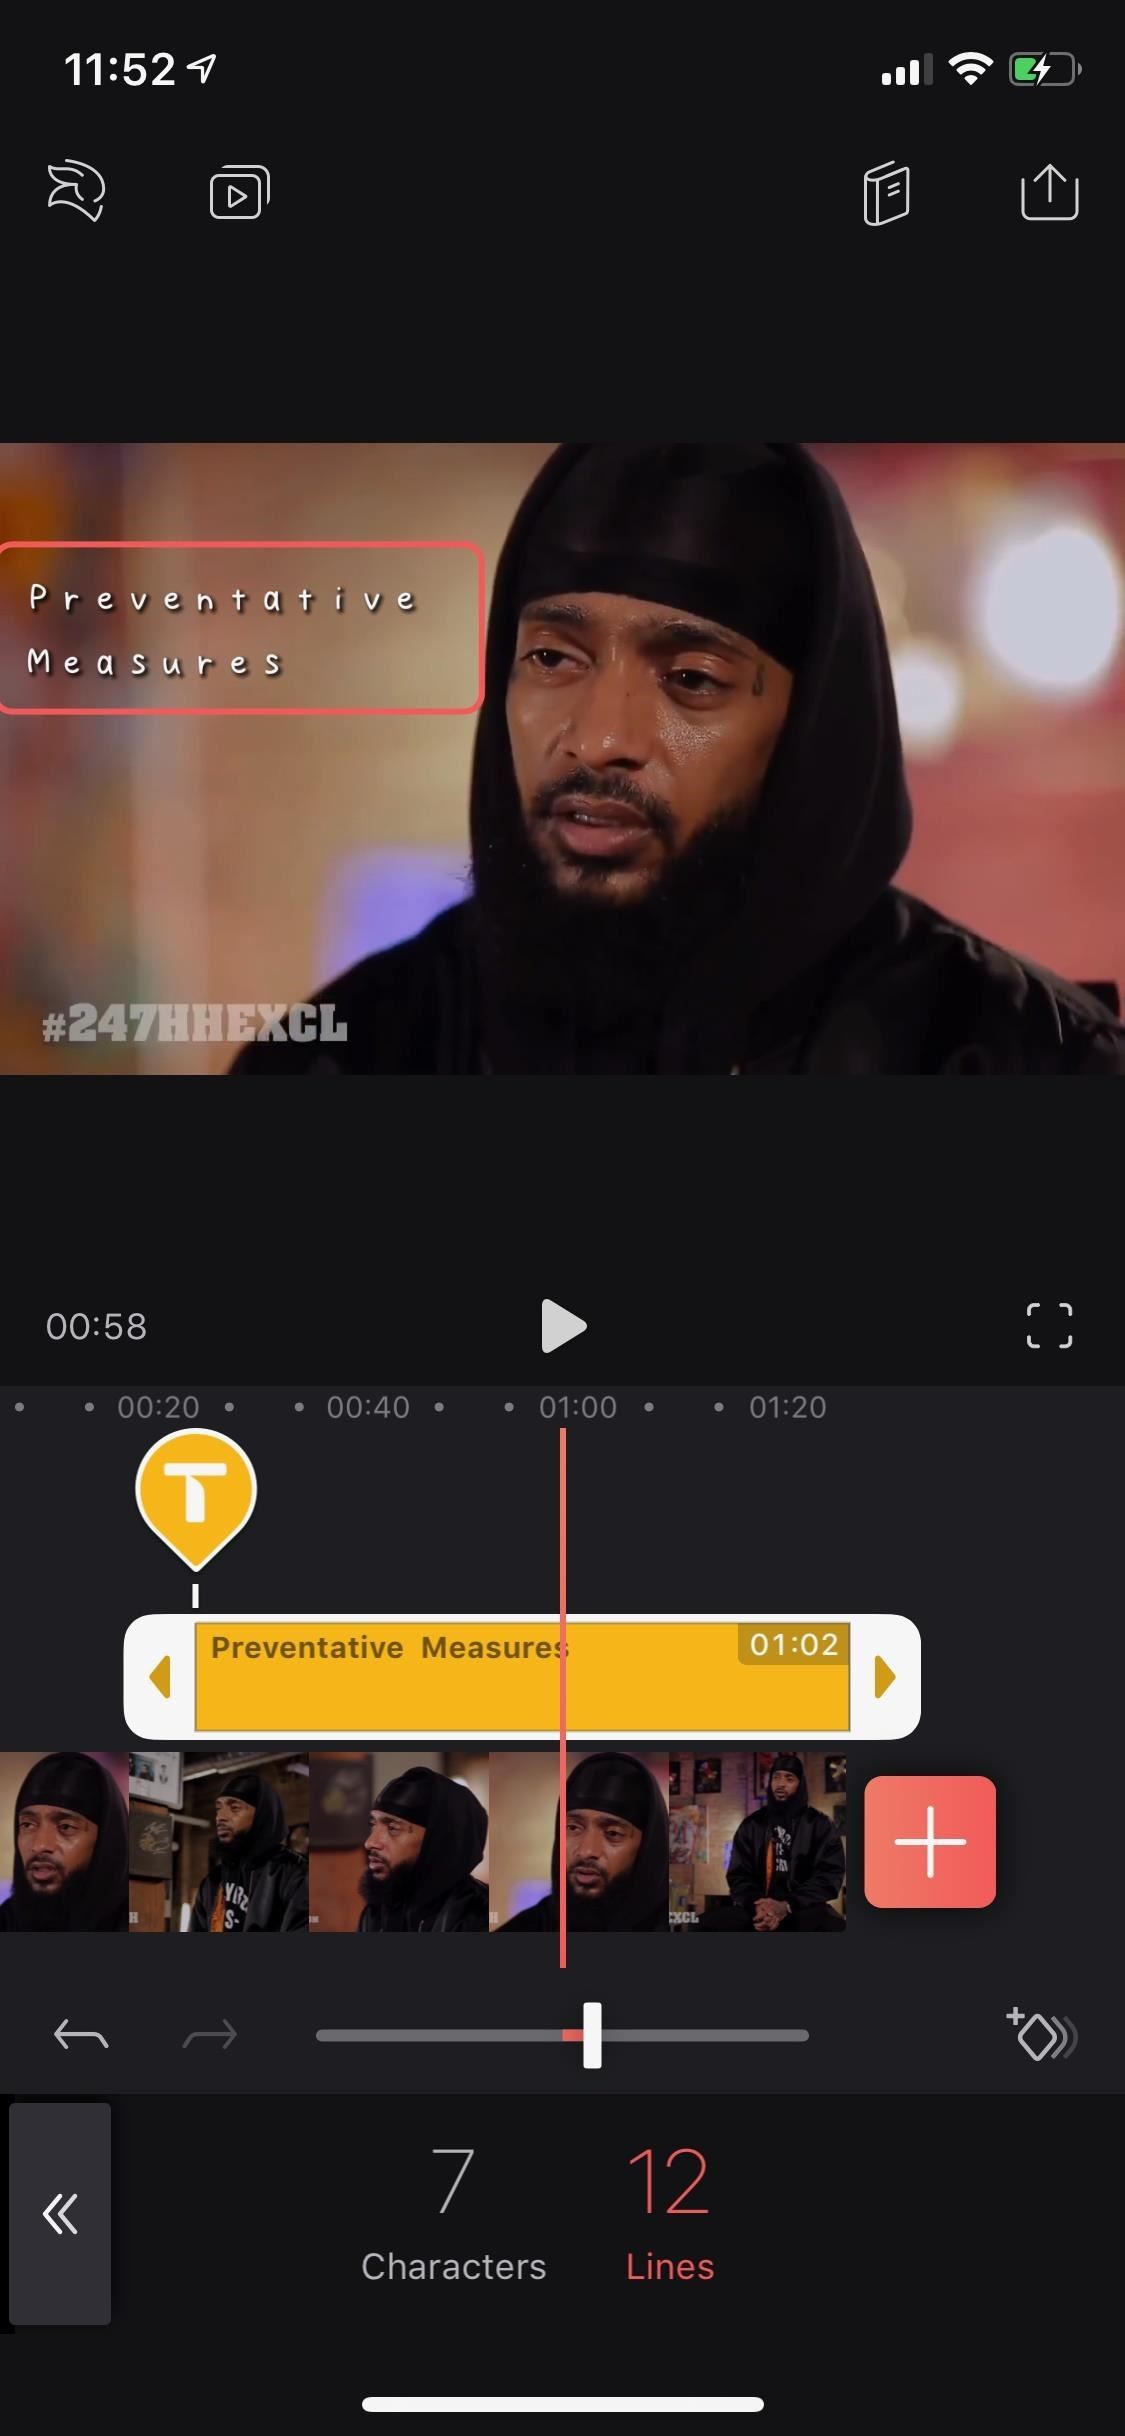
The first particular in the text toolbar is "Font," a contempo addition to Videoleap, which includes over 35 different styles such as Open up Sans, Script, and Gothic. Each font has unlike spacing and sizes, so you lot'll take to modify the size and position of the text box equally described in Step one to have information technology fit on the screen where you want.
2. Add together Transitions & Animations
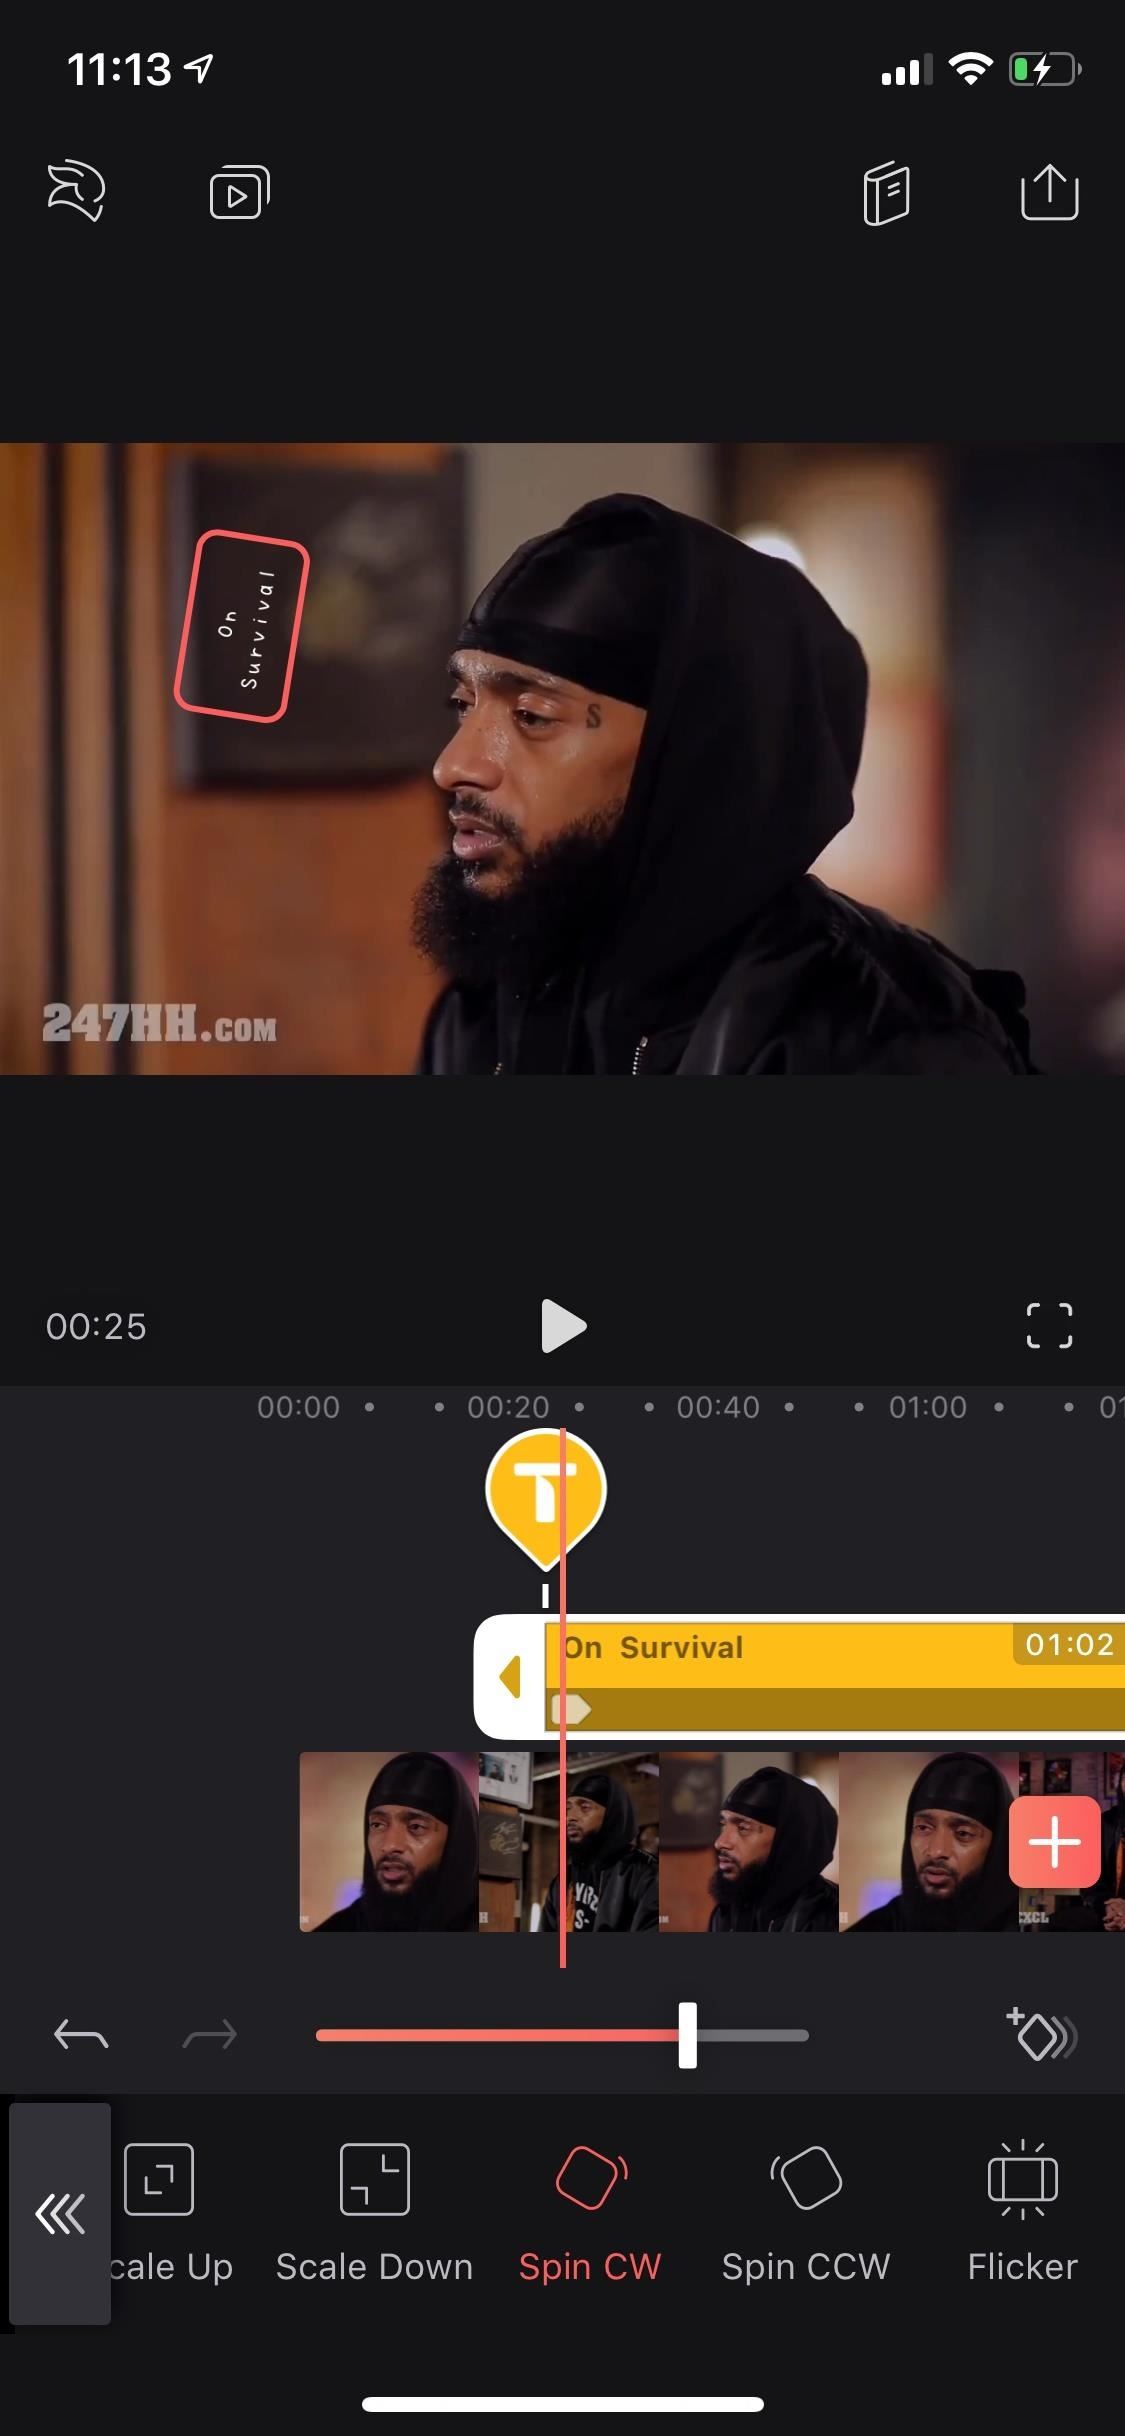
The side by side tool is "Blitheness," which is a scrap more extensive than the rest. With it, you lot can add a showtime transition or ending transition, too as an animated effect to the whole unabridged text layer. Tap on "Animation," select "In," "Overall," or "Out" to choose where y'all want the animation to appear. And information technology's not an either-or situation, you tin can cull furnishings from all three if you want.
The aforementioned animated transitions announced for "In" and "Out," including fade in or out; slide upwards, down, right, or left; calibration up or down; spin clockwise or counterclockwise; and flicker. For the "Overall" animation, y'all can cull from a blinking, pulsing, floating, spinning, or wiggling effects. One time you select ane, slide the marker below the video to either change its length (for transitions) or speed (for overall effects).
three. Add Animated Effects
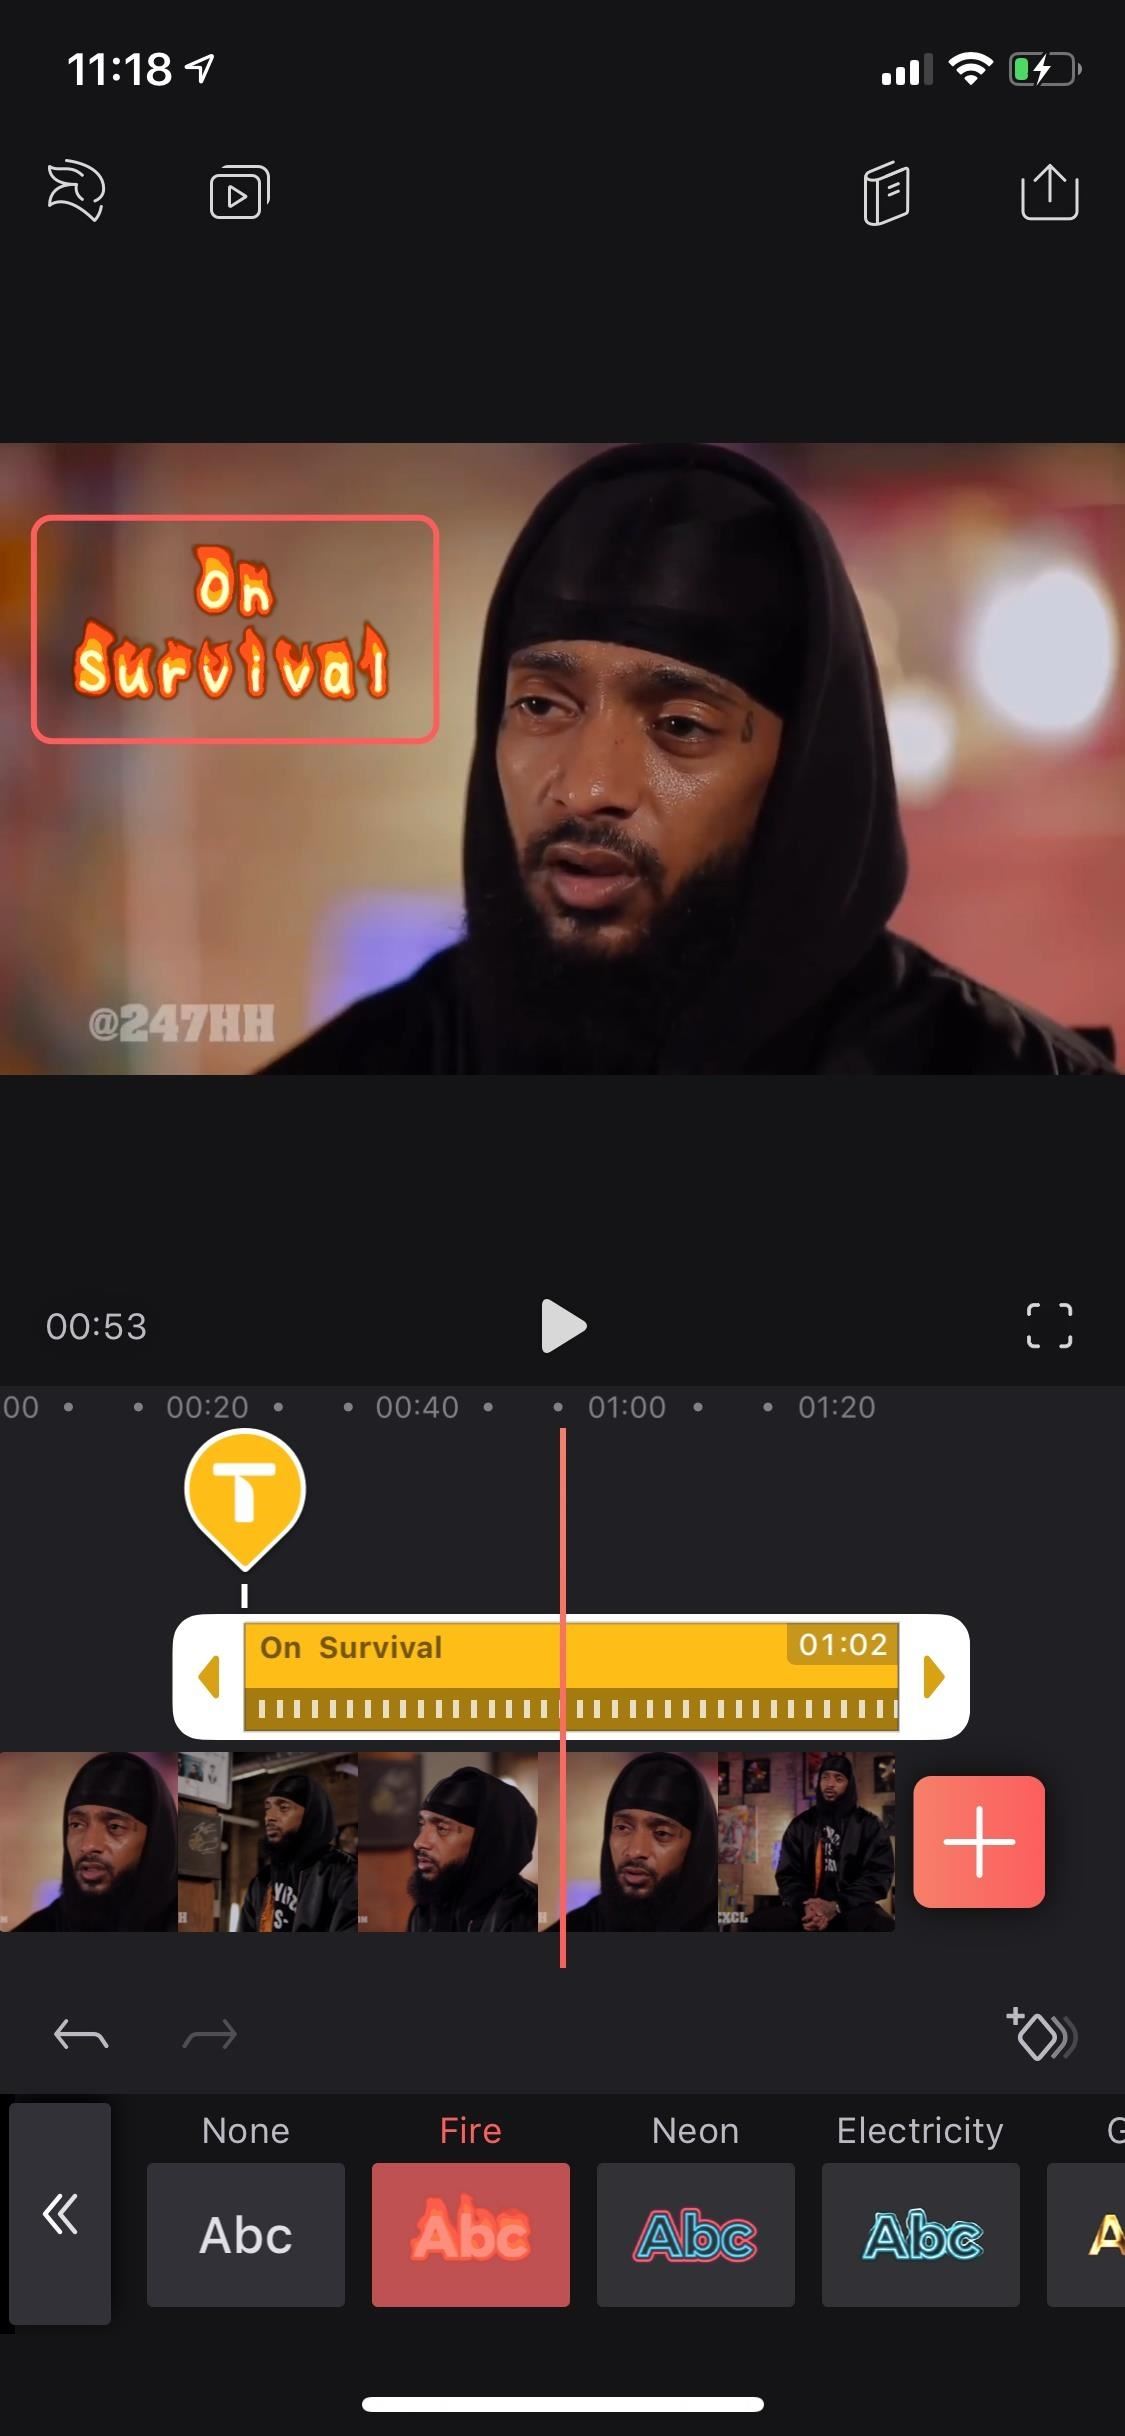
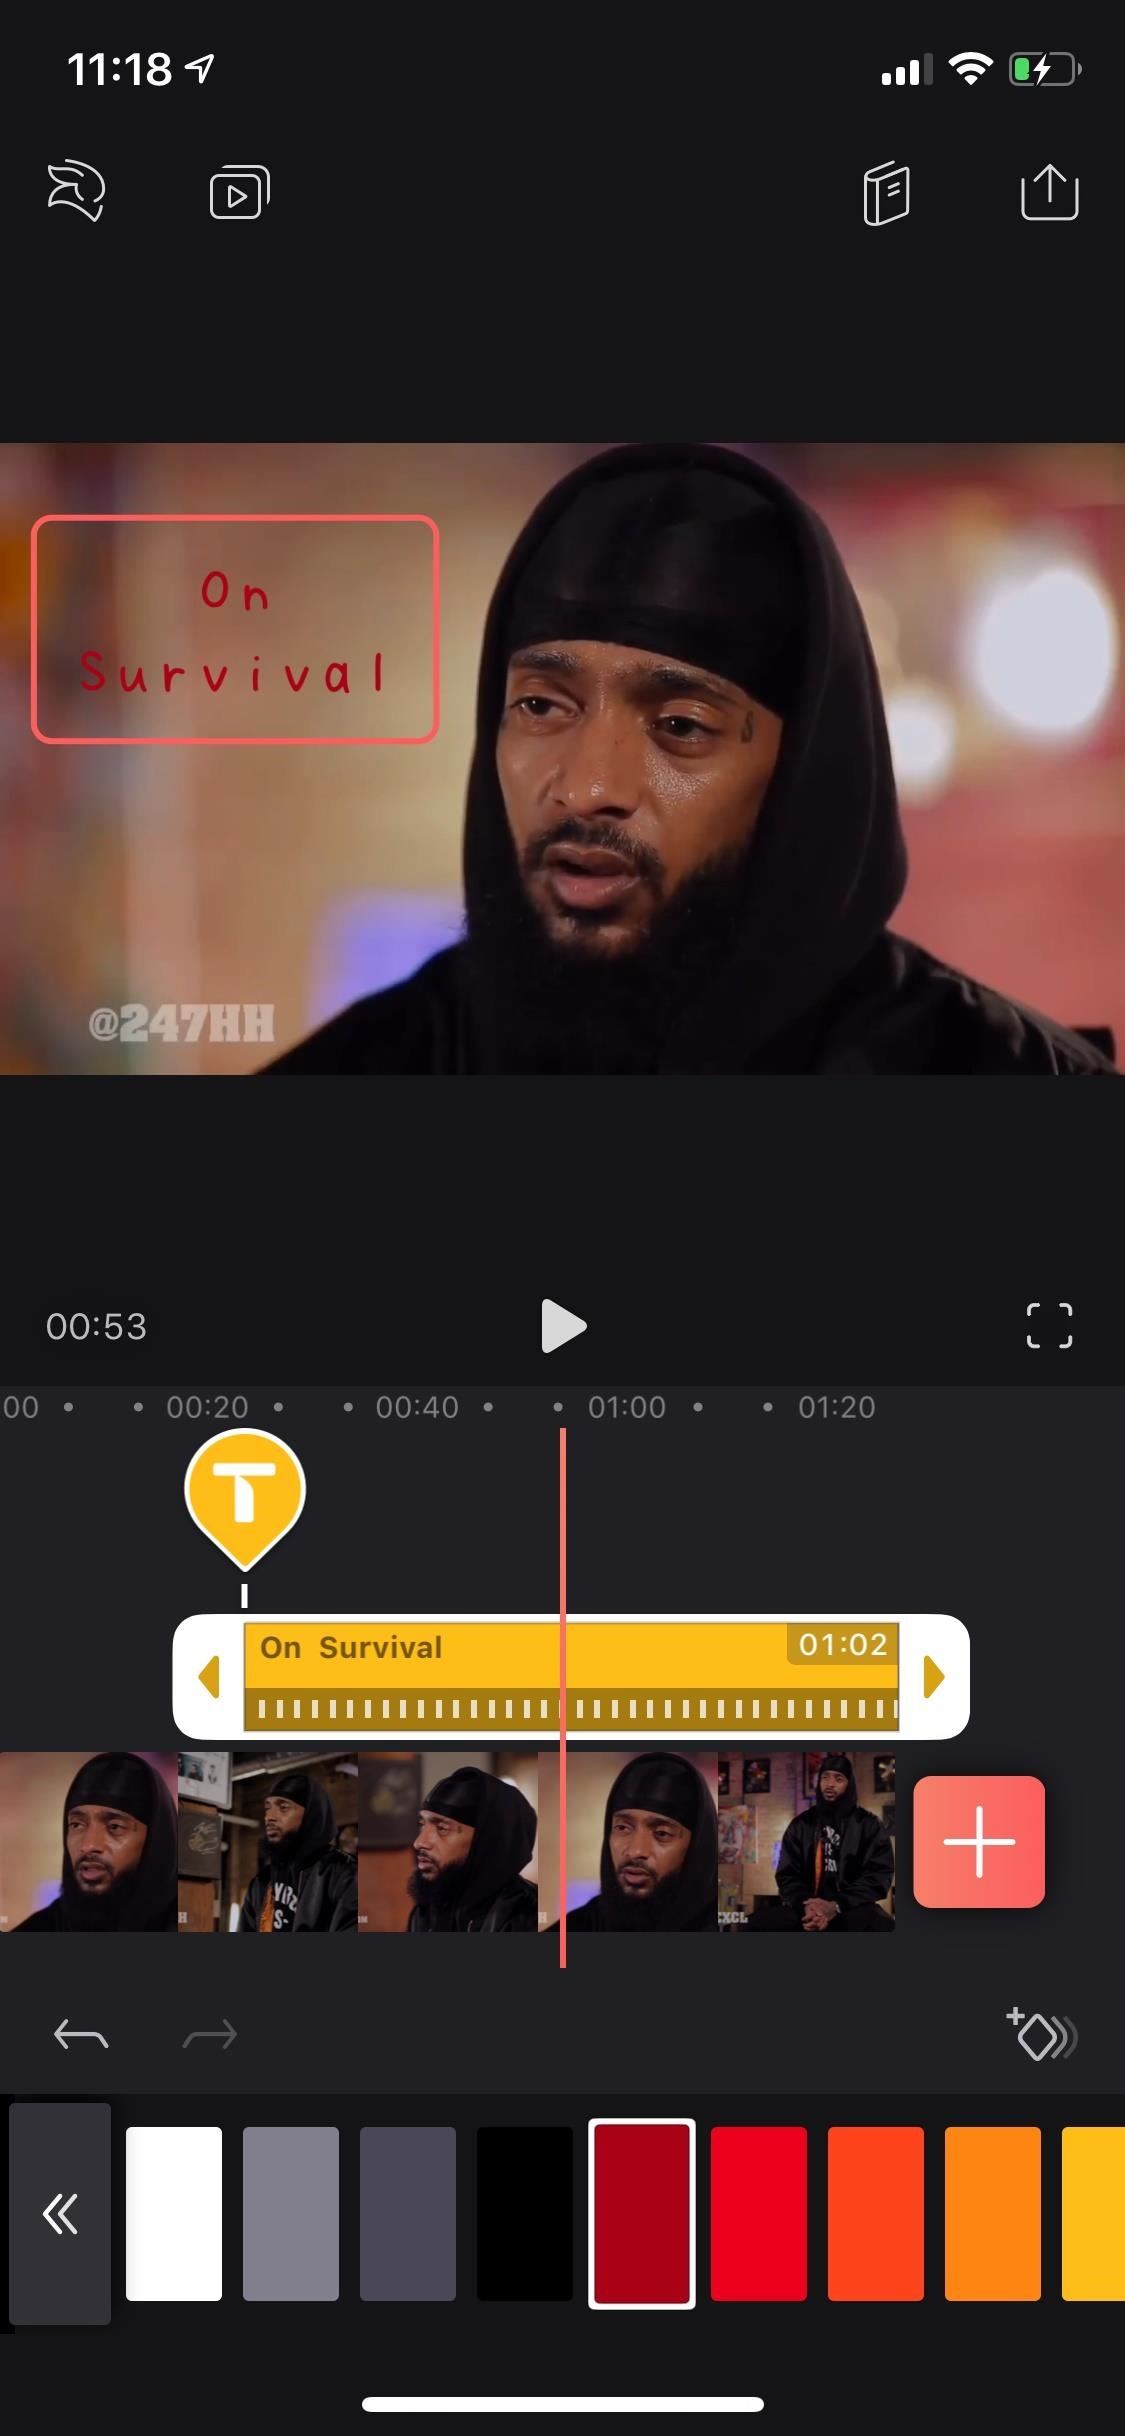
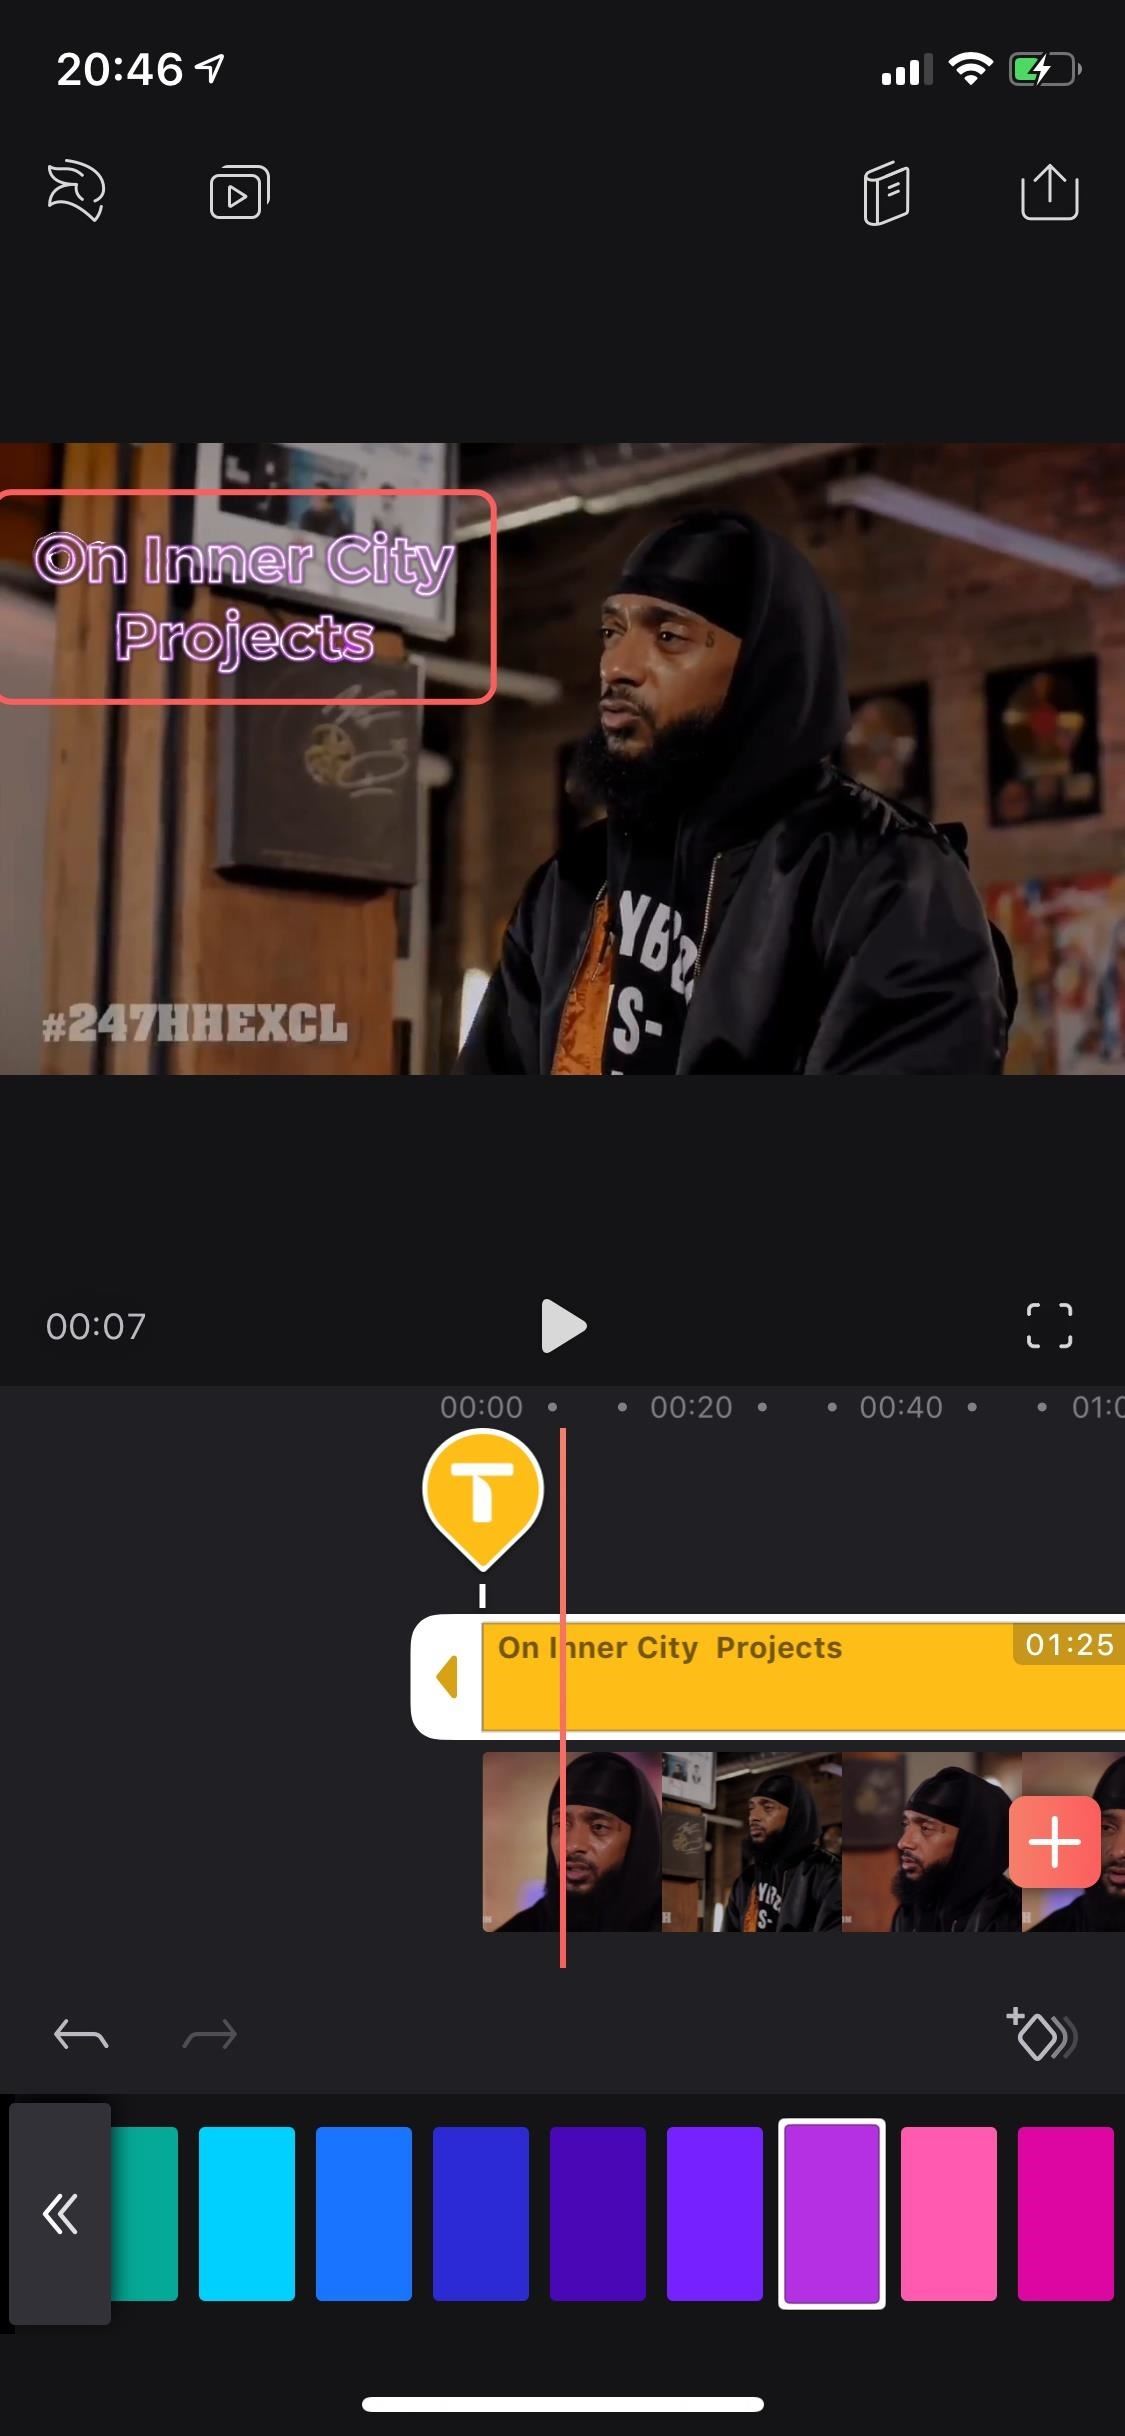
"Effects" lets you choose from six different animated furnishings, including ones that make your text look like it's on burn down, a color-changing neon sign, or wires with electricity flowing through them. As for the other iii effects, they are but included in the pro version of the app, which costs either $five.99 per month, $35.99 per year, or $69.99 for forever.
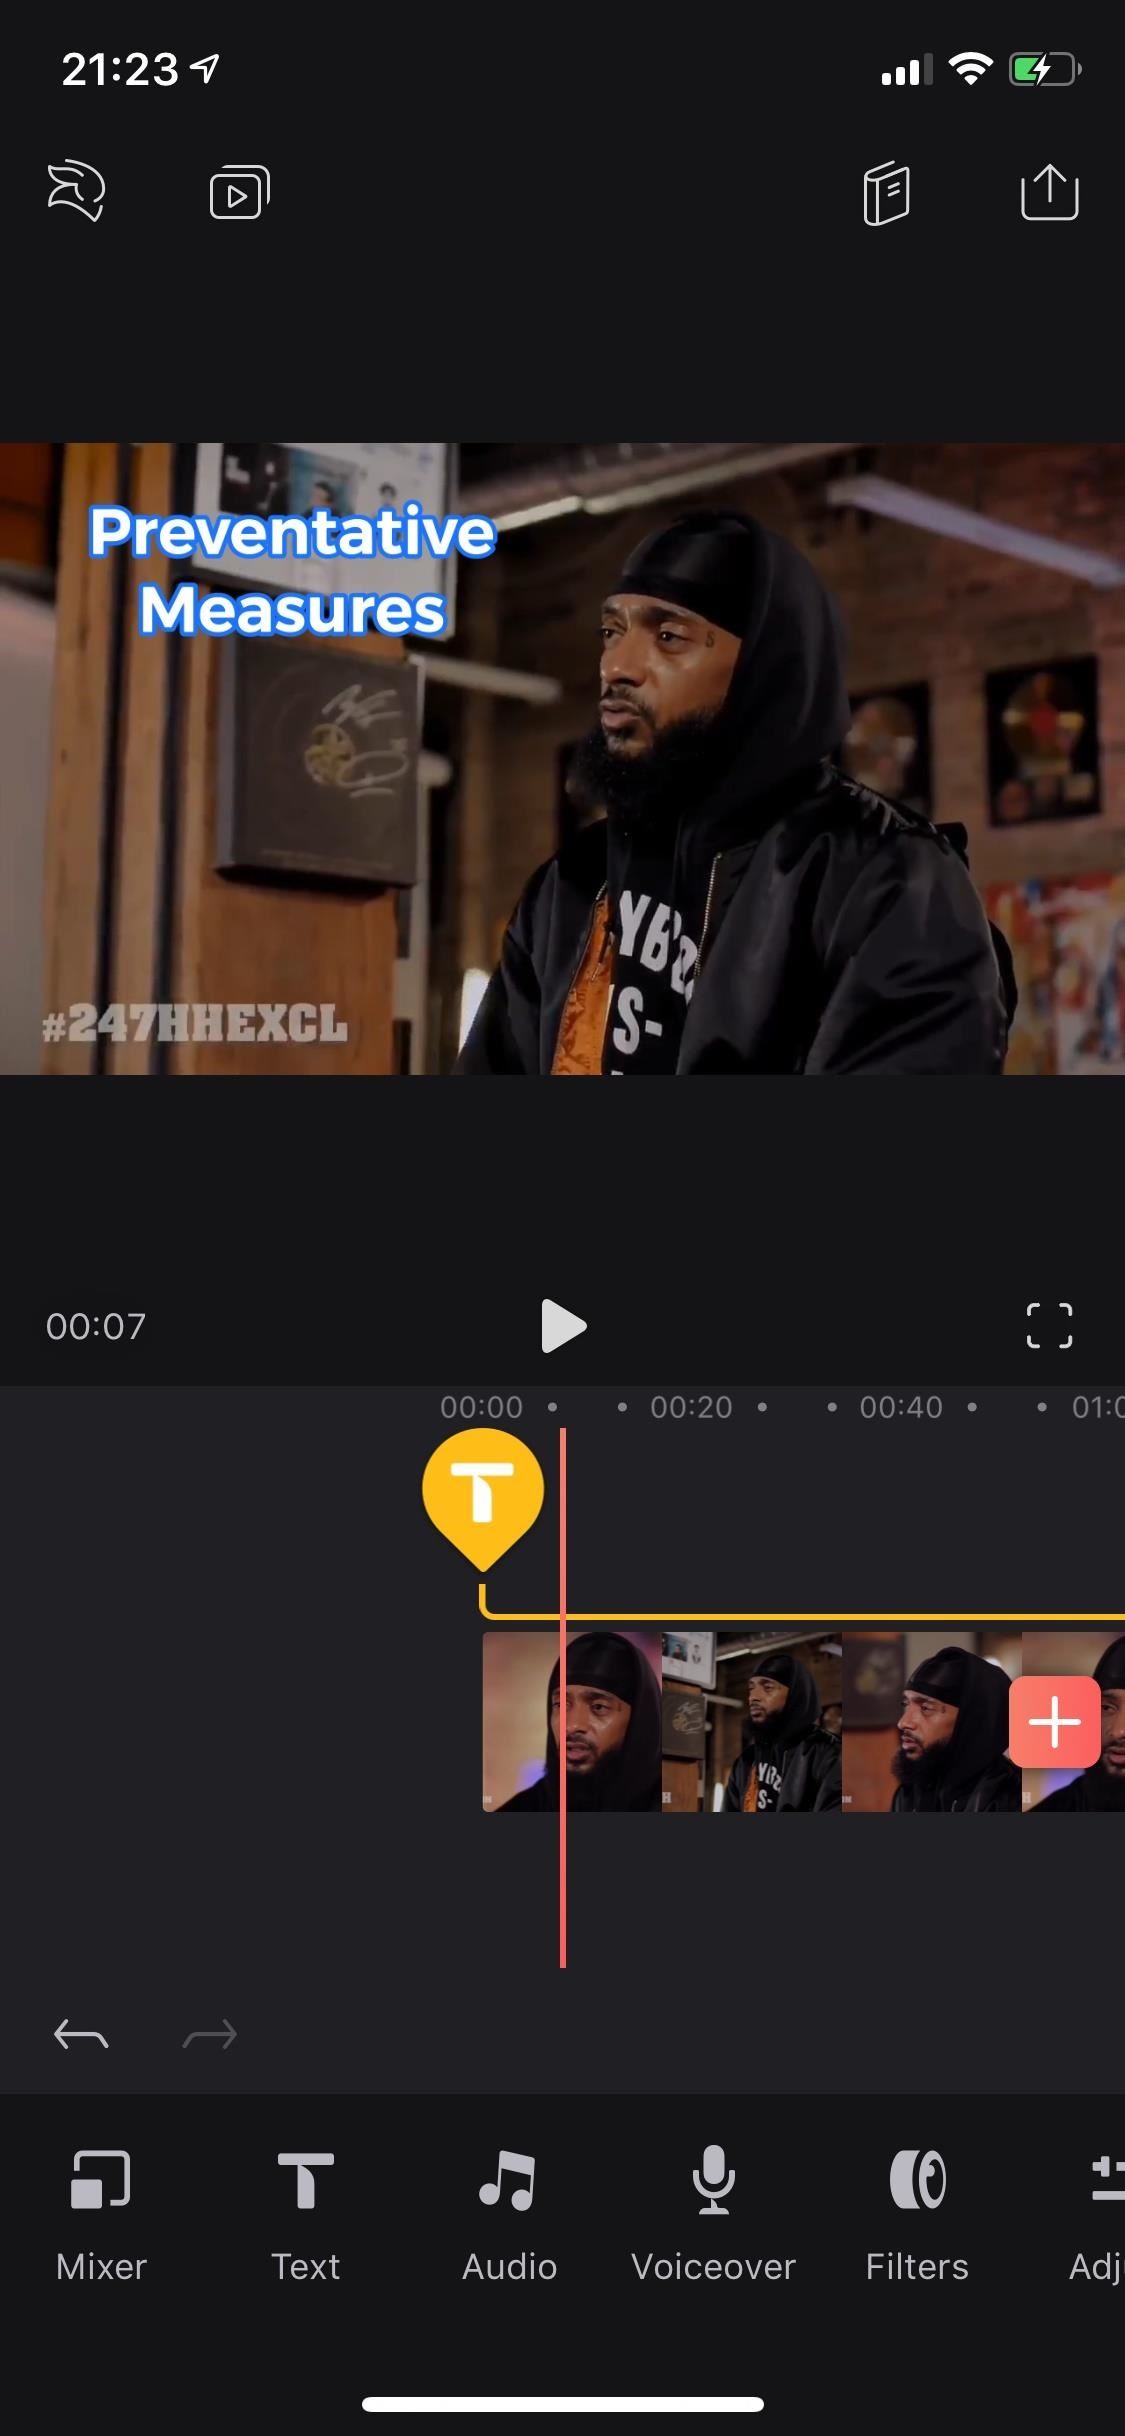
four. Change Your Text's Color
Next in the toolbar is "Colour," which, as you tin imagine, lets you lot change the color of the text — even if it already has an event on it. You accept nearly 30 different colors to cull from, but you tin can't change the color of individual letters or characters in the text box, only as a whole.
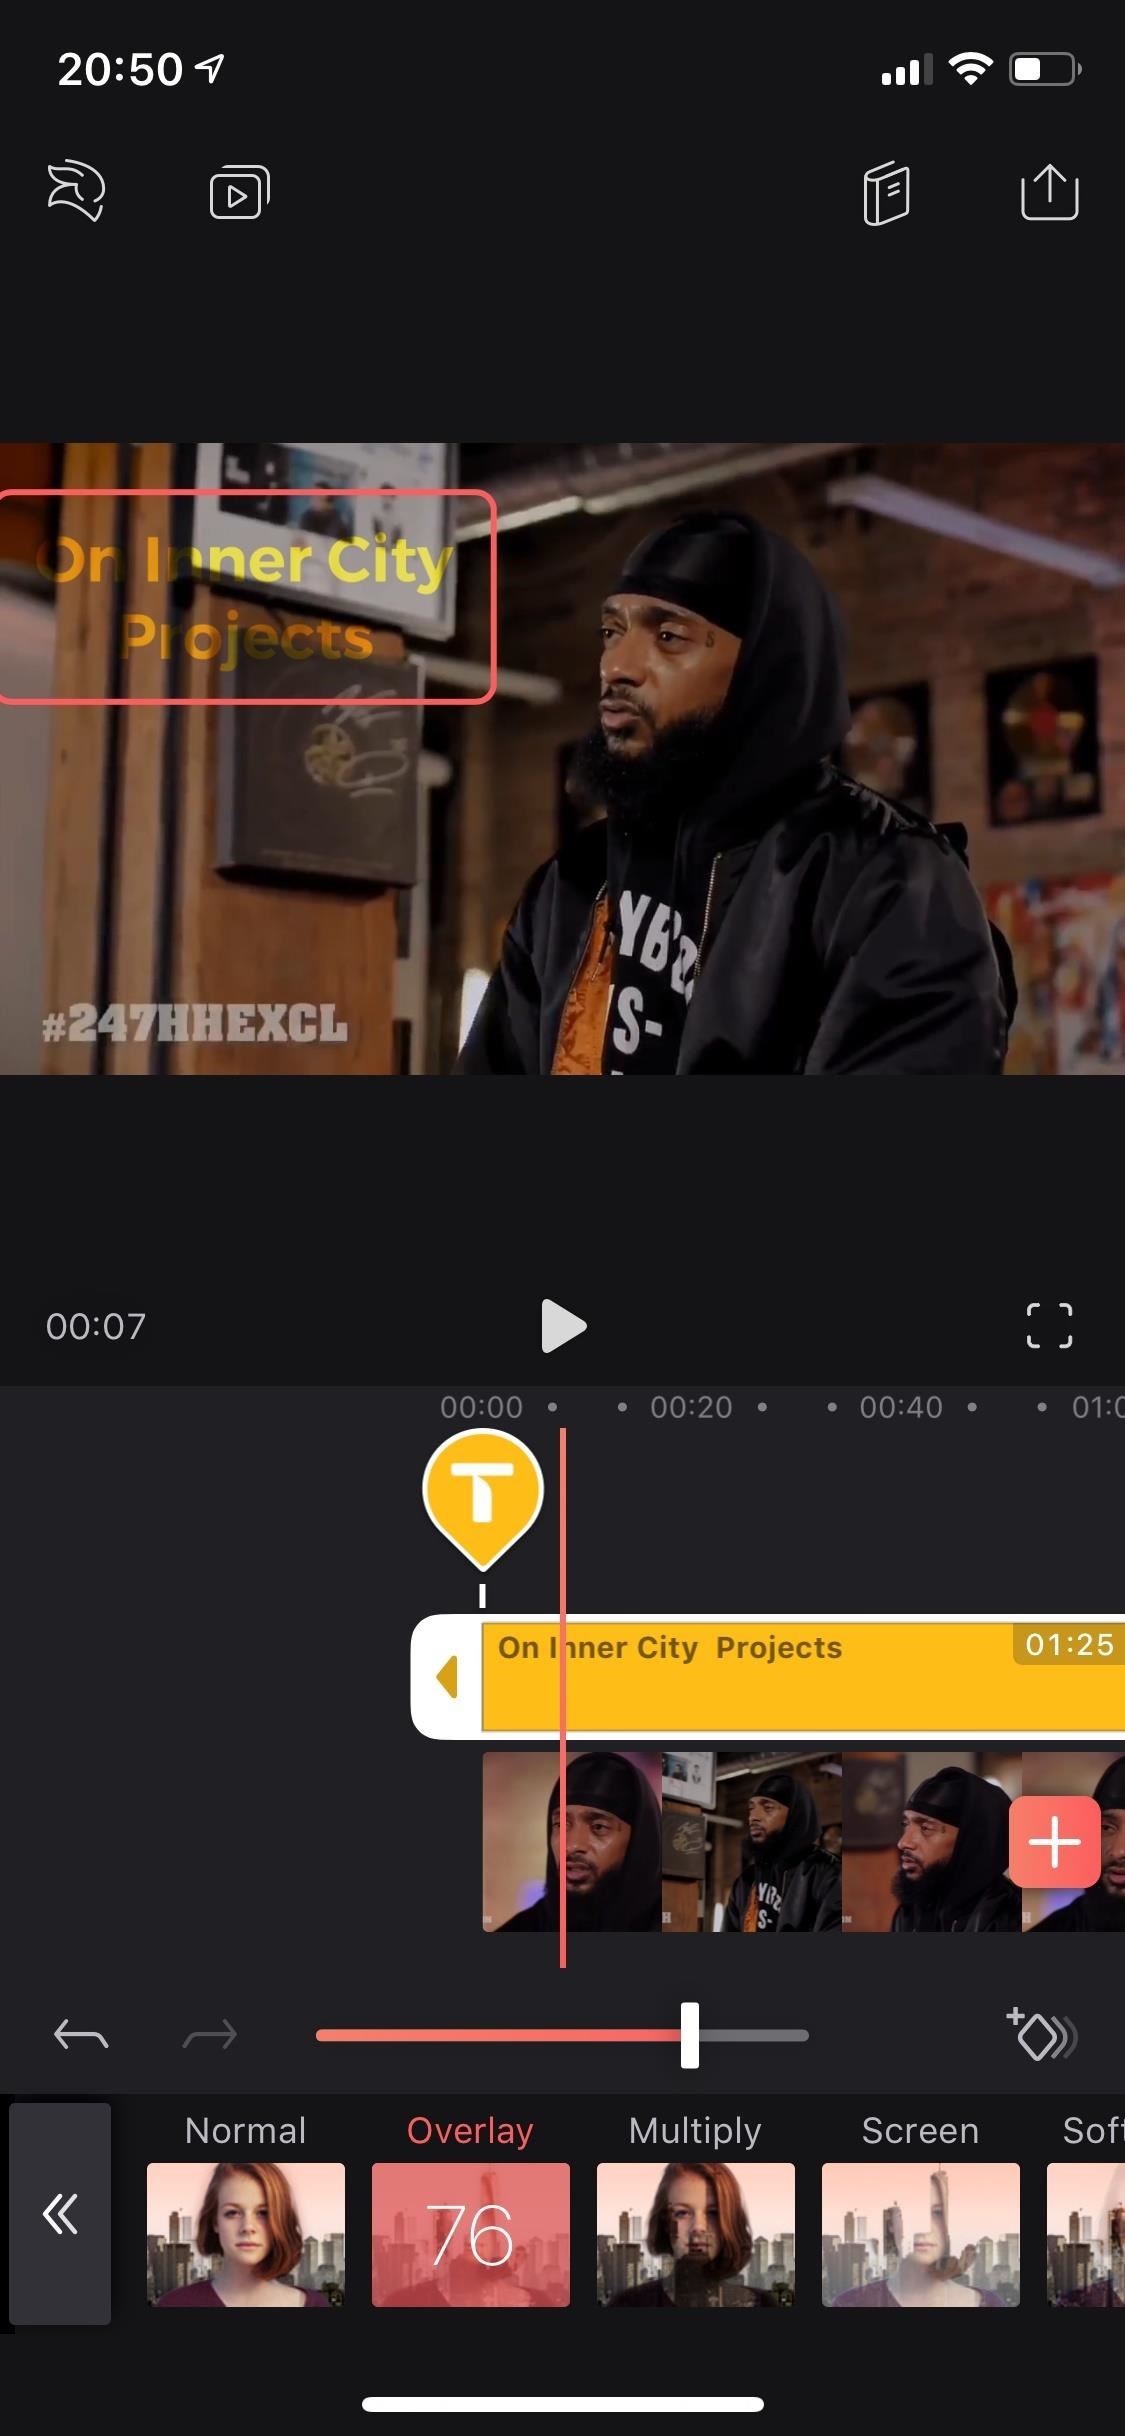
5. Alloy Your Text into the Video
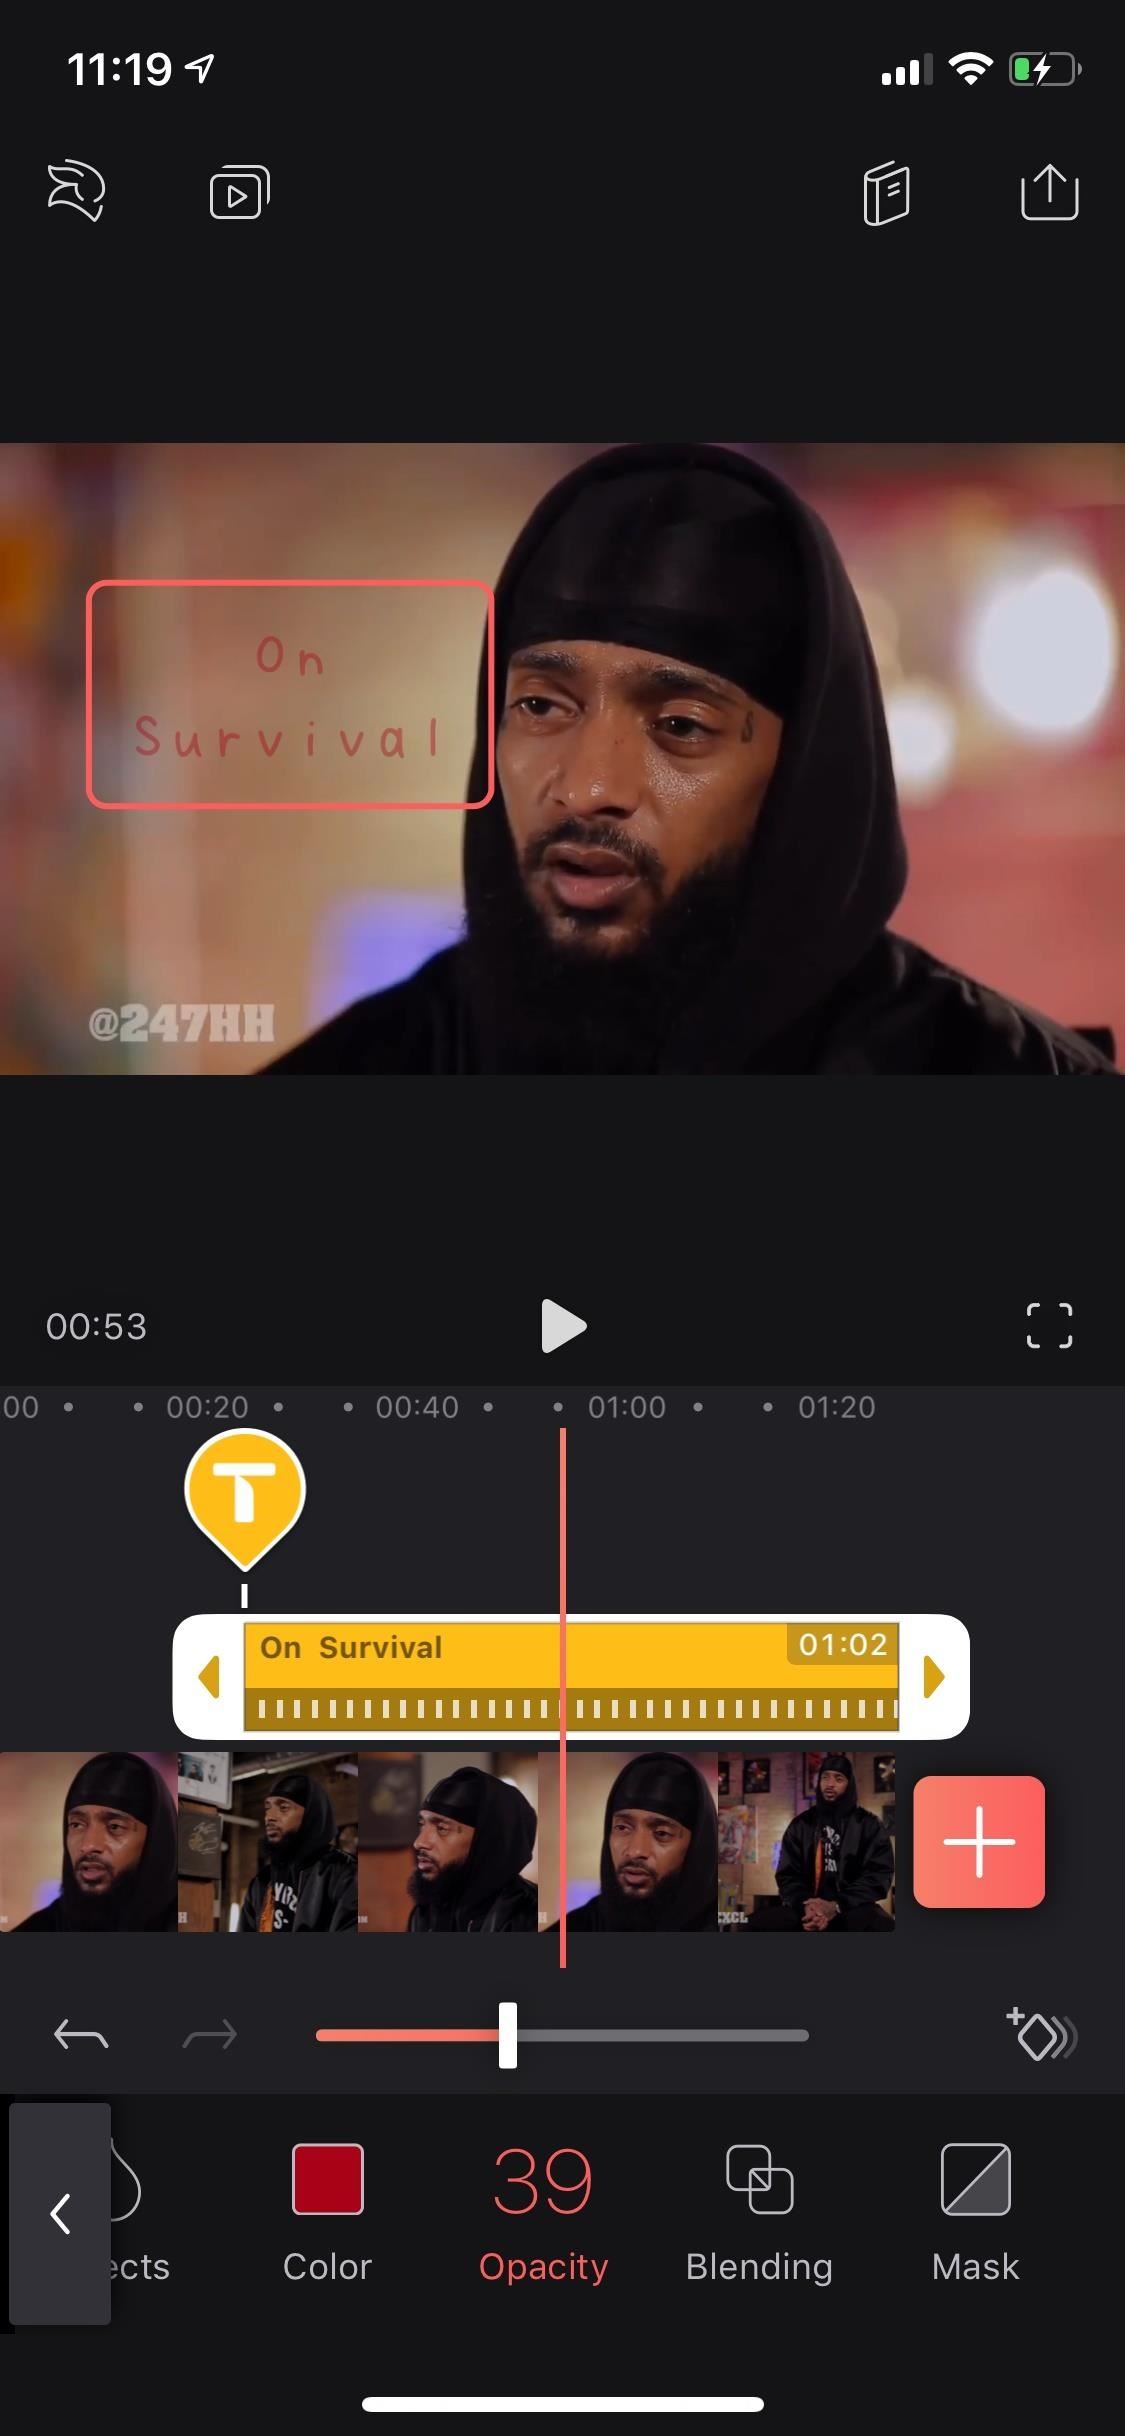
Here, I'm going to comprehend two different tools because they're very similar. Offset, "Opacity," which lets you slide the marking upward or down to alter the text'south transparency and then that yous tin come across some of the video below through the text.
The "Blending" tool works the same as opacity, especially if you have the "Normal" pick selected. Slide the marker up or down to make the text less or more come across-through. Where it differs from the previous tool is that there are more than options to choose from. If y'all've always used Adobe Photoshop before on a figurer, it'southward but like its drib-downward menu for the blending mode of a layer.
There are options for soft lite, darken, overlay, and color fire, to name a few. The difference between them is how the text box looks: splotchy, dark, burned, and then on. And just like before, you lot can movement the marking up or down on the slider to conform the opacity.
Technically, we think the "Opacity" tool should only disappear since it does the same thing as adjusting the slider in any of the "Blending" modes. But it does serve as a overnice reminder of what the opacity for any manner just by glancing at the toolbar.
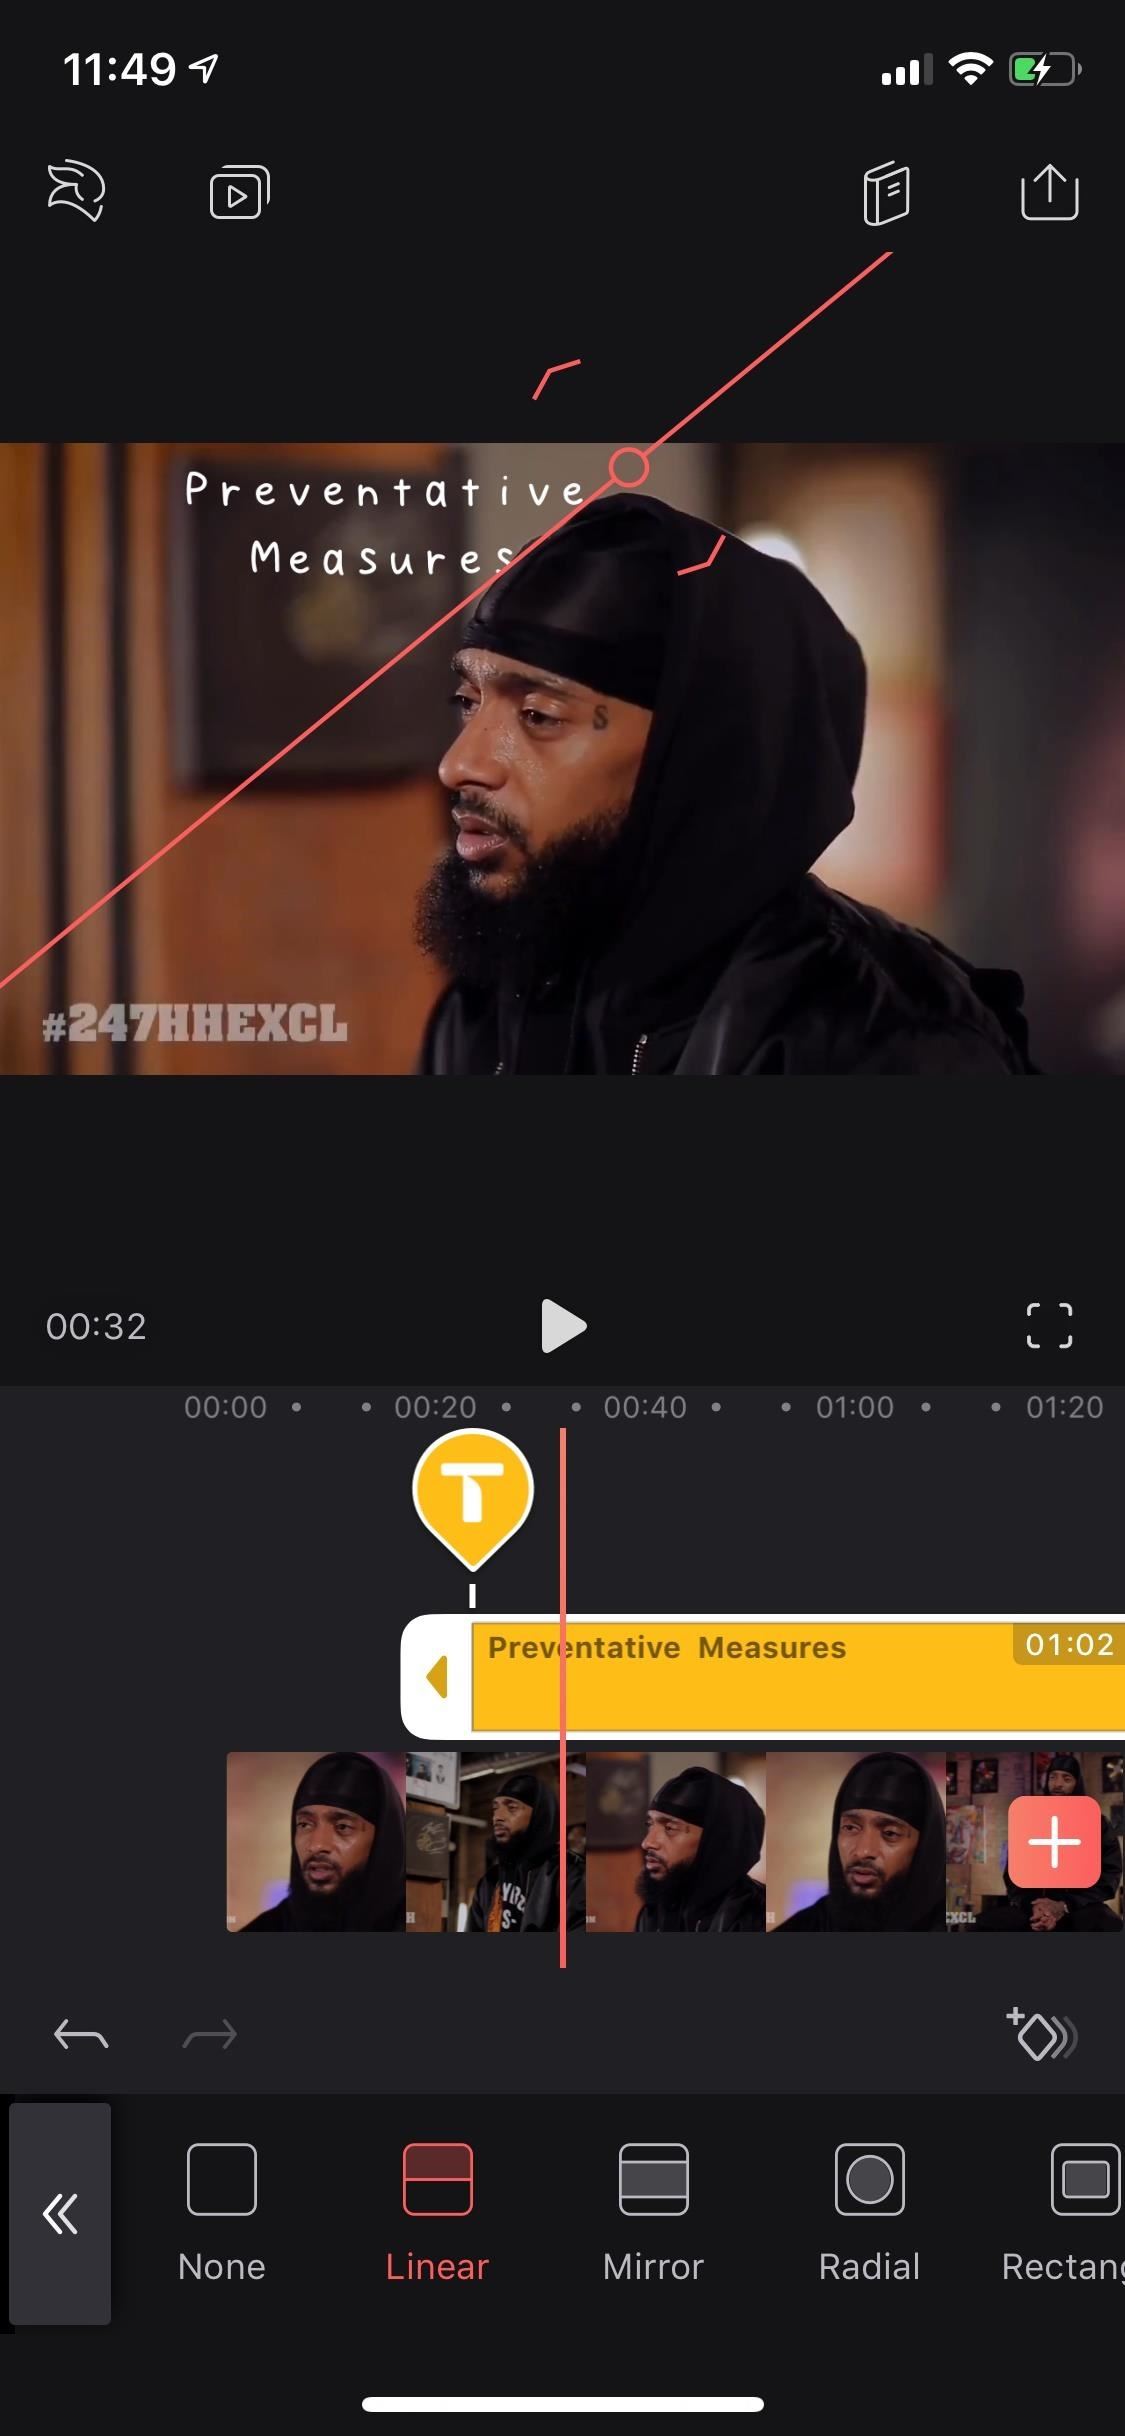
half-dozen. Mask Your Text Behind On-Screen Objects
With the "Mask" tool, you can hide some of the text, which makes it await like the text is behind an object in the video. For a real-world example, Hulu's The Act utilizes this effect in every show of the series. In Videoleap, you lot have unlike mask tools (linear, mirror, radial, and rectangle) to play around with that tin can meliorate hide your text, depending on the shapes in your video.
Now, this tool is pretty tricky to work with, since there'south a lot of pinching involved. When you select a mask tool, you lot'll see a centre circle which is where your text will remain visible for certain. From there, if y'all chose the linear mask tool, you can move it around and use two fingers to spin it how you need it. Then you can move the arrows further away from the line to spread the result out with opacity changes away from the line.
For the other tools, you tin also motion them around, spin them with two fingers, and add opacity to the text outside of the effect box, but y'all tin can too pinch in or out the effect. Additionally, on the rectangular mask tool, you can elevate the arc icon to cut the text off a niggling inside the effect box. To go the hang of this all, you'll but have to play around with information technology. Just since you're subject field may be moving, y'all'll want to add keyframes too, which nosotros'll discuss later in Pace three.
7. Add a Stroke Around Your Text
The "Stroke" tool adds an outline around the text. You tin can change the width of the outline, from nothing to ten points, also as the colour of the stroke.
8. Add together a Shadow to Your Text
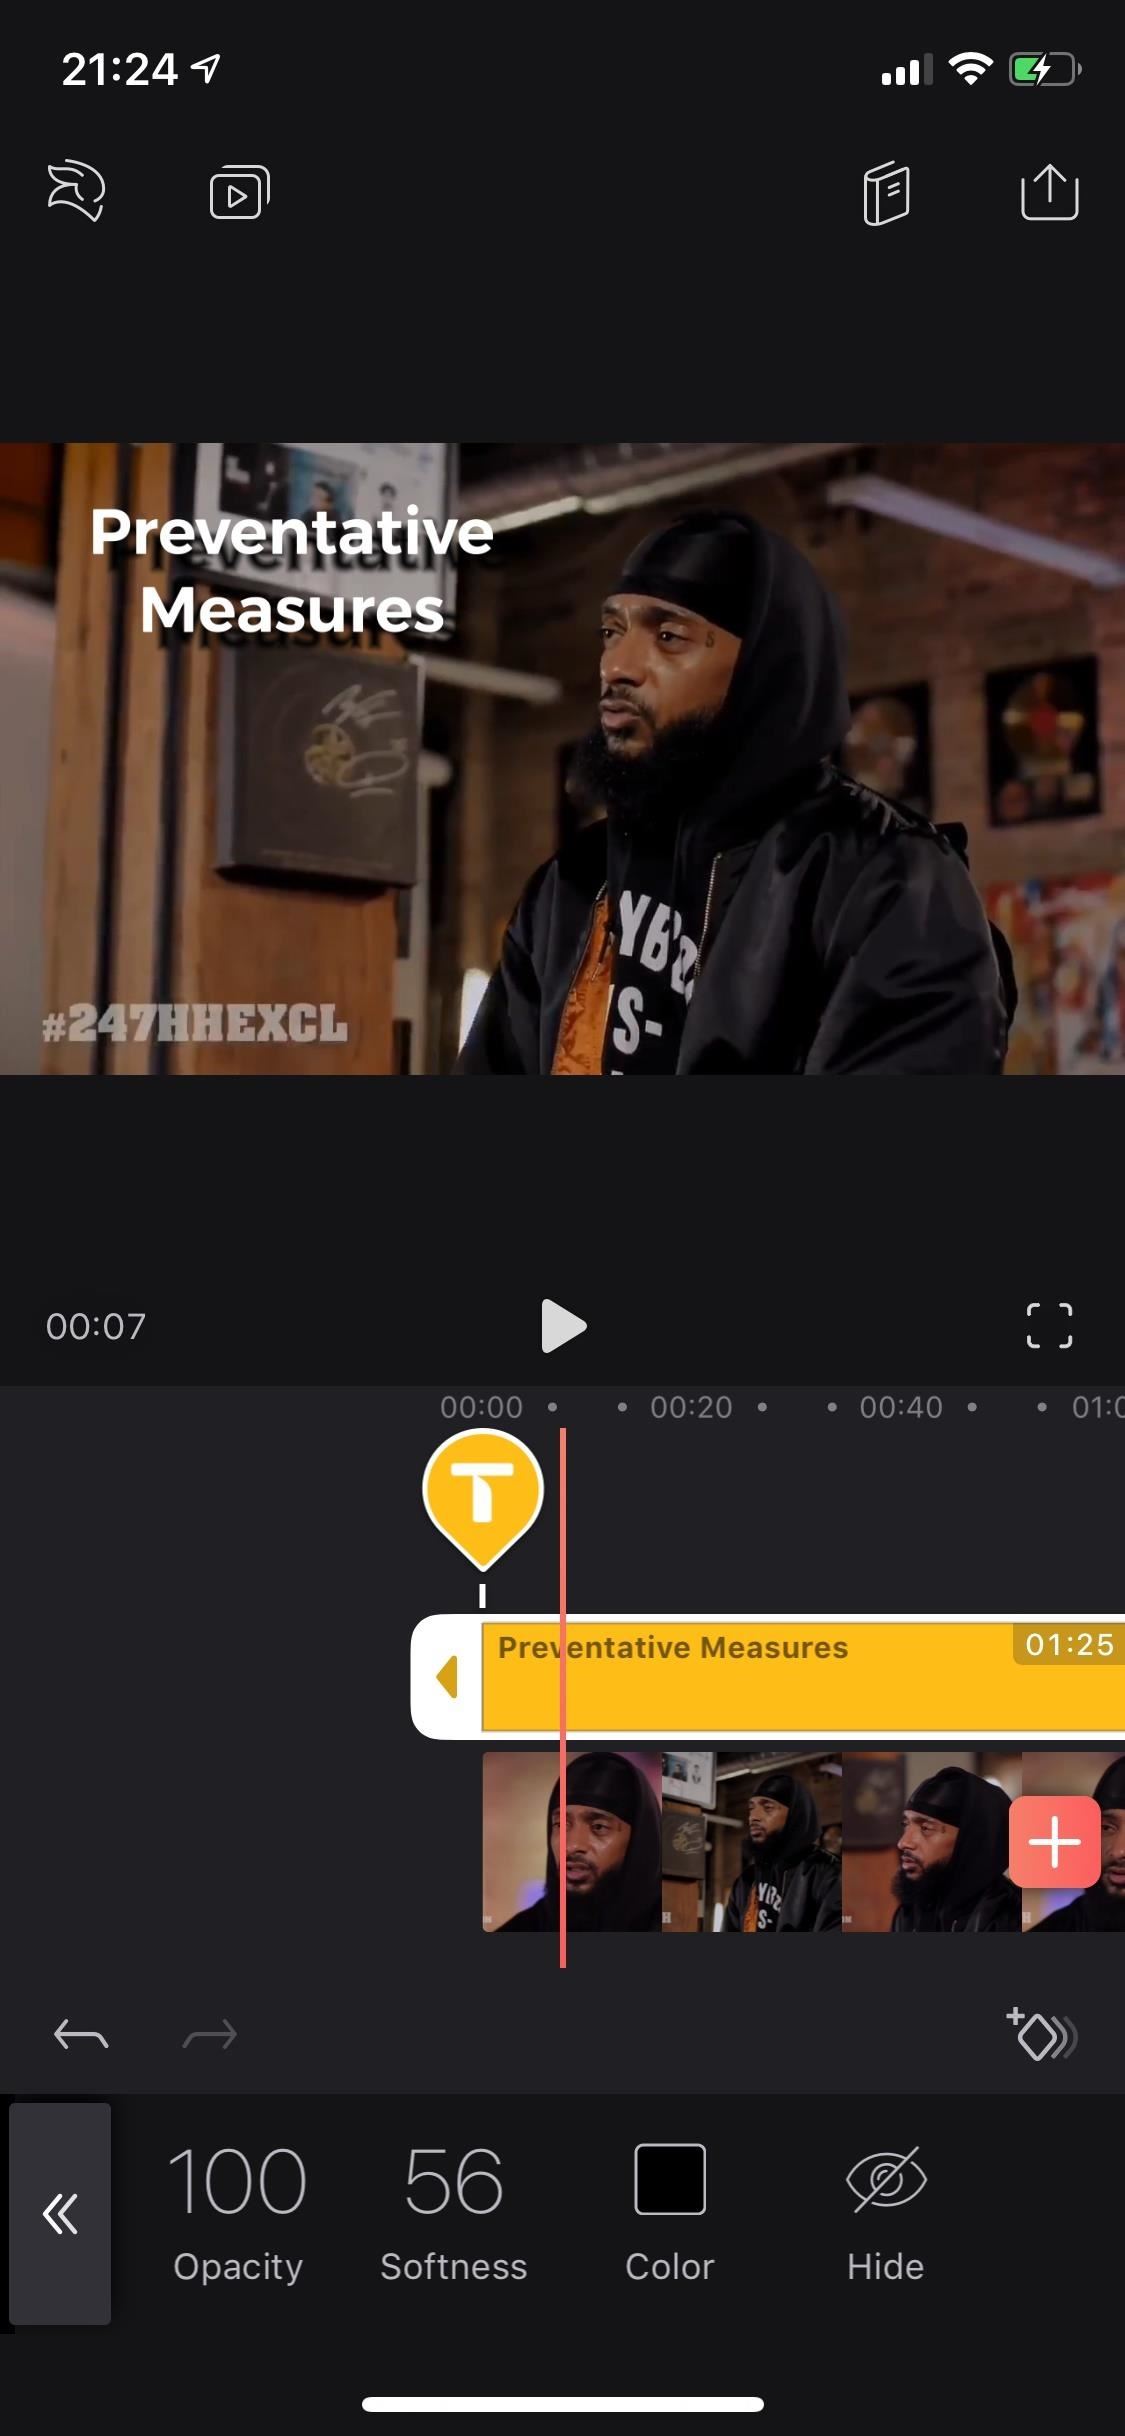
"Shadow" adds a drop-shadow behind your text. A red circle will appear, which is the eye of the shadow. If yous move the circle effectually, it moves the shadow as well, so it tin be direct behind the text, a little off-center, or fashion away from the text. You can modify the opacity (its transparency), softness (for the edges of the shadow text), and colour of the shadow (if black isn't what y'all desire). You can also cull to hibernate information technology, which is better than deleting it if you recall you'll like to use the shadow you customized after.

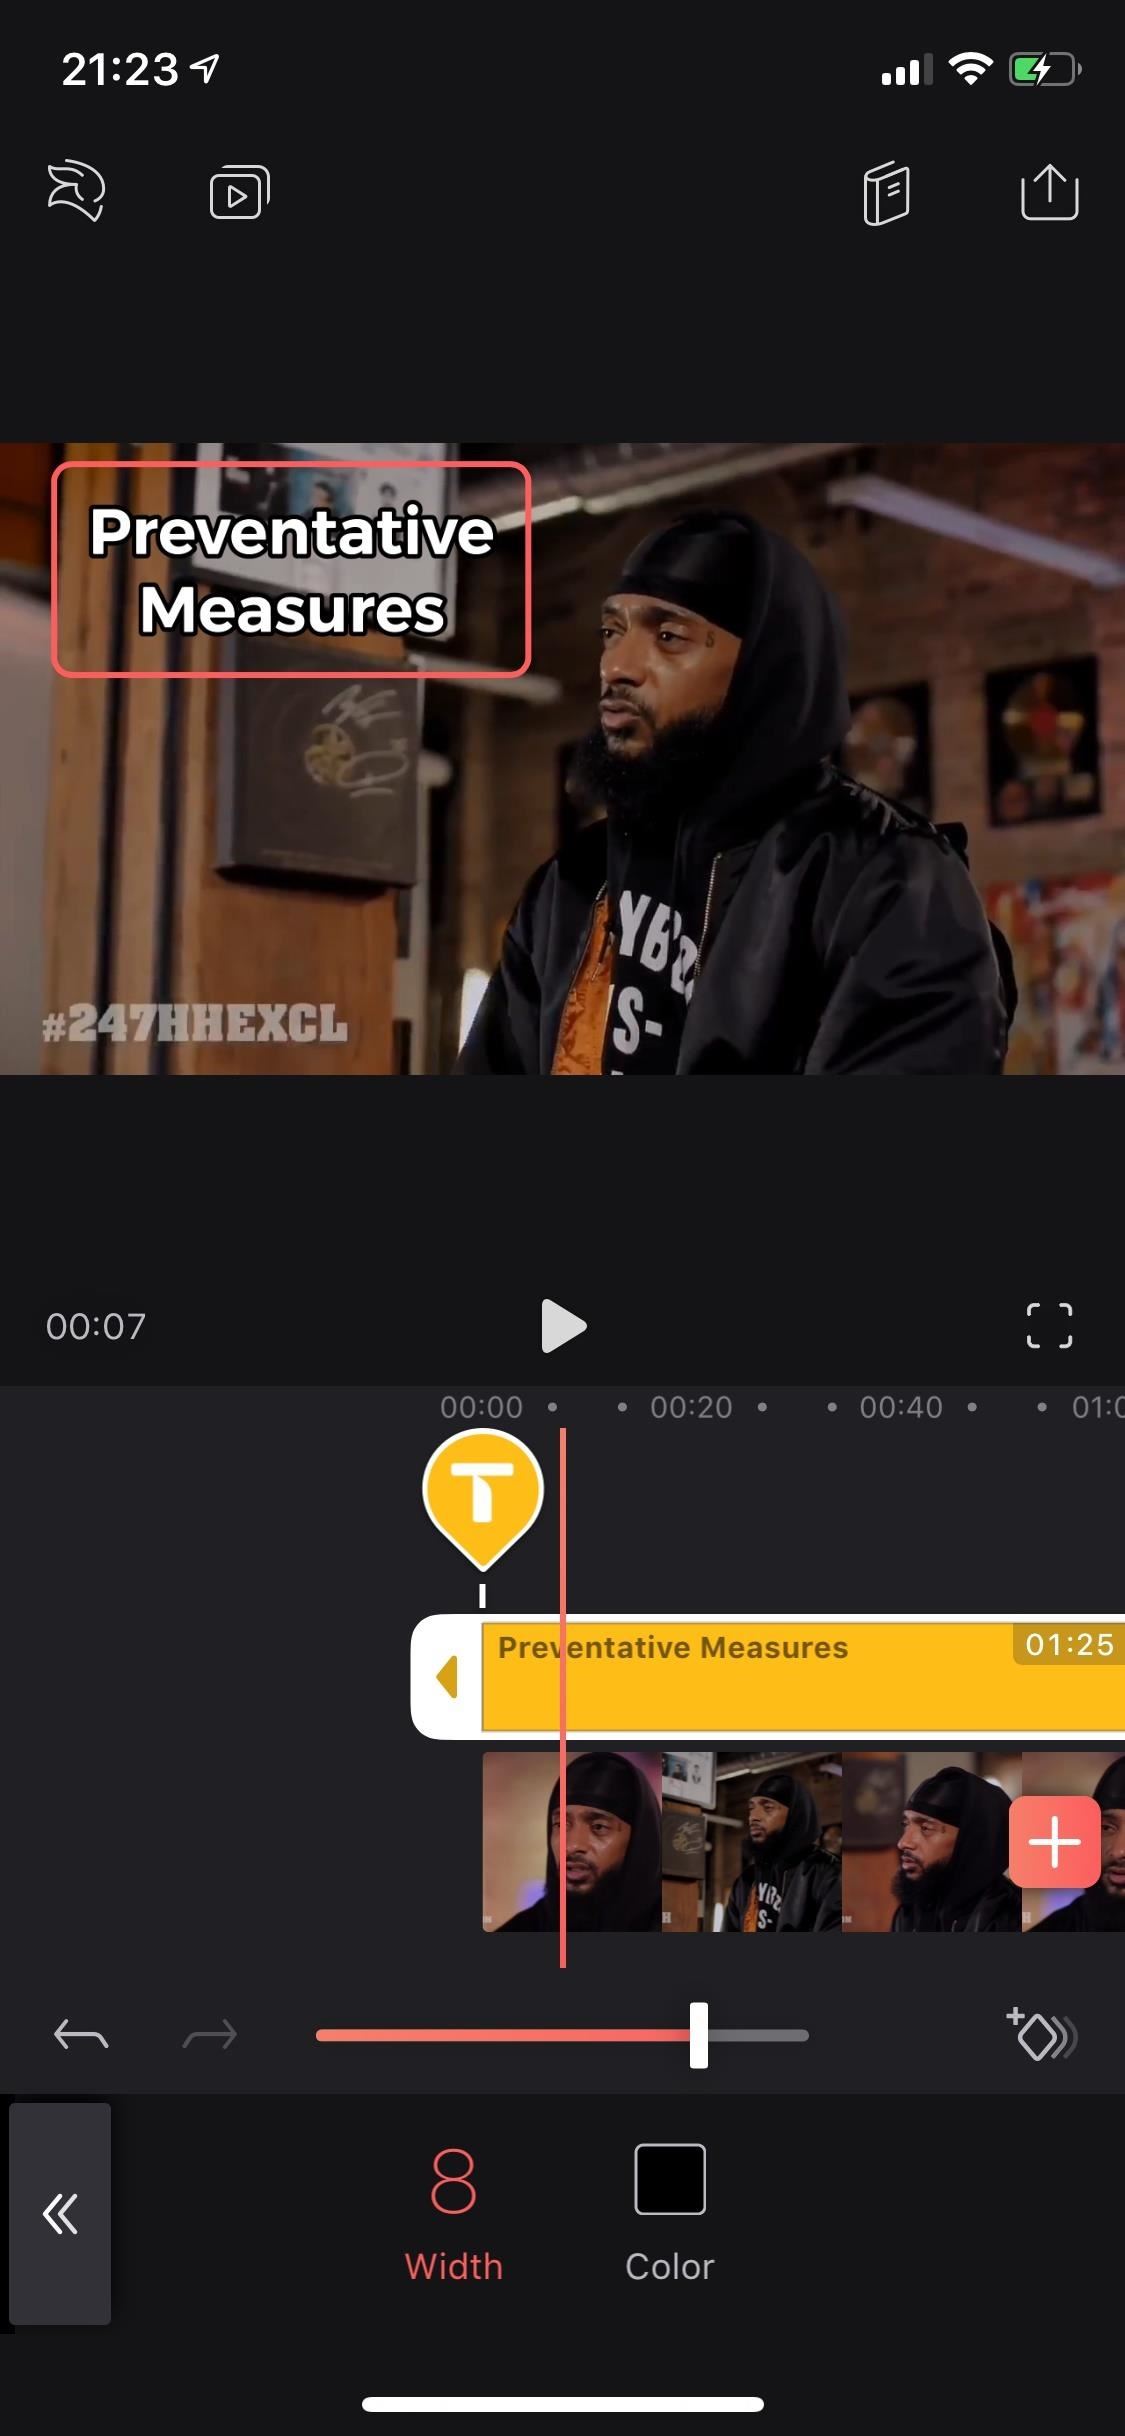
nine. Brand Your Text Stand Out with a Background
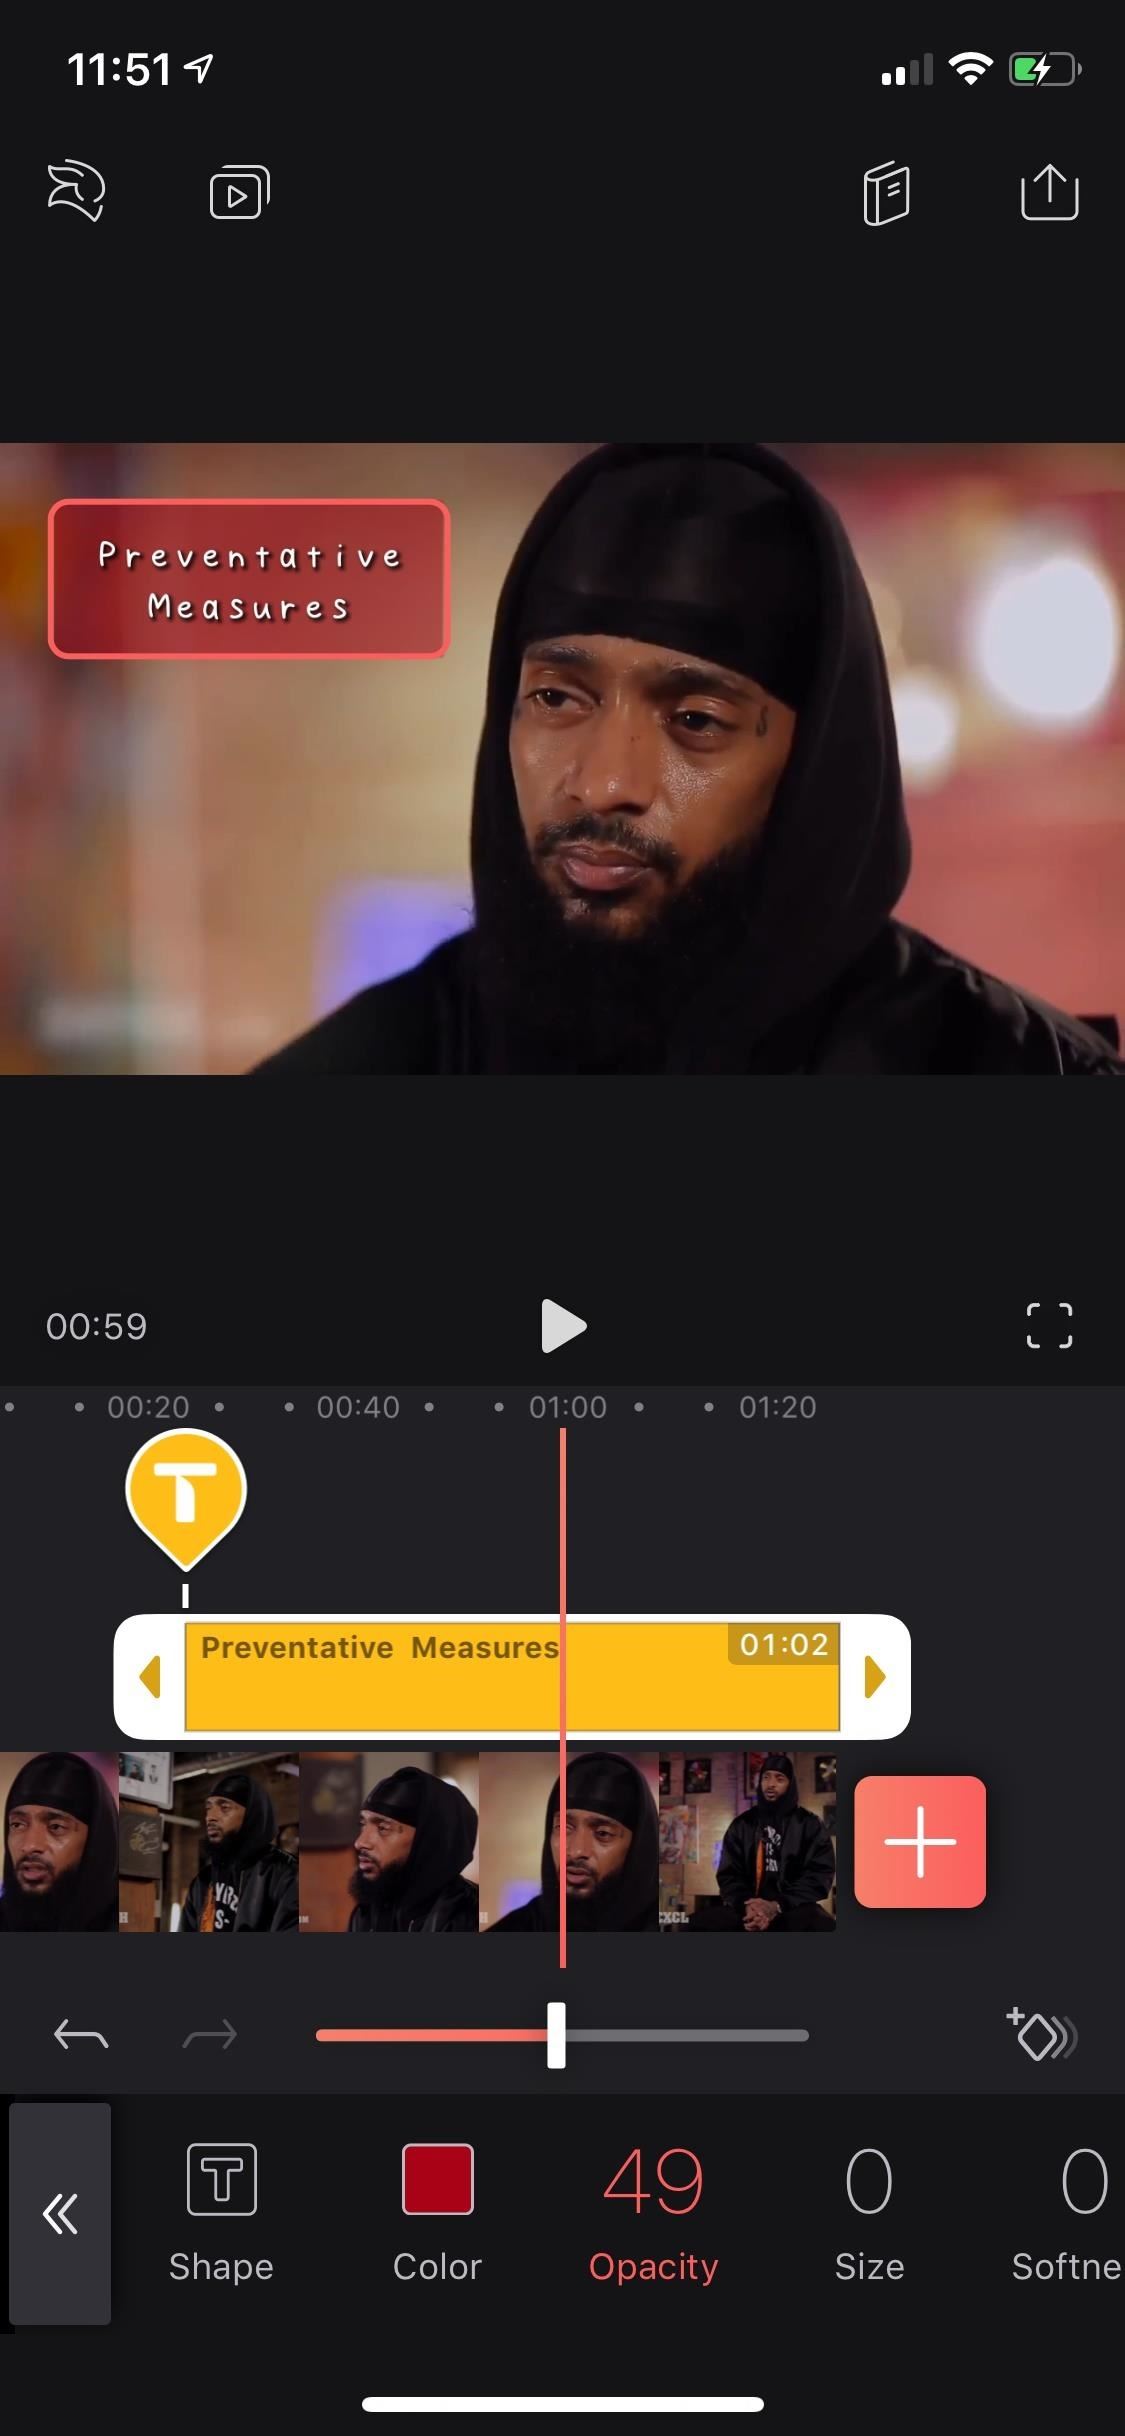
The "Groundwork" tool places a colored or transparent background backside your text. With the "Shape" sub-tool, you tin make the background make full the text box, announced as a strip beyond the video, or turn information technology into a hollow outline. The "Color" sub-tool is pretty cocky-explanatory, also equally "Opacity," which simply lets the video in the other layer smooth through. The "Size" sub-tool determines how big the background or outline is, while the "Softness" will make the box rigid at zero or a complete mistiness at 100.
10. Adapt Your Text'south Alignment & Spacing
Tap on "Marshal" to modify the alignment of the text to either left, center, or correct justification, and employ "Spacing" to clasp the text together or give information technology room to breathe, as well as to create a larger or smaller gap between lines, if the text is divided that way.

11. Prioritize Text Layers That Overlap
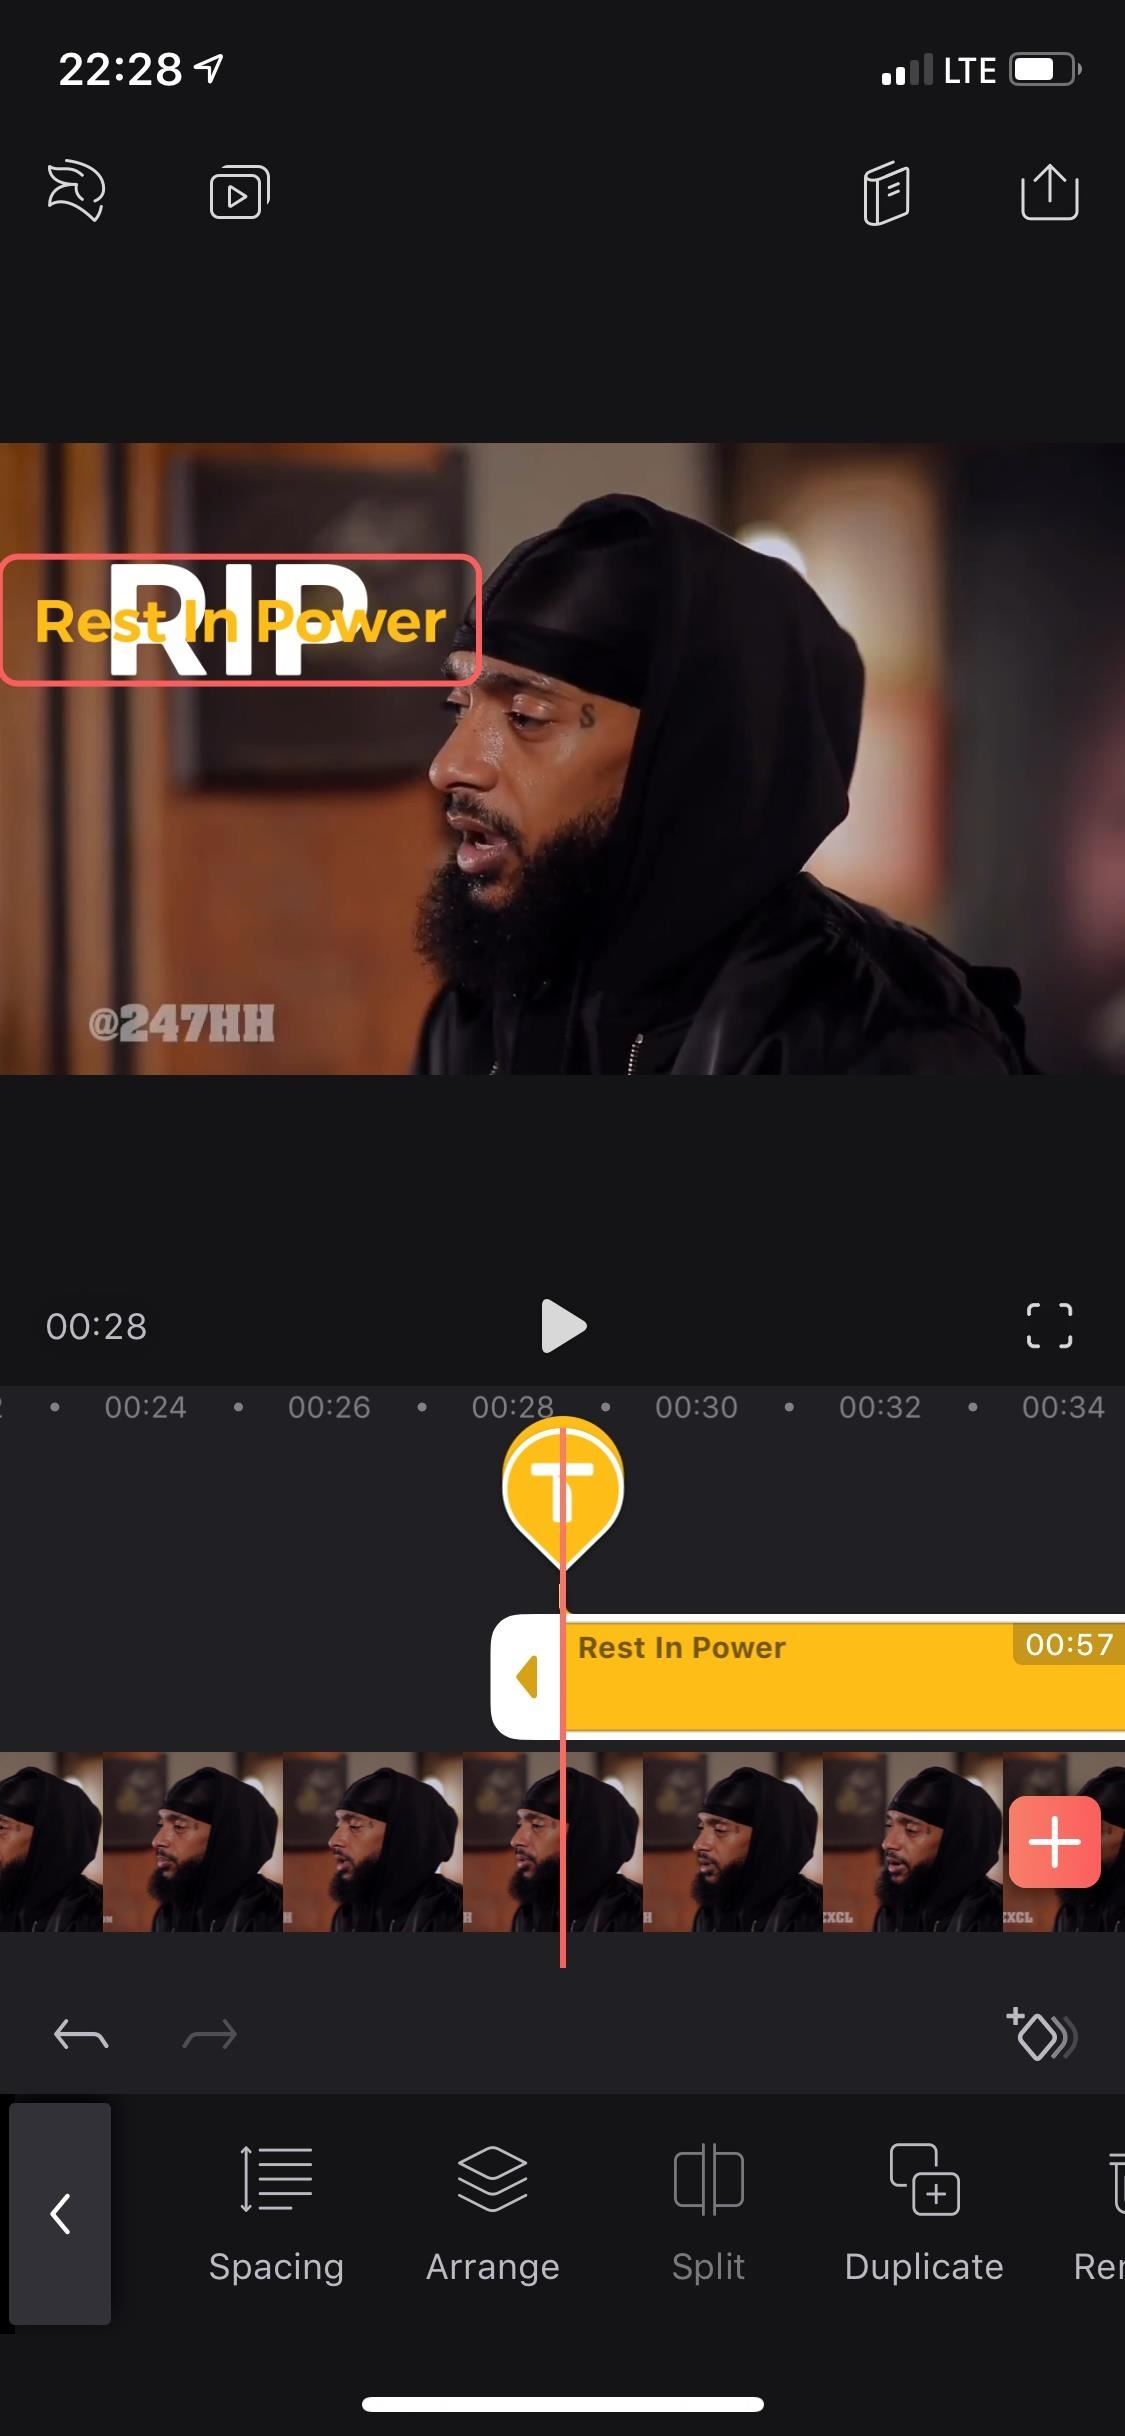
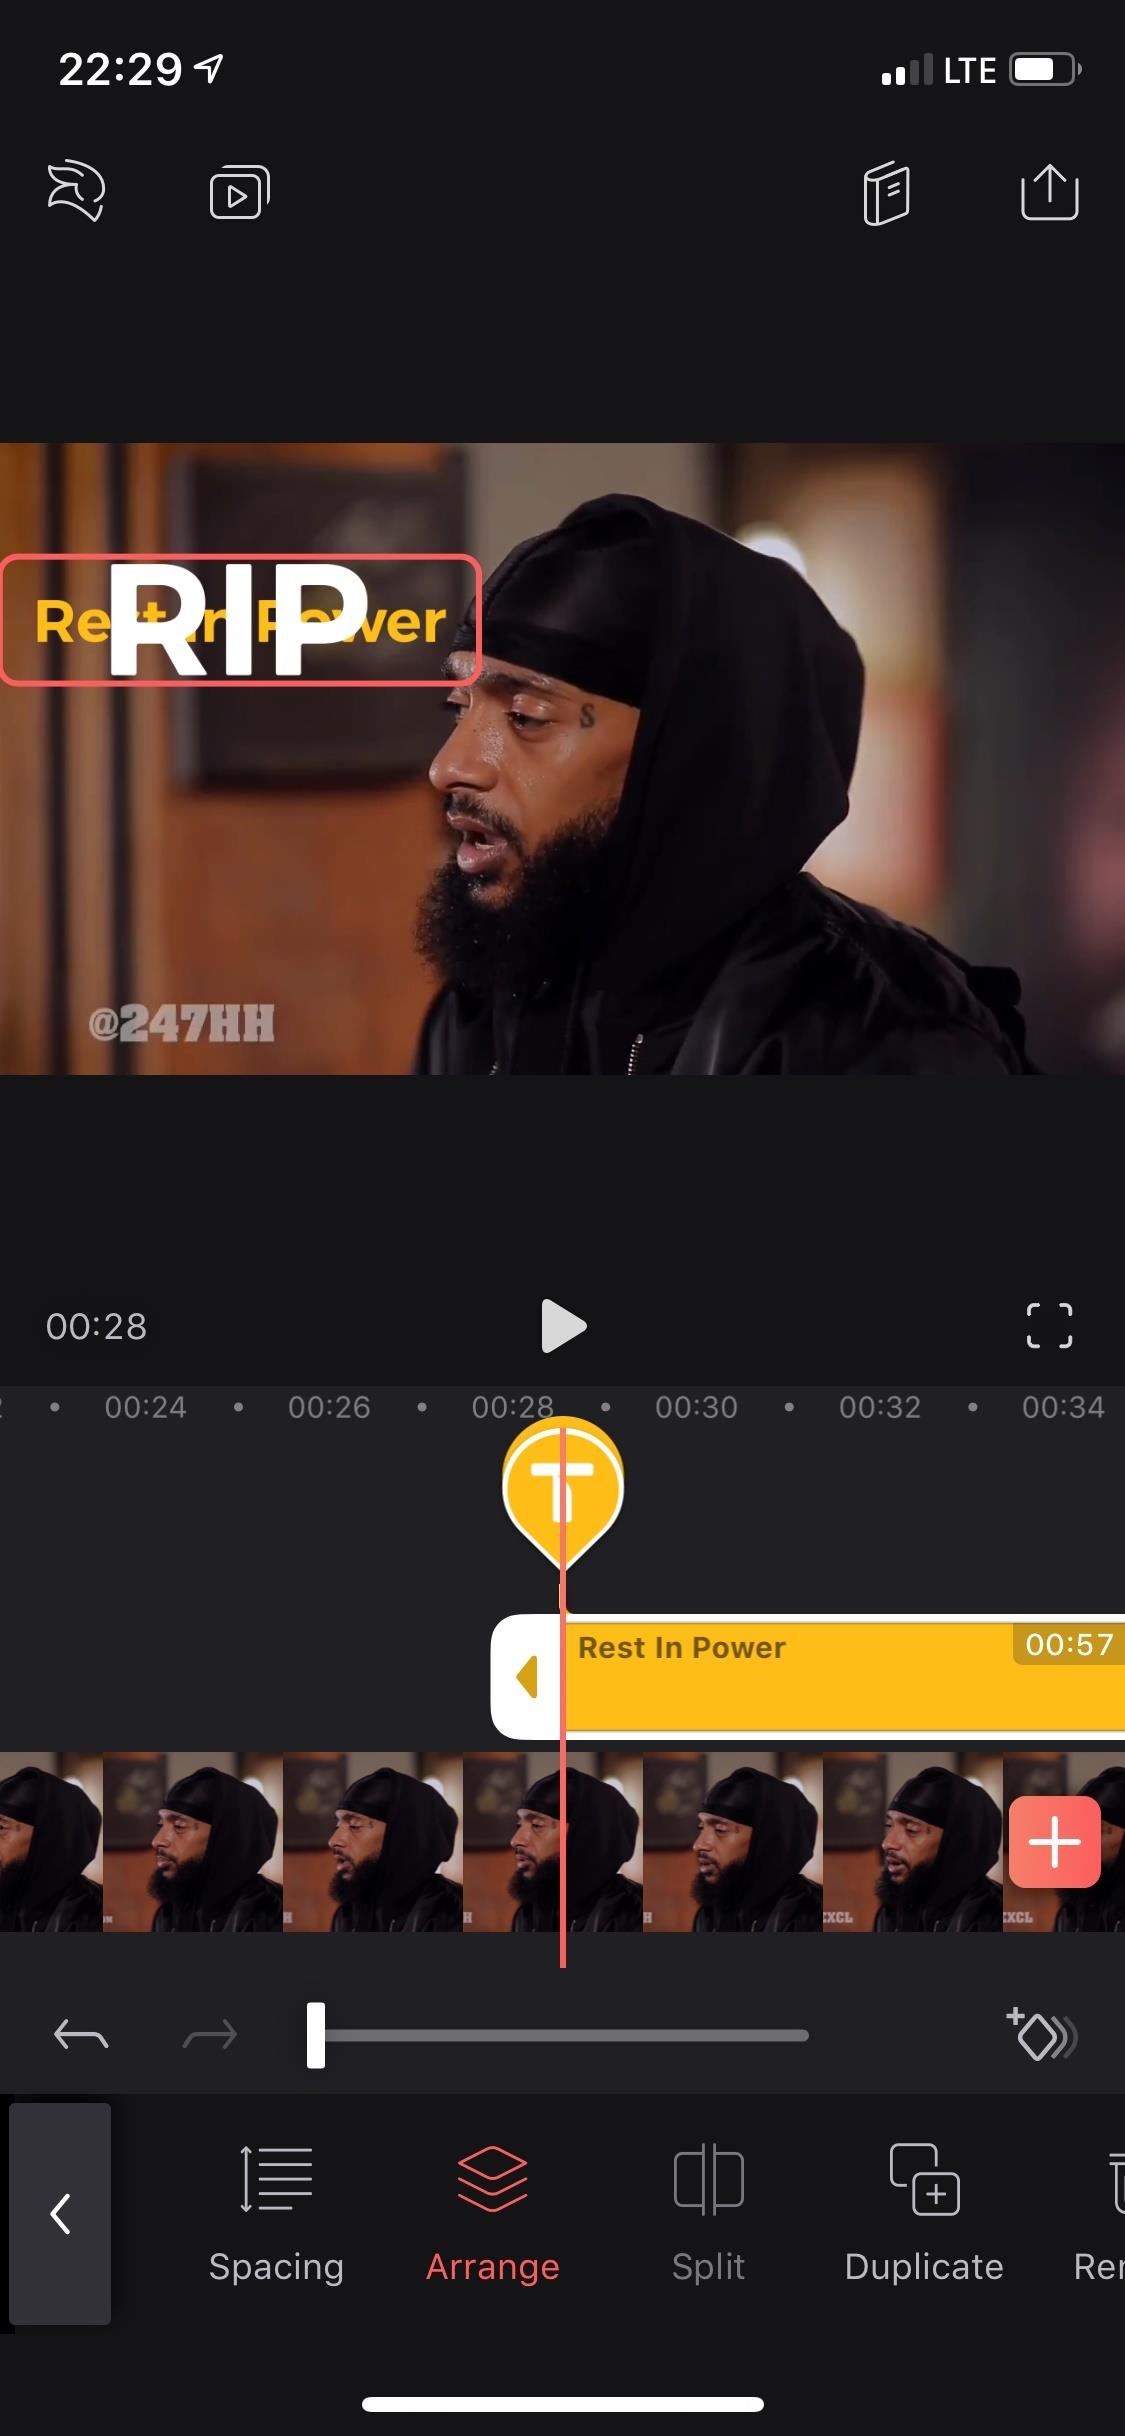
With the "Arrange" tool, yous can place the text behind or on top of other text layers. Still, with the free version of Videoleap, you lot're restricted to just three layers, so the "Arrange" tool isn't incredibly useful unless y'all've only got a few text layers you're attempting to organize.
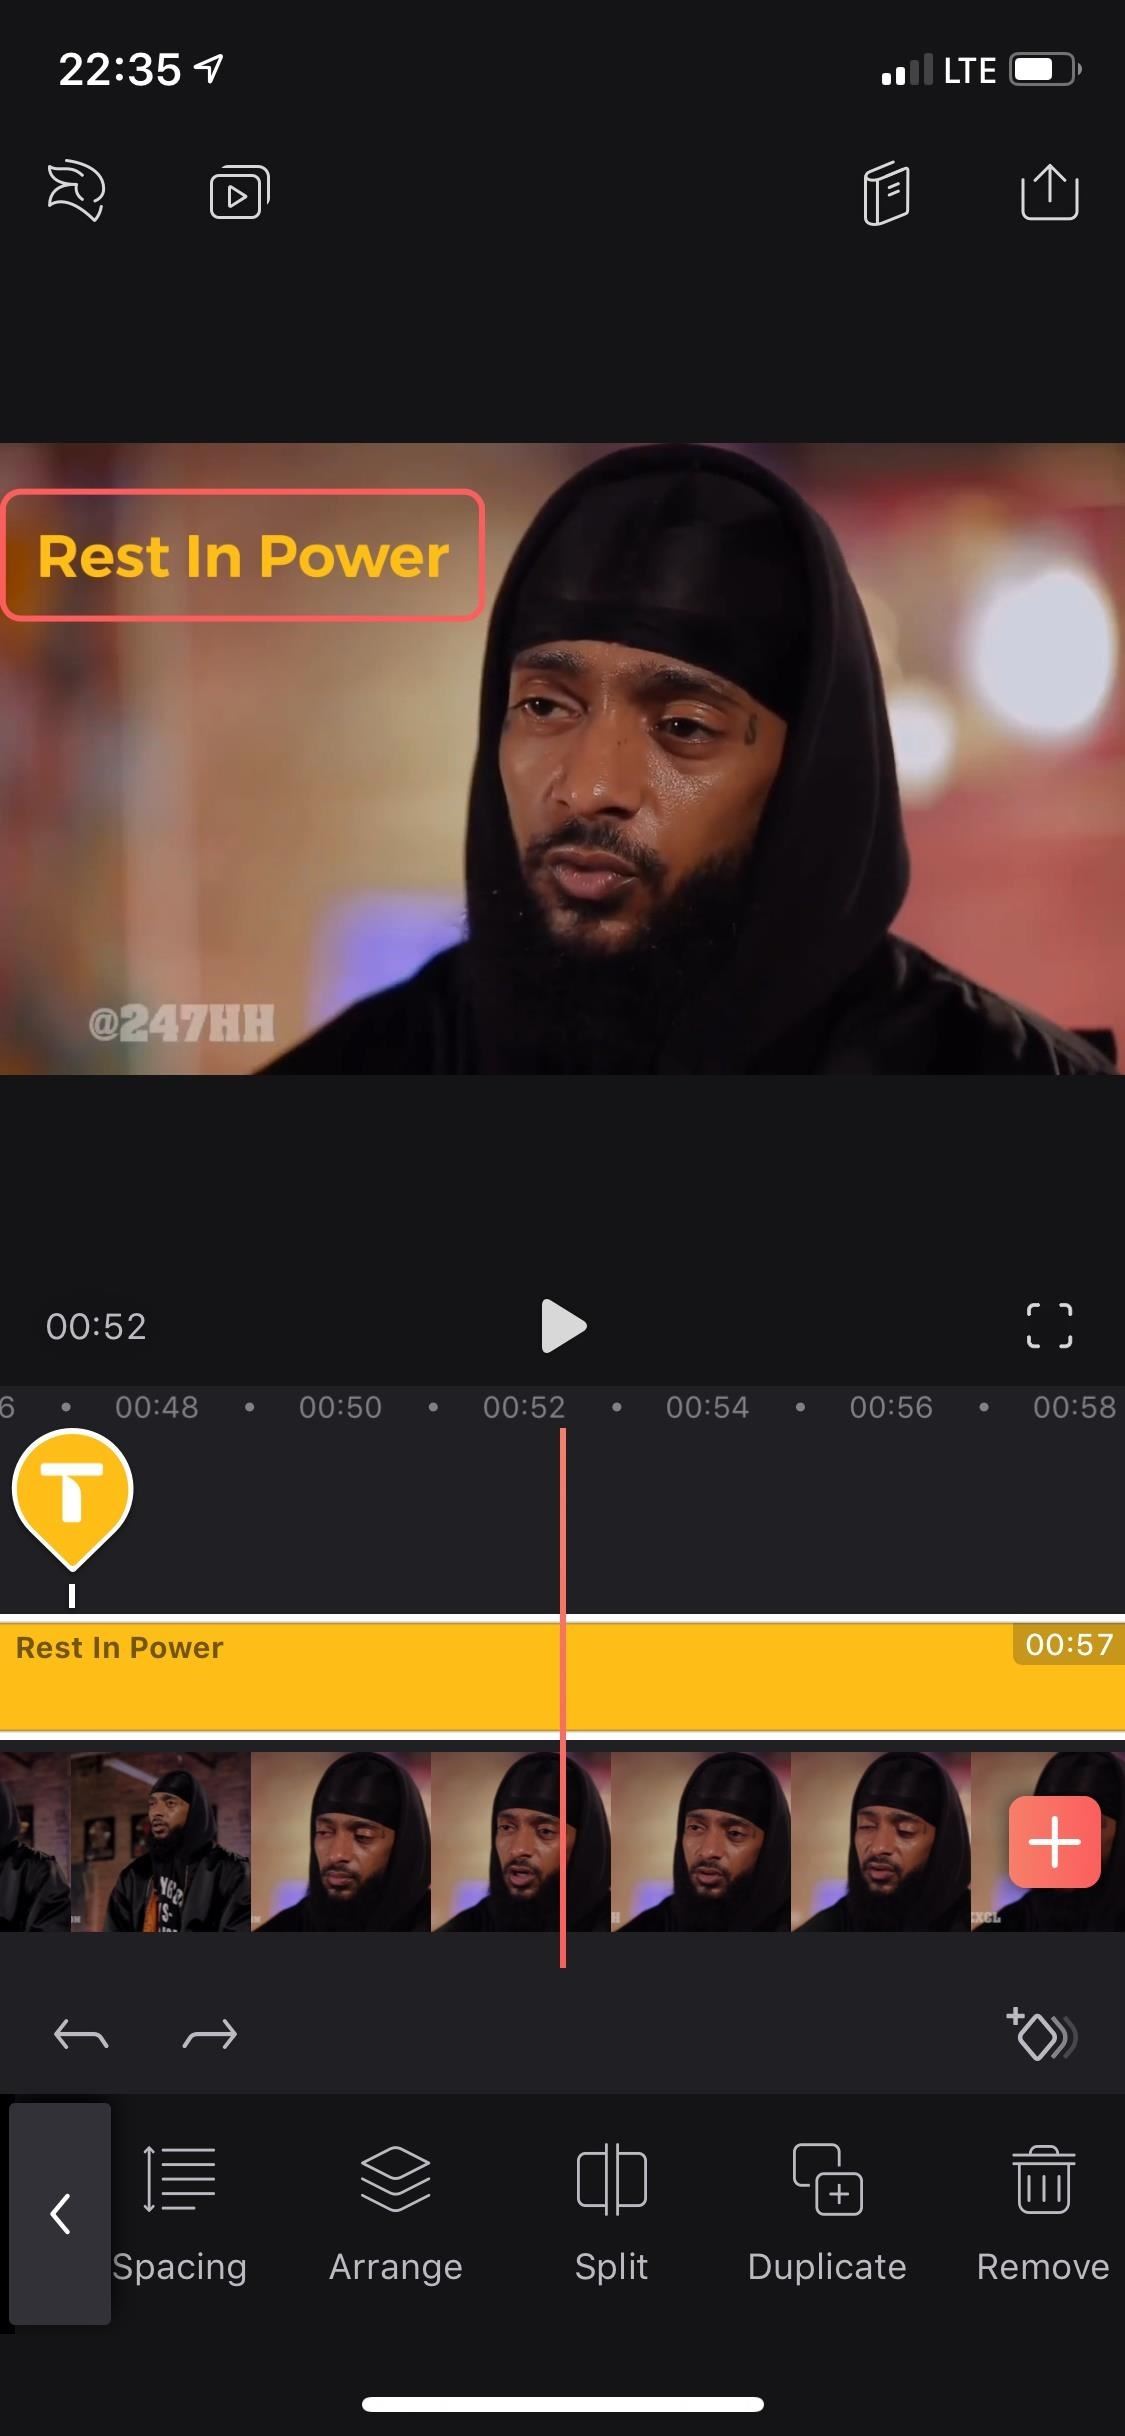
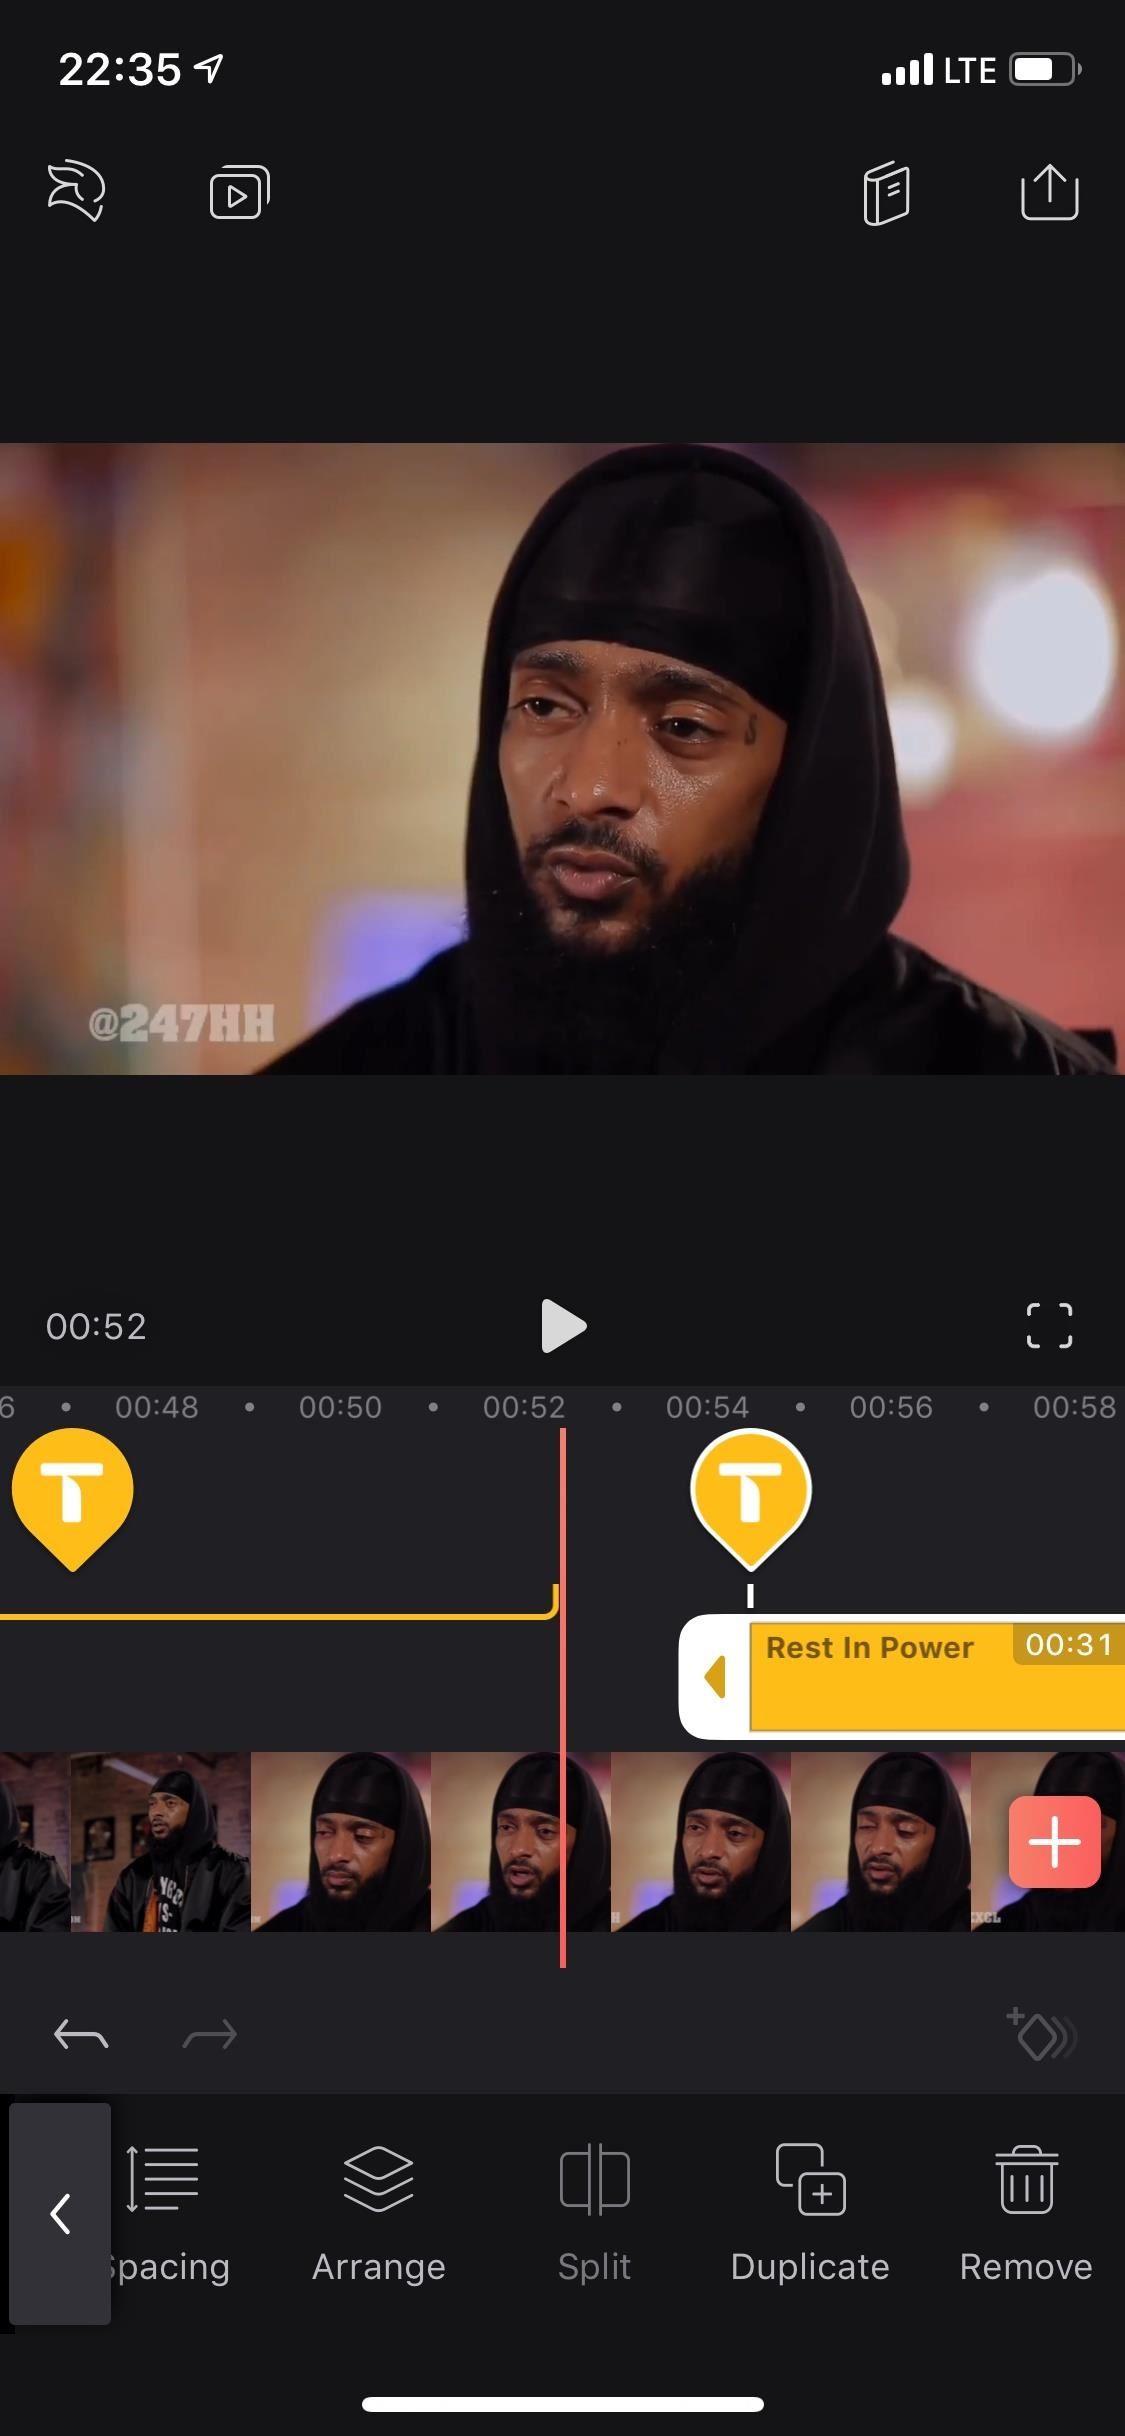
12. Split Your Text Up into Two Clips
Use "Split" to suspension up the text clip and motility it to a dissimilar place in the video. When I say split, I mean information technology cuts the text clip in half, not the bodily text in the text box. Simply movement the playhead to the moment you want to split the text and hit "Split up." Yous can so tap-and-hold either portion of the text prune and move information technology across your projection timeline where needed.
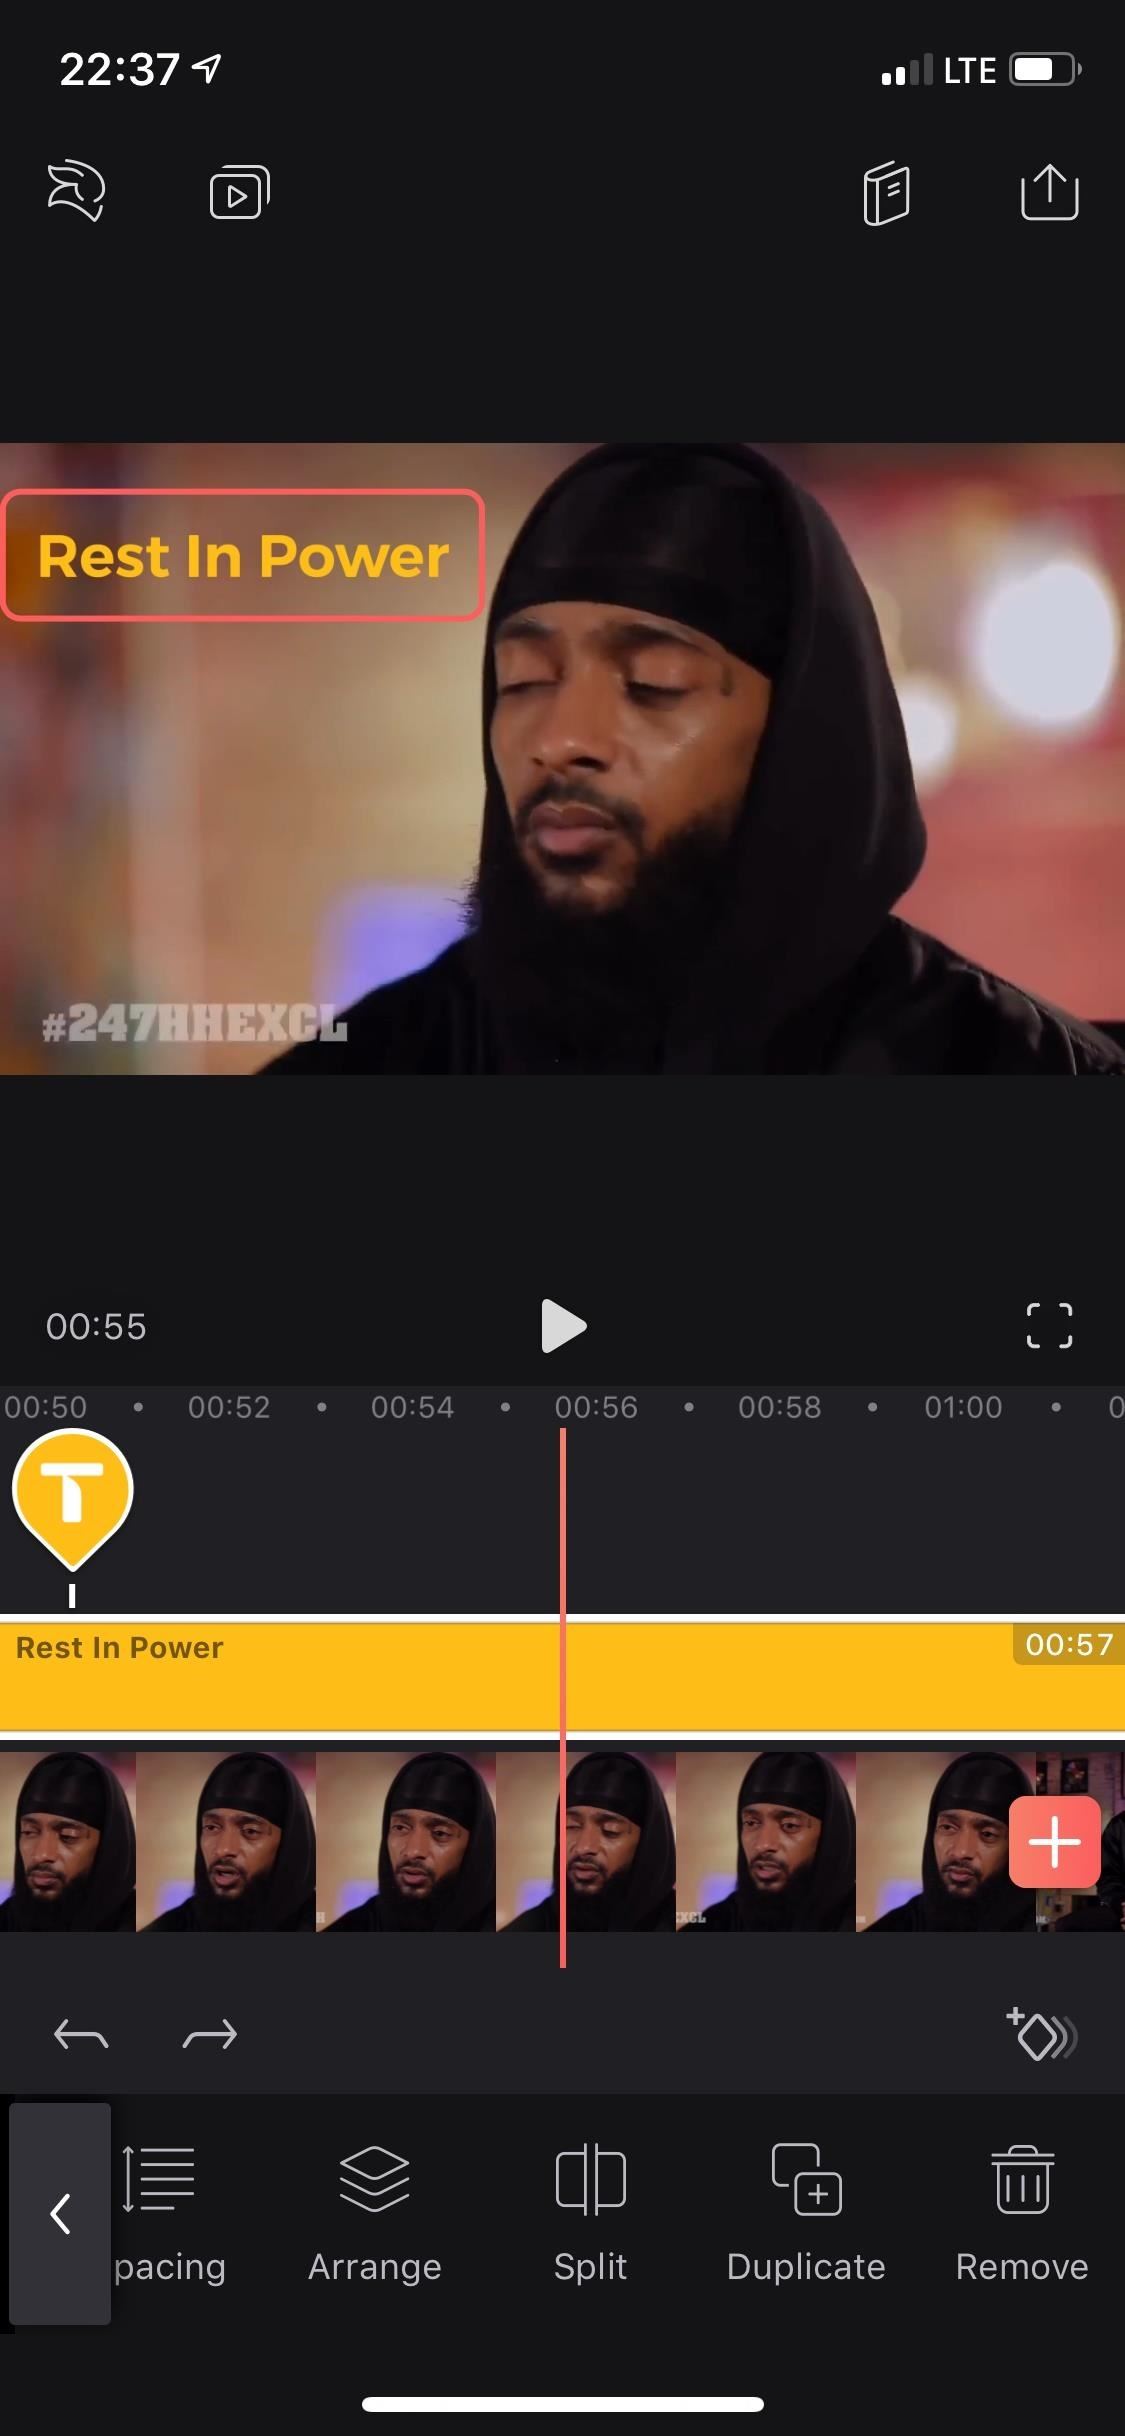
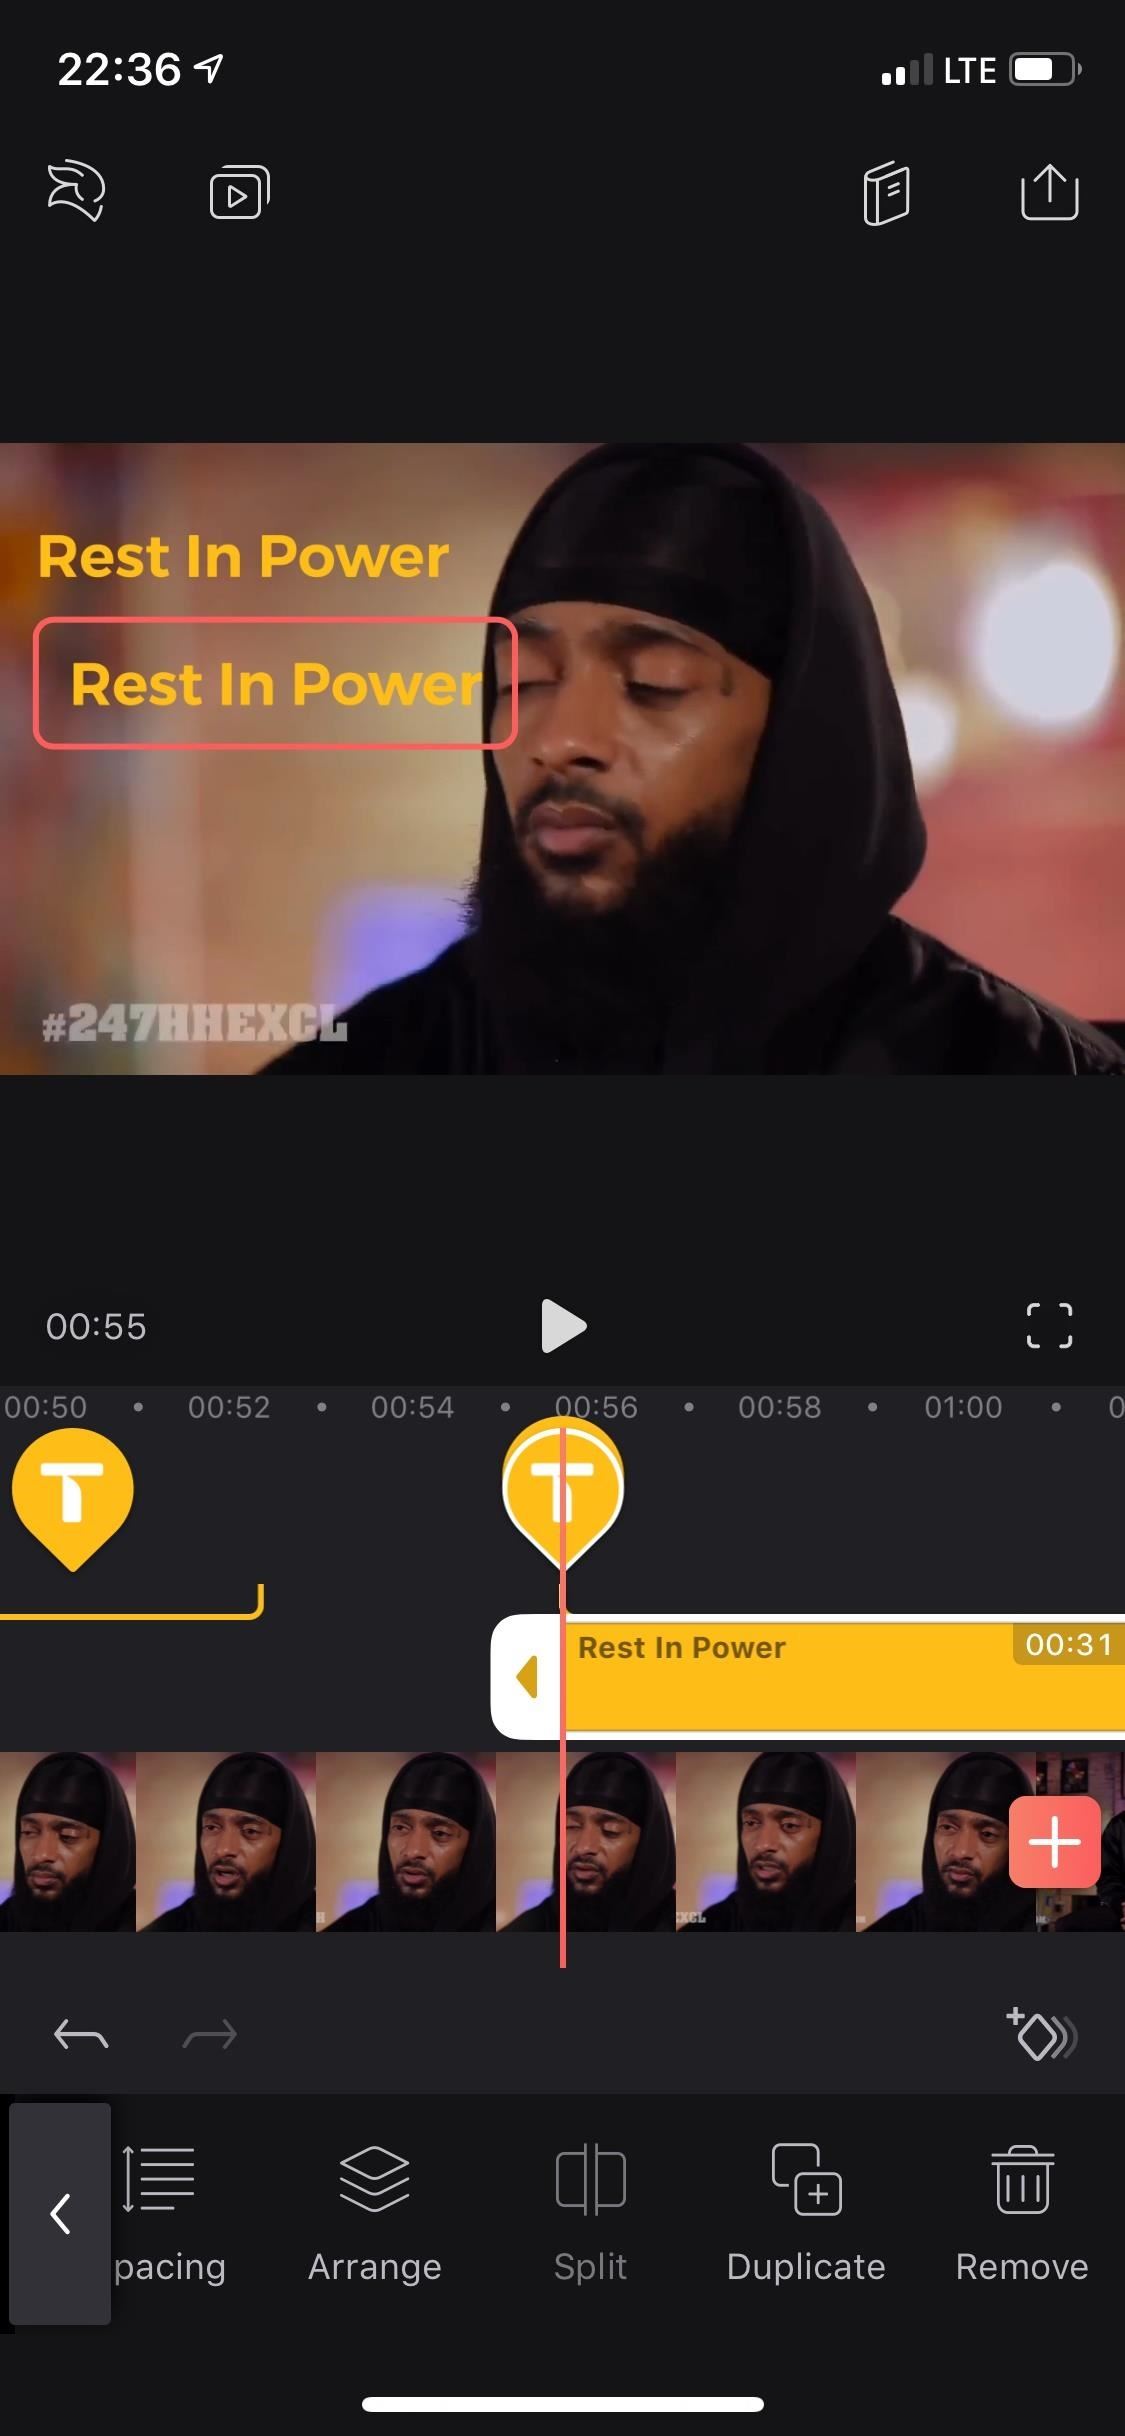
13. Indistinguishable Your Text Clip
"Duplicate," equally you probably can approximate, creates an identical twin of the text clip. This adds an extra layer to your project, but there are merely three layers bachelor in the complimentary version, and so y'all can't actually utilise this tool as freely equally yous would with the pro version. You can, nonetheless, move it around like with when using the "Split" tool above.
14. Delete Your Text Prune to Try Again
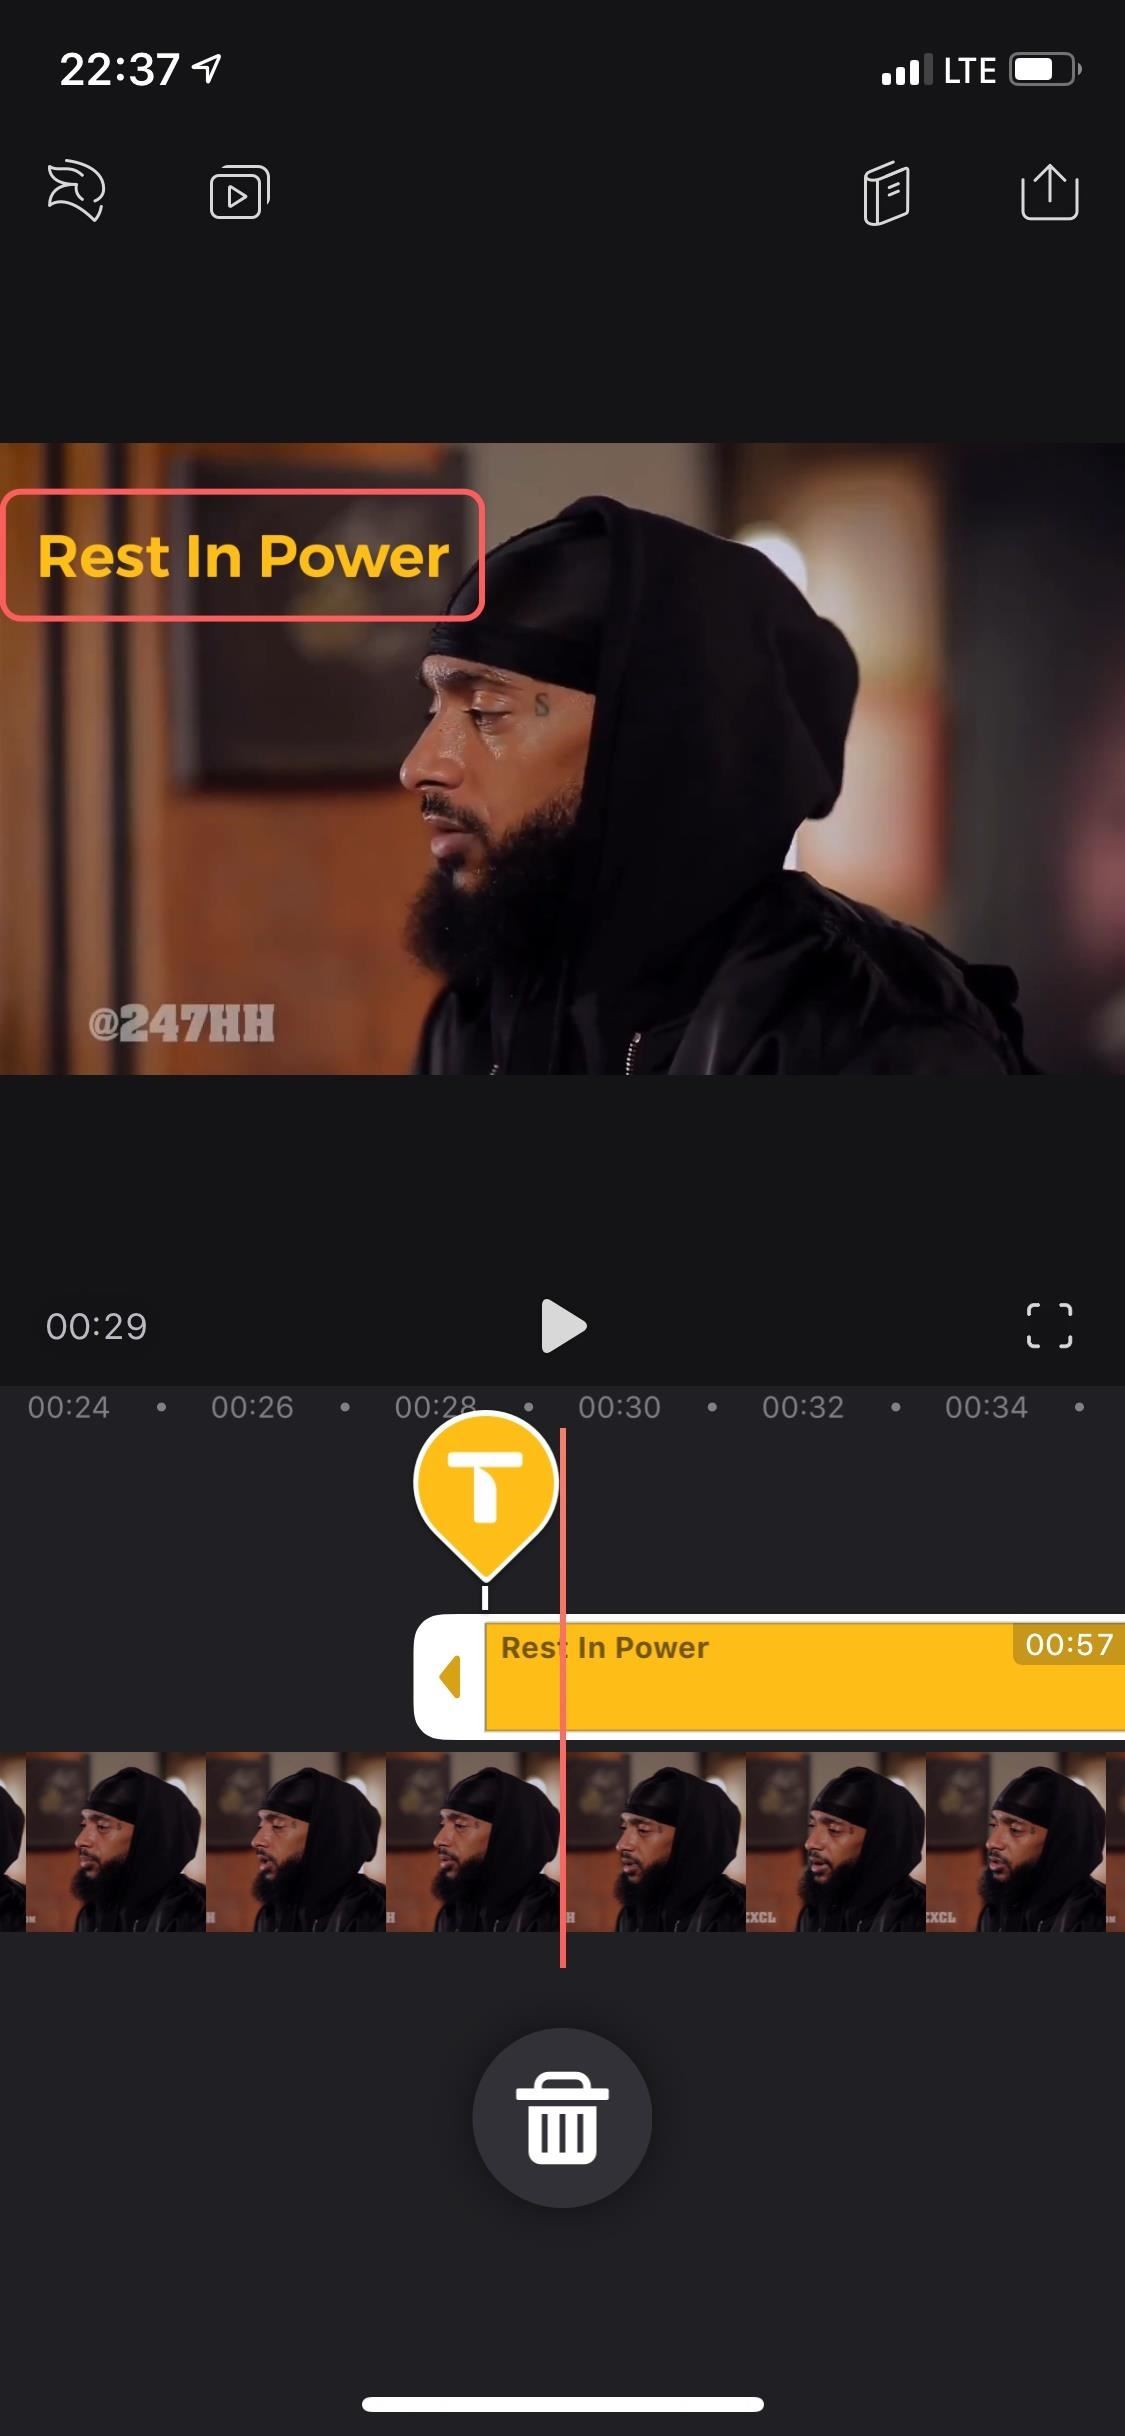
Finally, yous can tap on Remove to delete the text layer. You can also tap-and-hold down on the text layer in the timeline, and so drag and driblet it down in the trash can that appears to erase it. If you delete it because you're unhappy with the results, you always go back and try again from scratch.
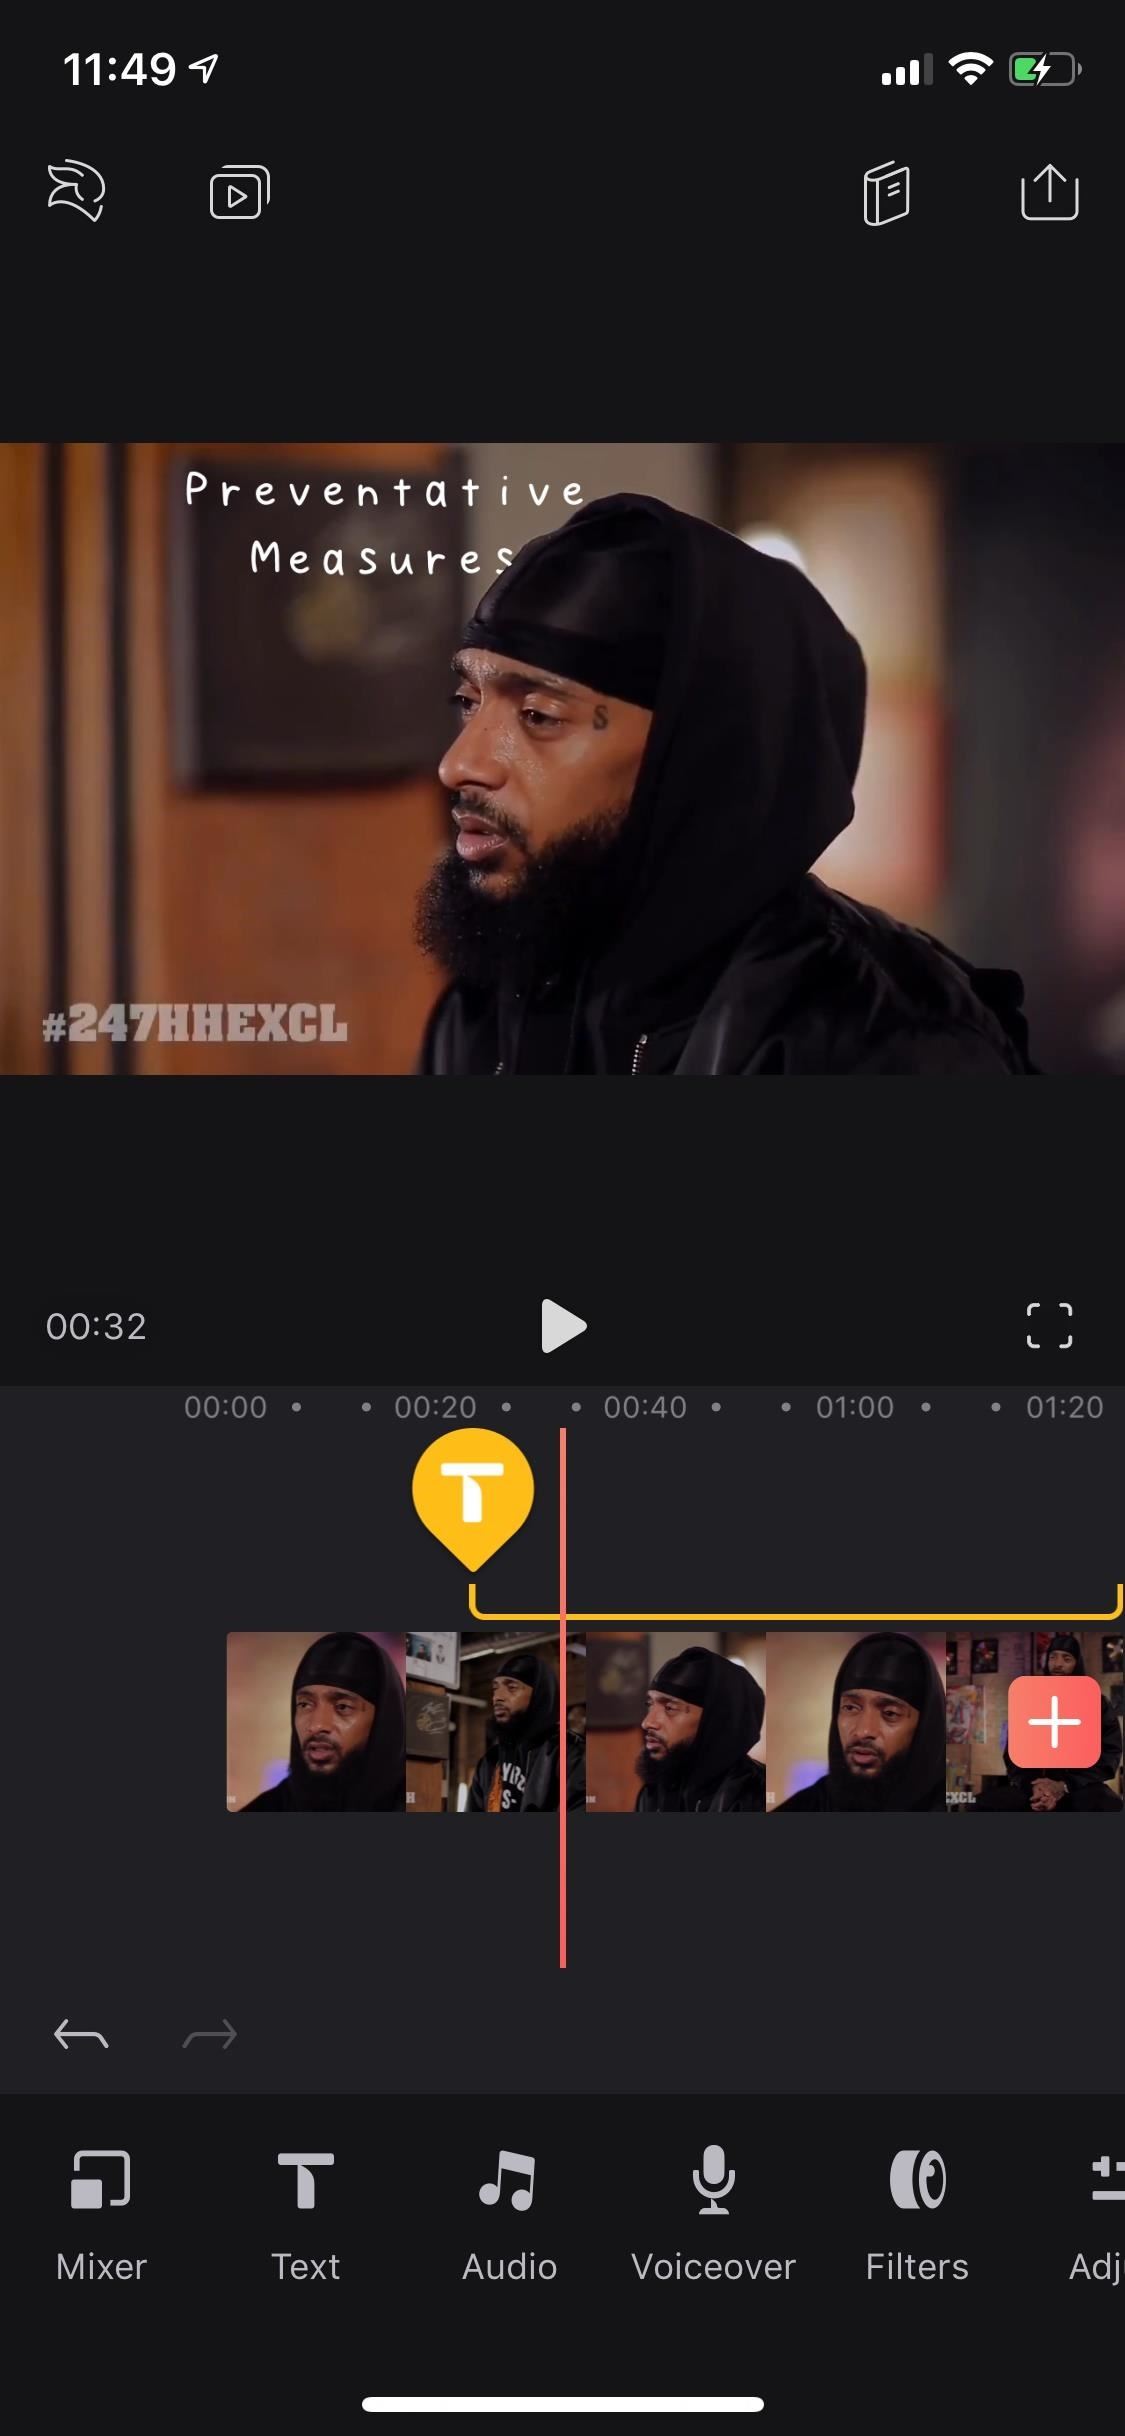
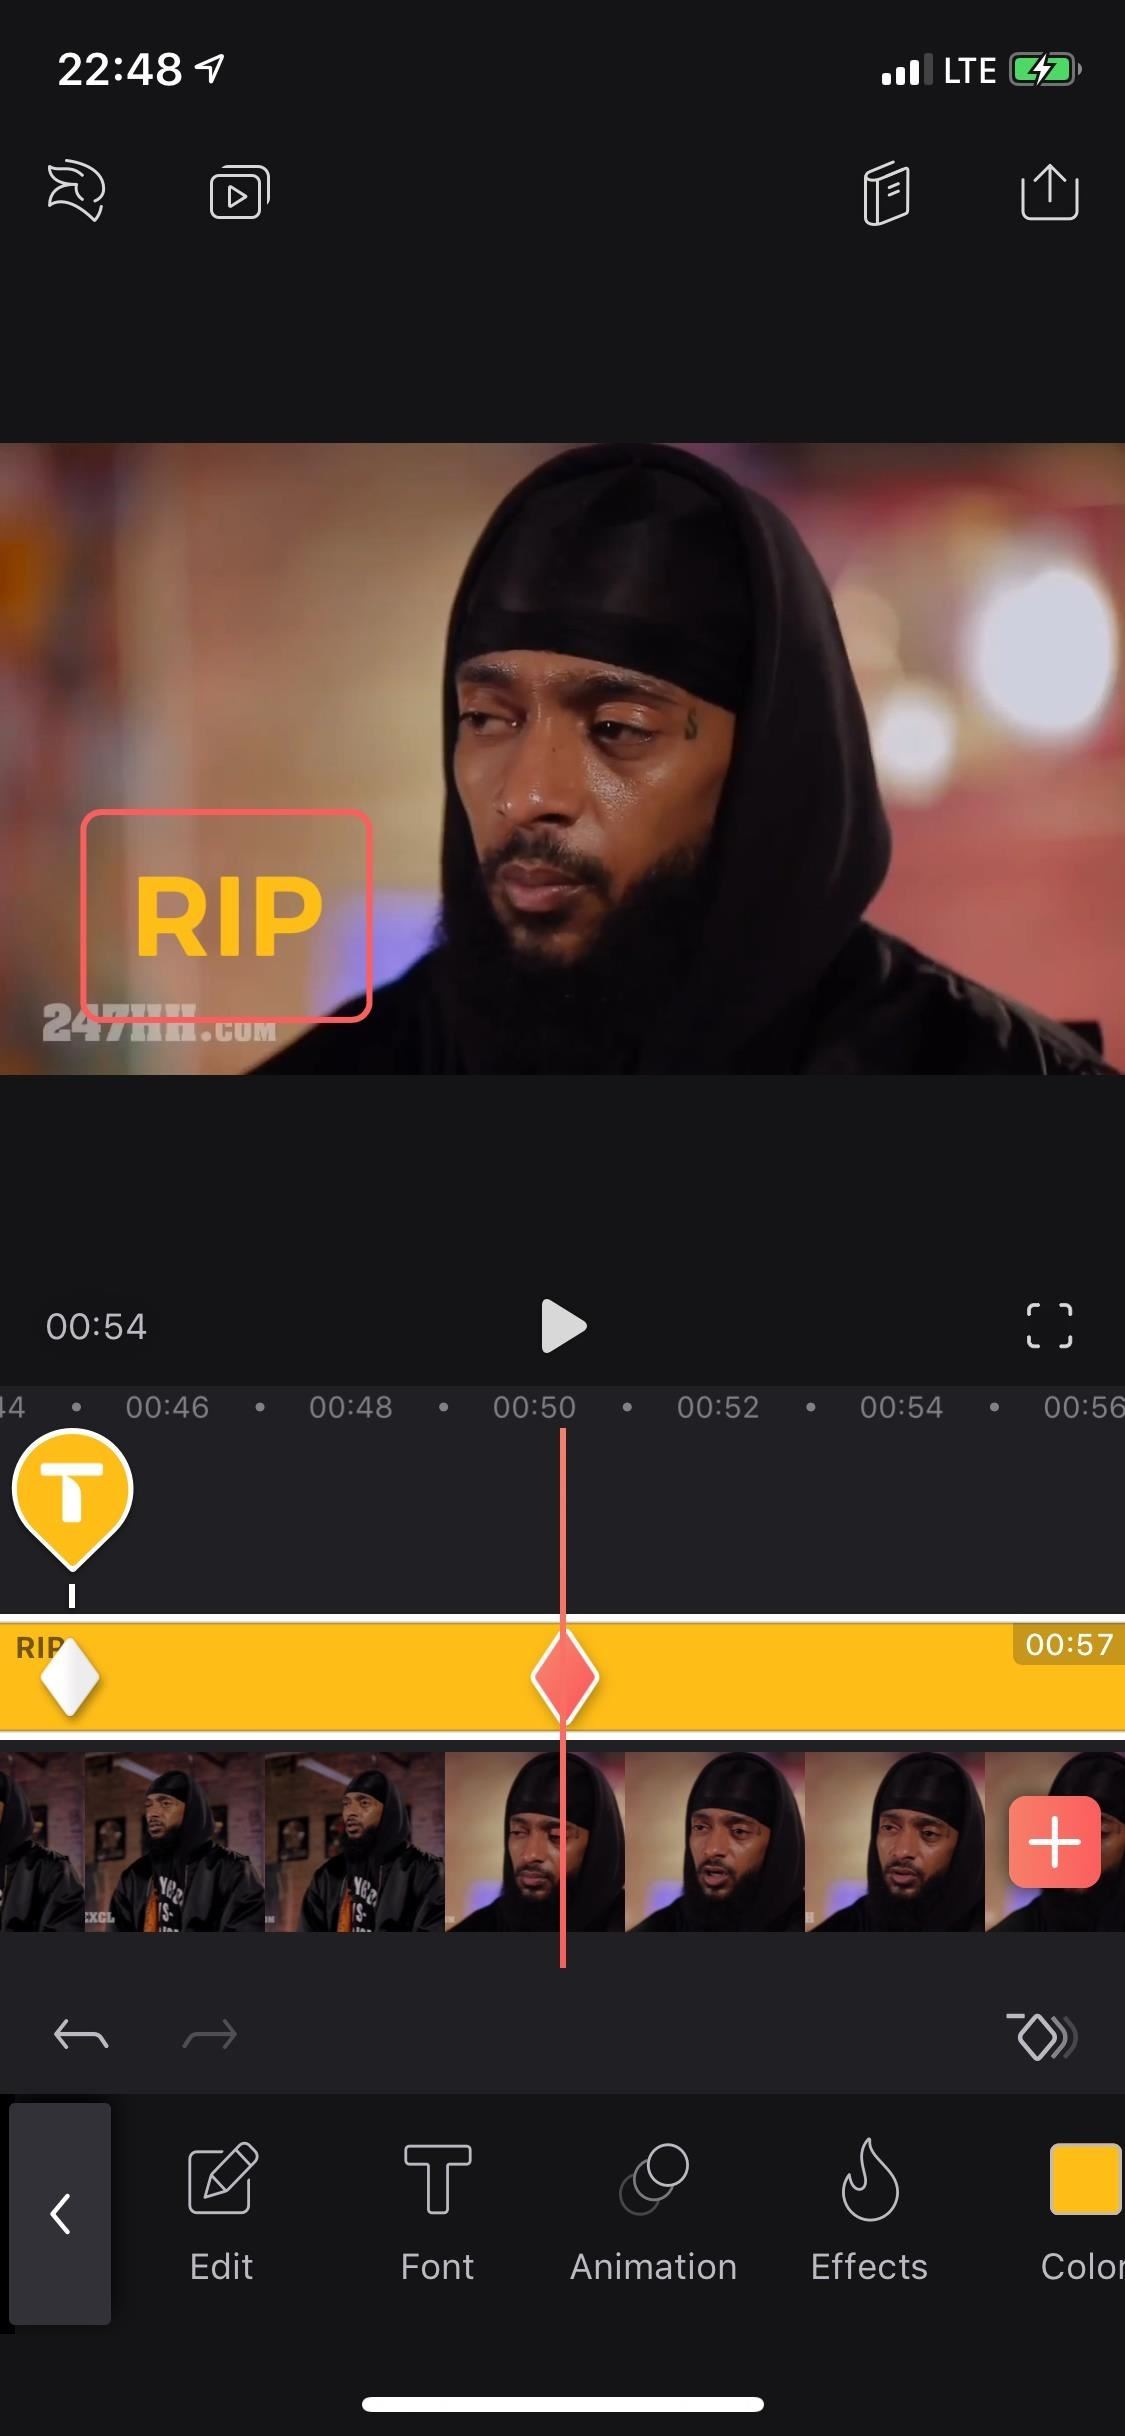
Step 3: Utilize the Keyframe Tool to Breathing Text
With any outcome selected, or even simply the text layer itself, you lot'll run into a diamond symbol with a plus sign in a higher place the toolbar on the right whenever the playhead is in the layer somewhere. This is the "Keyframe" tool, which is used to add together manual animation to your text. Yous tin utilize it to move text from ane function of the video to another or change the color of the text throughout, for instance. If y'all want to learn more than almost how to employ keyframes, check out our full guide.
This commodity was produced during Gadget Hacks' special coverage on smartphone-based video creator tips for filming and editing. Bank check out the whole Videography series.
Go on Your Connection Secure Without a Monthly Pecker. Get a lifetime subscription to VPN Unlimited for all your devices with a one-time purchase from the new Gadget Hacks Store, and watch Hulu or Netflix without regional restrictions, increase security when browsing on public networks, and more.
Buy Now (80% off) >
Other worthwhile deals to bank check out:
- 41% off a habitation Wi-Fi analyzer
- 98% off a learn to code package
- 98% off an accounting bootcamp
- 59% off the XSplit VCam video background editor
Source: https://ios.gadgethacks.com/how-to/add-customize-animate-text-layers-your-videos-with-enlight-videoleap-for-iphone-0196525/
Posted by: watersthermse.blogspot.com
0 Response to "How To Do Text Writing Animation In Ios"
Post a Comment